
First-time installation.
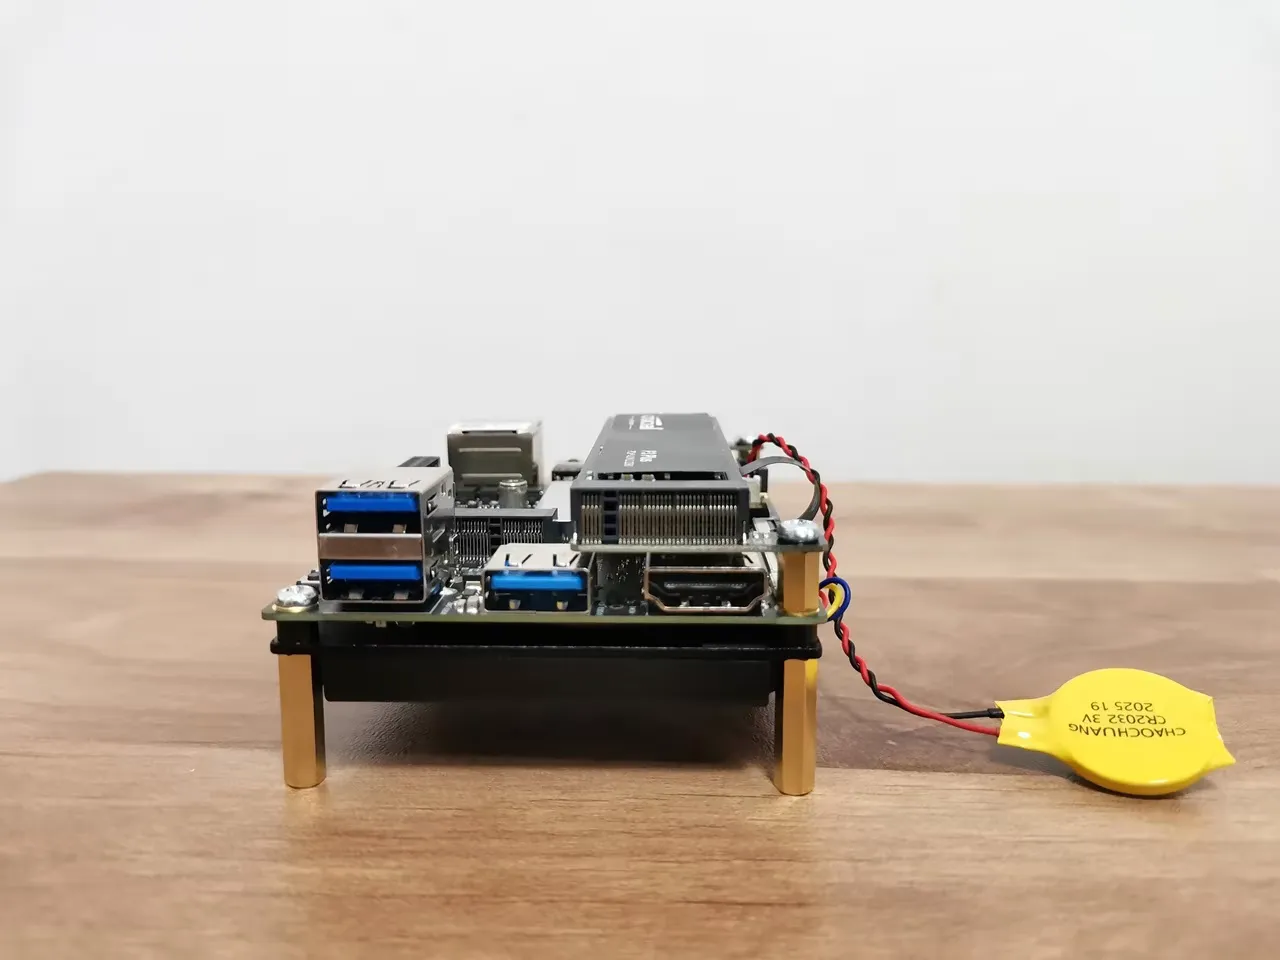
Our board came pre-installed with a 64-bit Windows operating system, including a digital license for online activation. If you prefer, you can also install a Linux OS—whichever one works best for you. There are two methods to power the board: one is by using the onboard power PH 4-pin female connector, and the other is via a Type-C port with a PD power supply, preferably one that supports 15V.
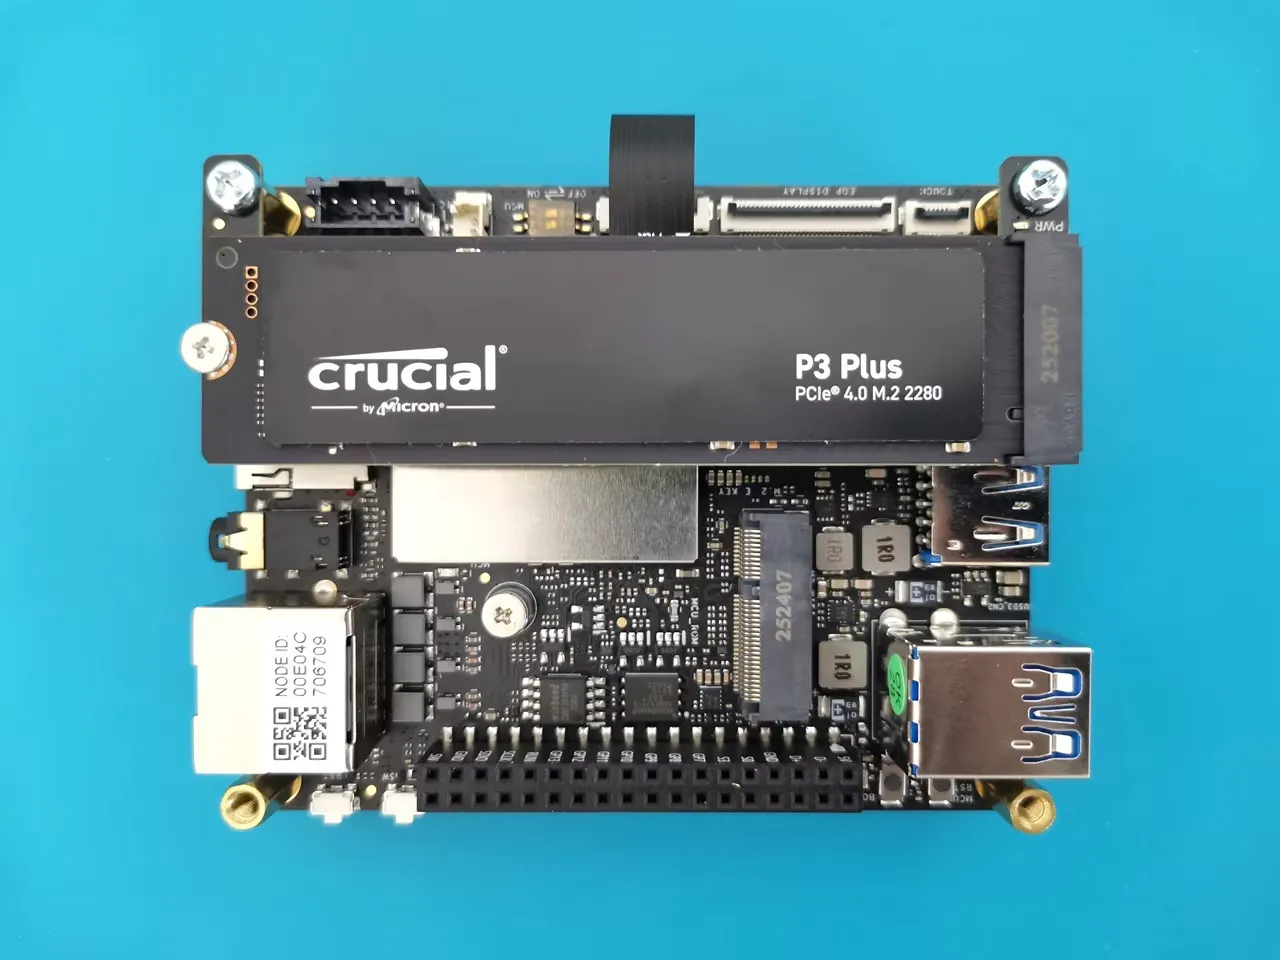
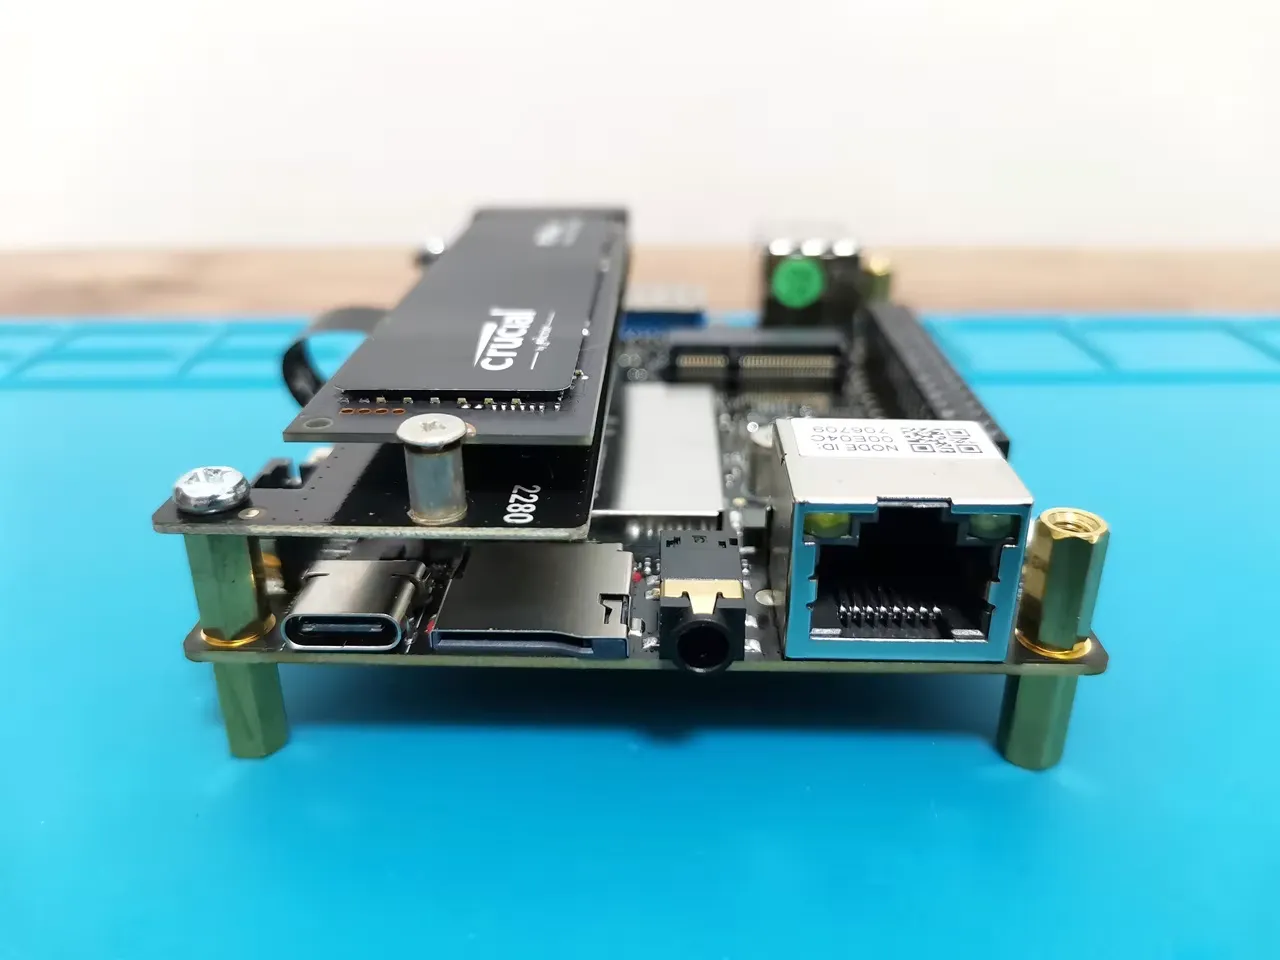
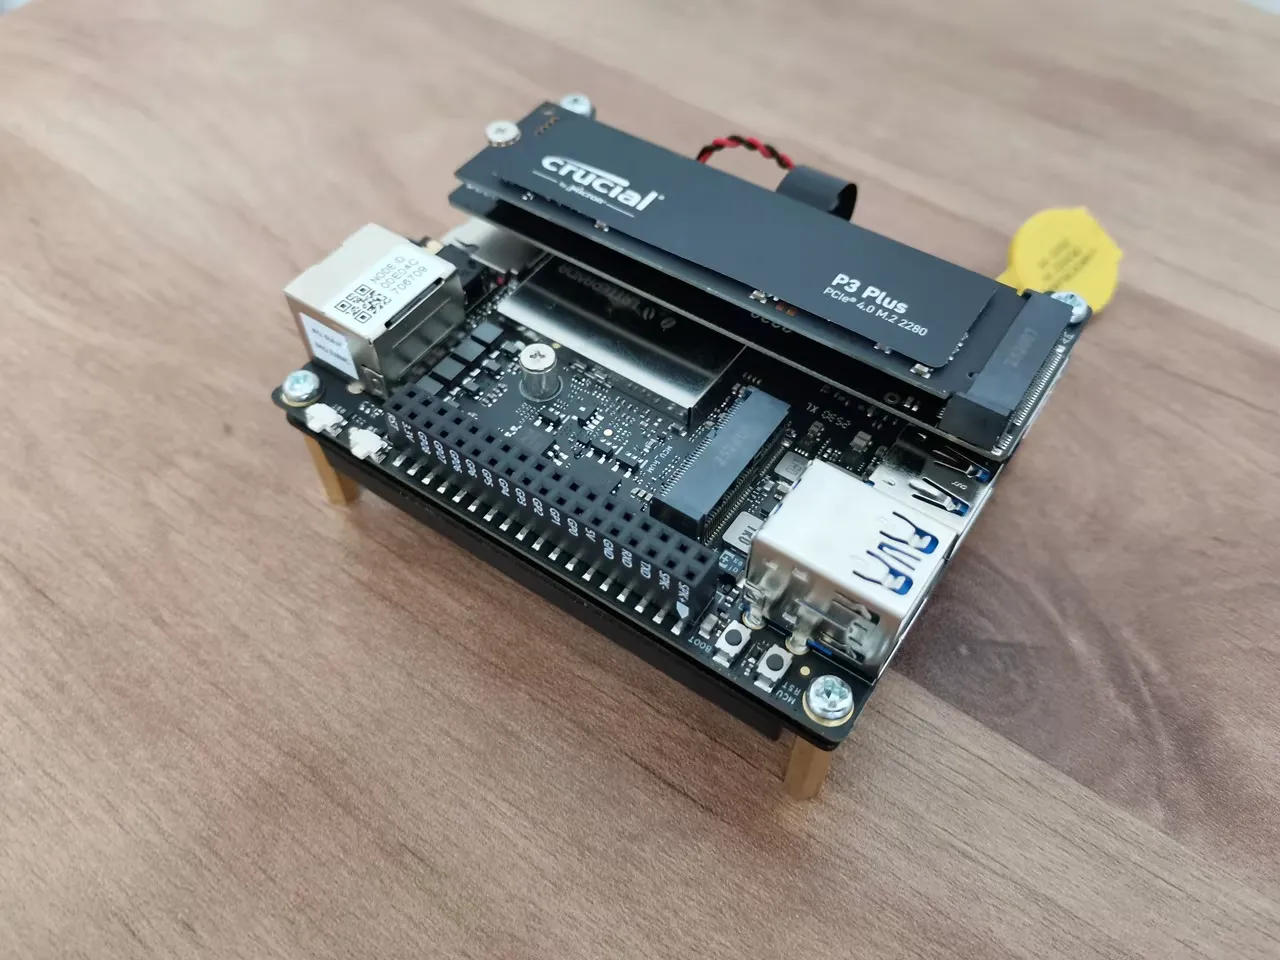
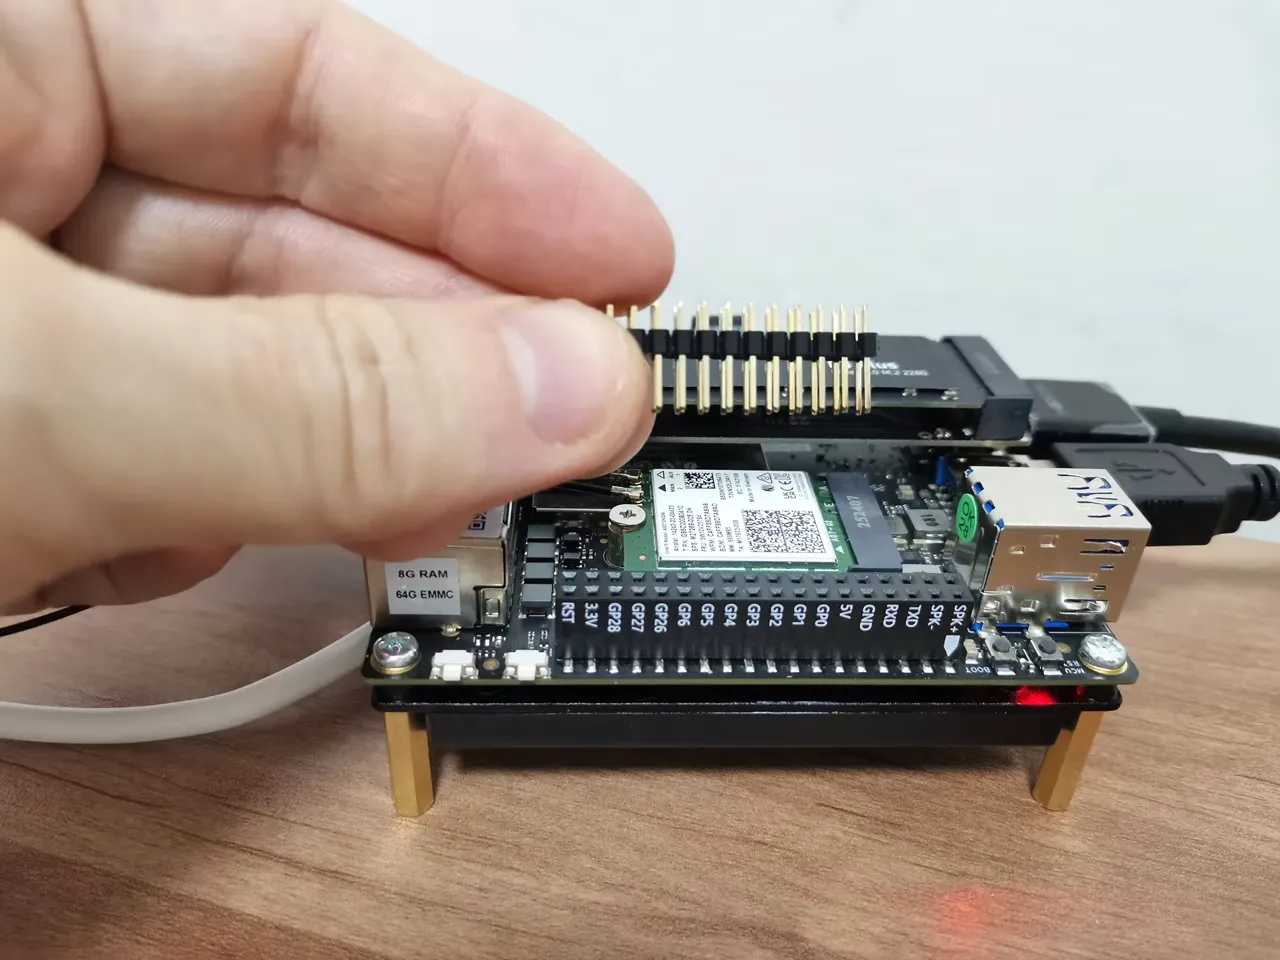
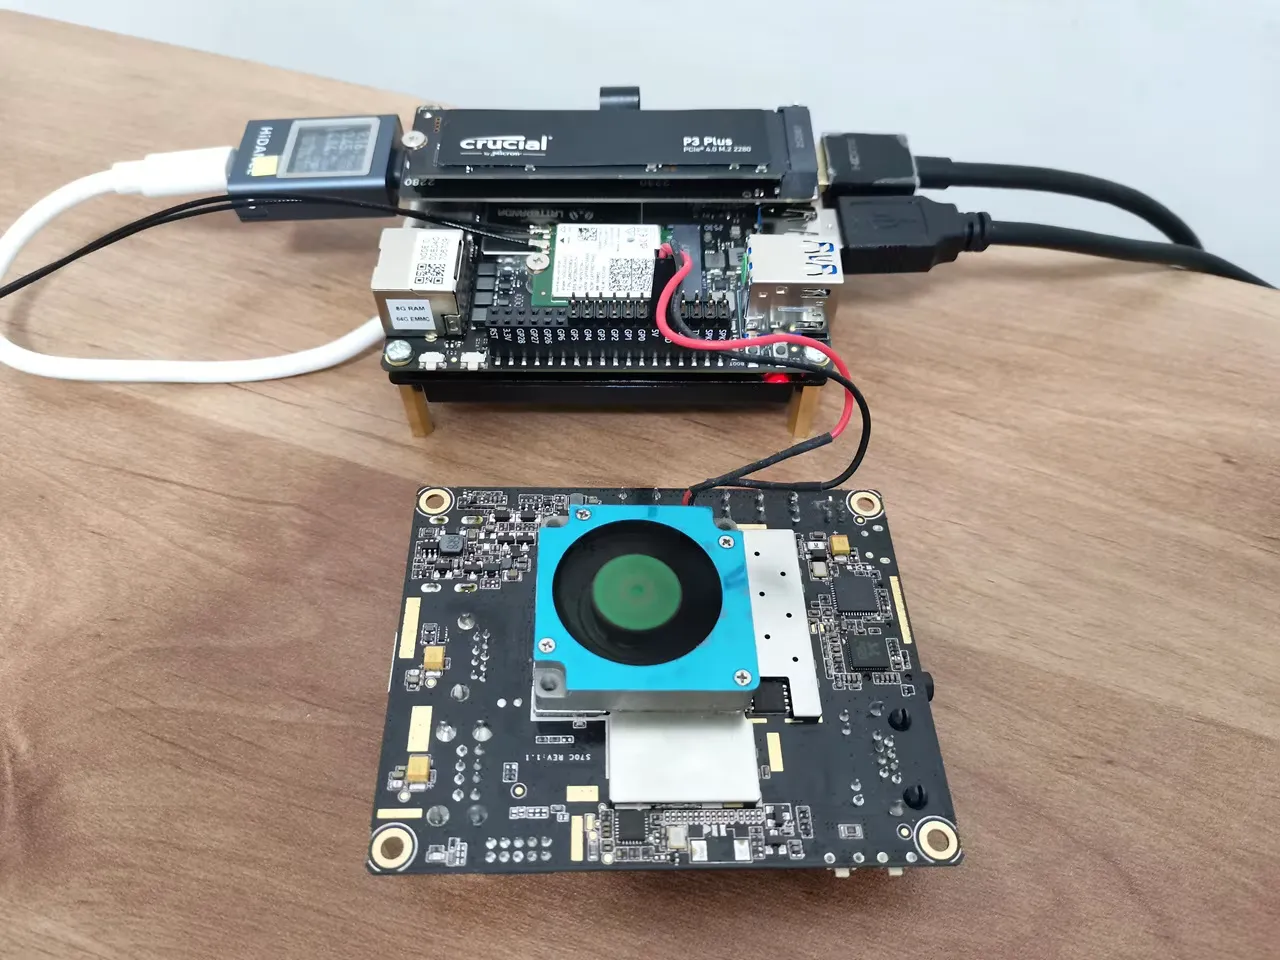
Installing a Crucial P3 Plus 1TB NVMe SSD.
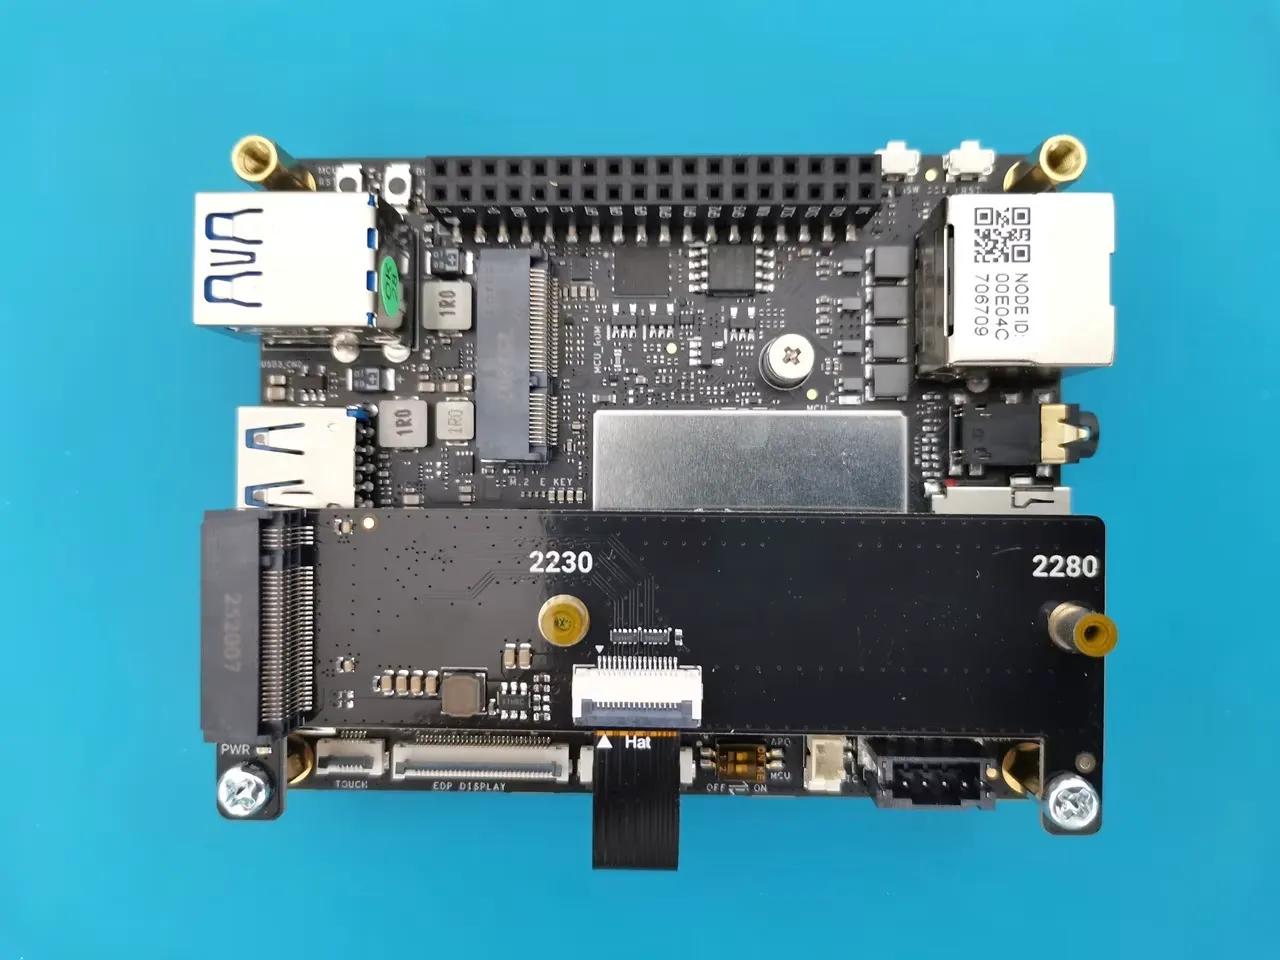
Installing the board and extra accessories was straightforward and hassle-free. You don’t need to be a tech expert to figure it out. Everything we received was of excellent quality and came with a detailed instruction manual. Although all the accessories on the item list are optional and based on user preferences, if you intend to add an NVMe SSD, you’ll need to buy an M.2 M-Key expansion board.
Because the board has a very small form factor, there isn’t a dedicated slot for adding an NVMe SSD. Instead, an expansion board is provided, which is assembled on hex-type studs on the board. The expansion board links to the IOTA board using a flat ribbon cable that connects to the board’s PCIe 3.0 FPC interface, as illustrated in the photos below.

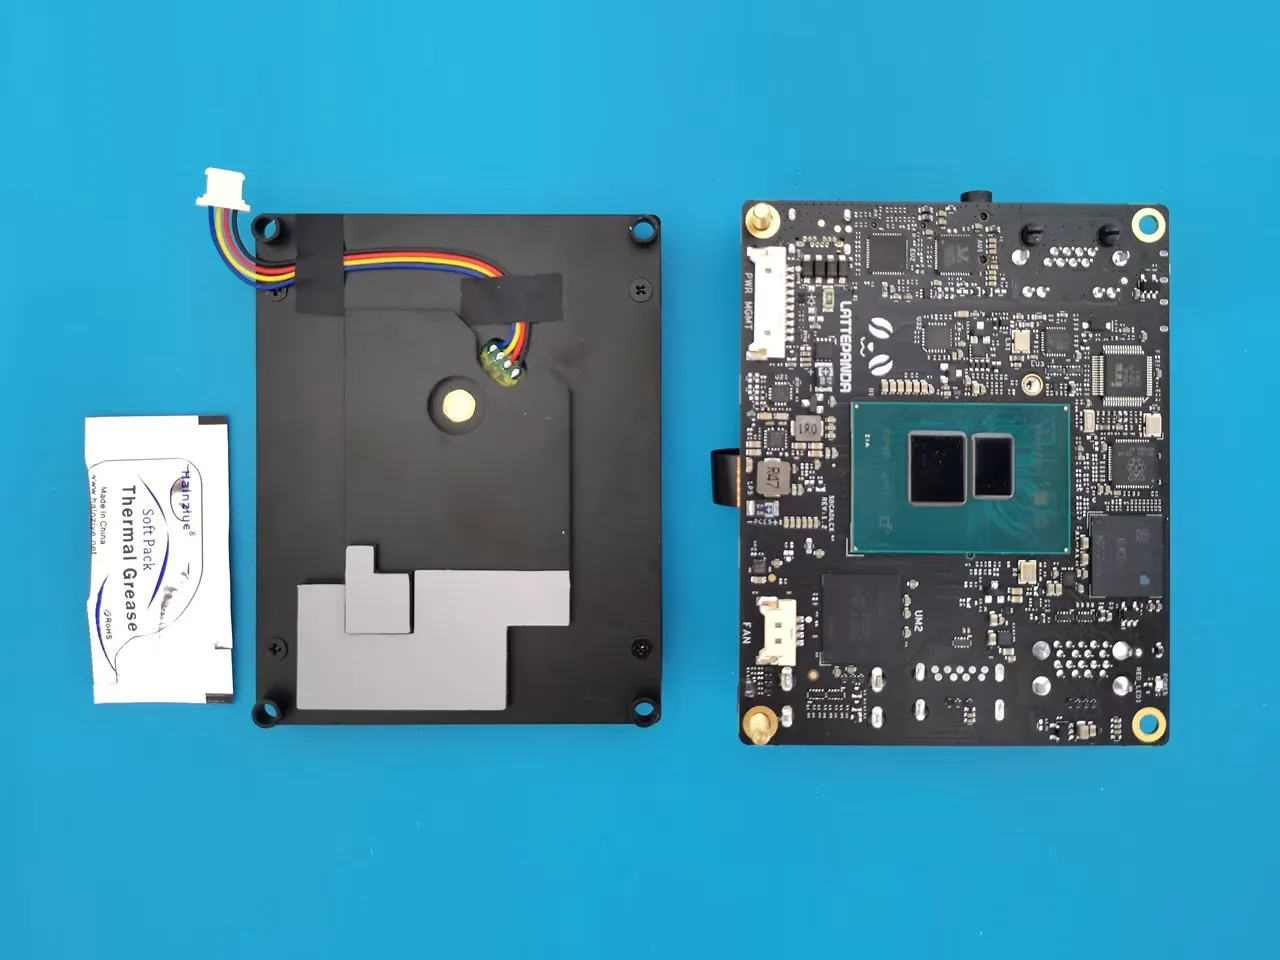
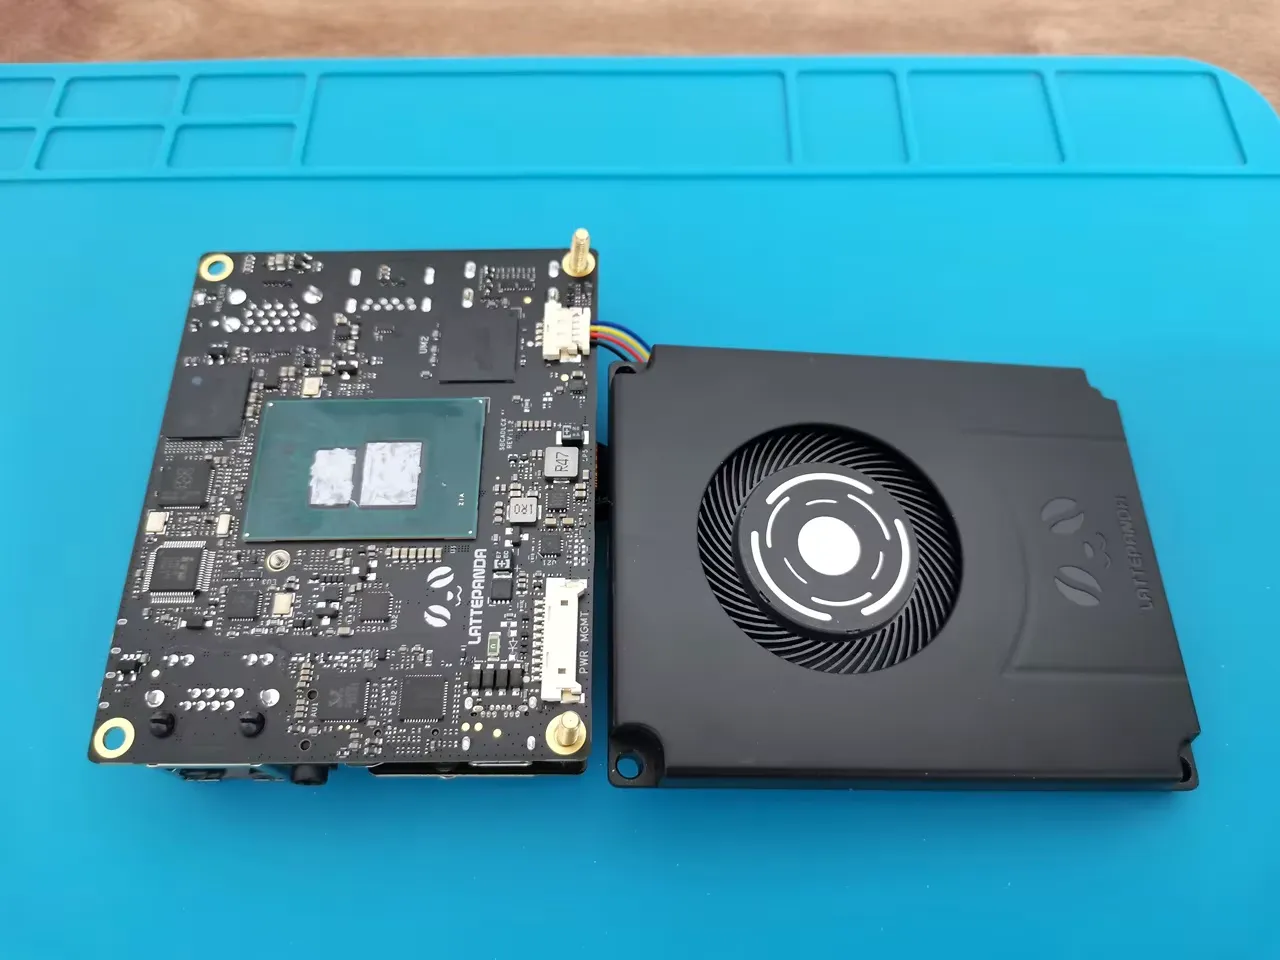
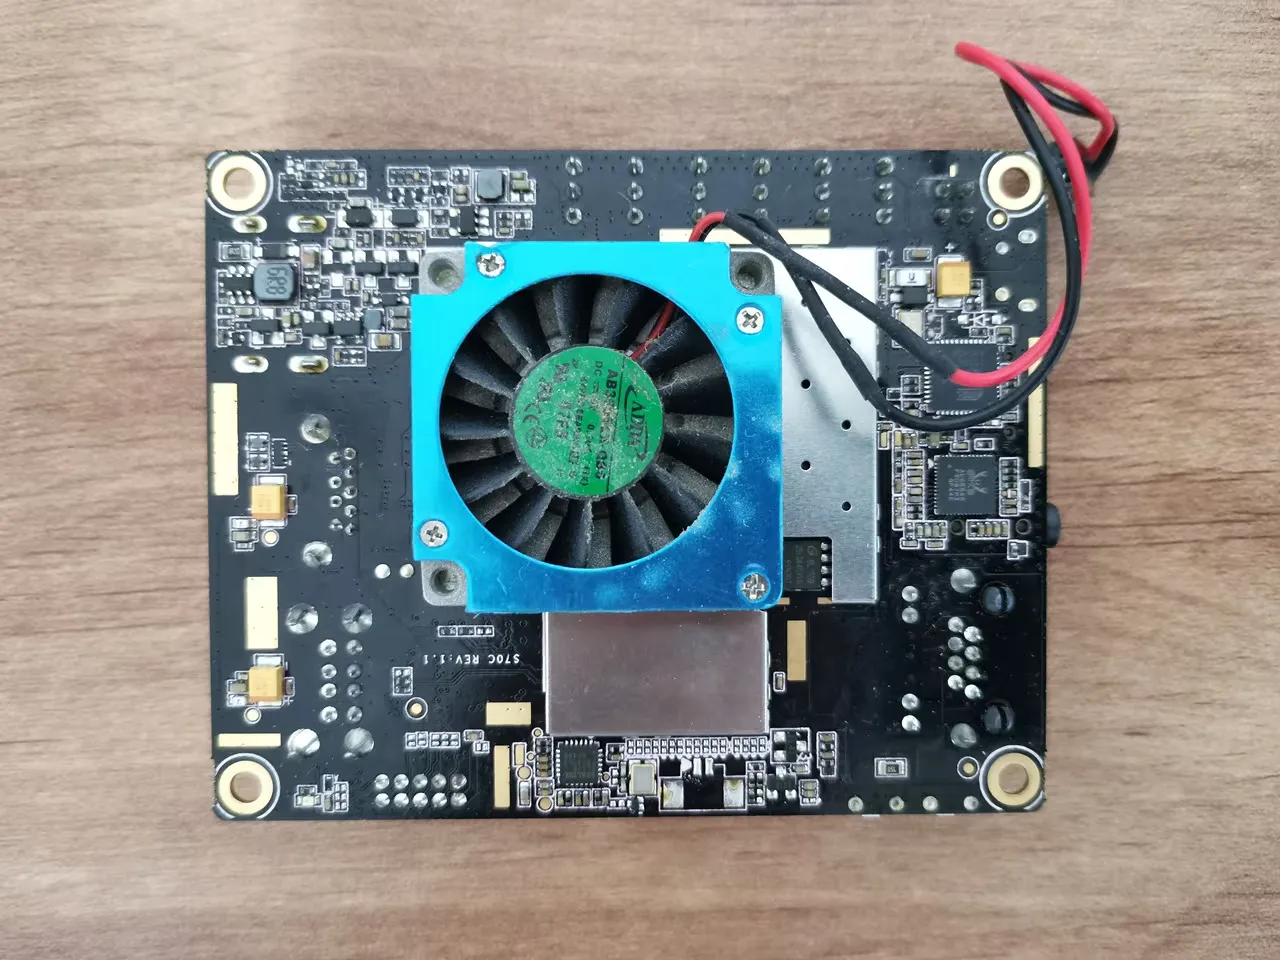
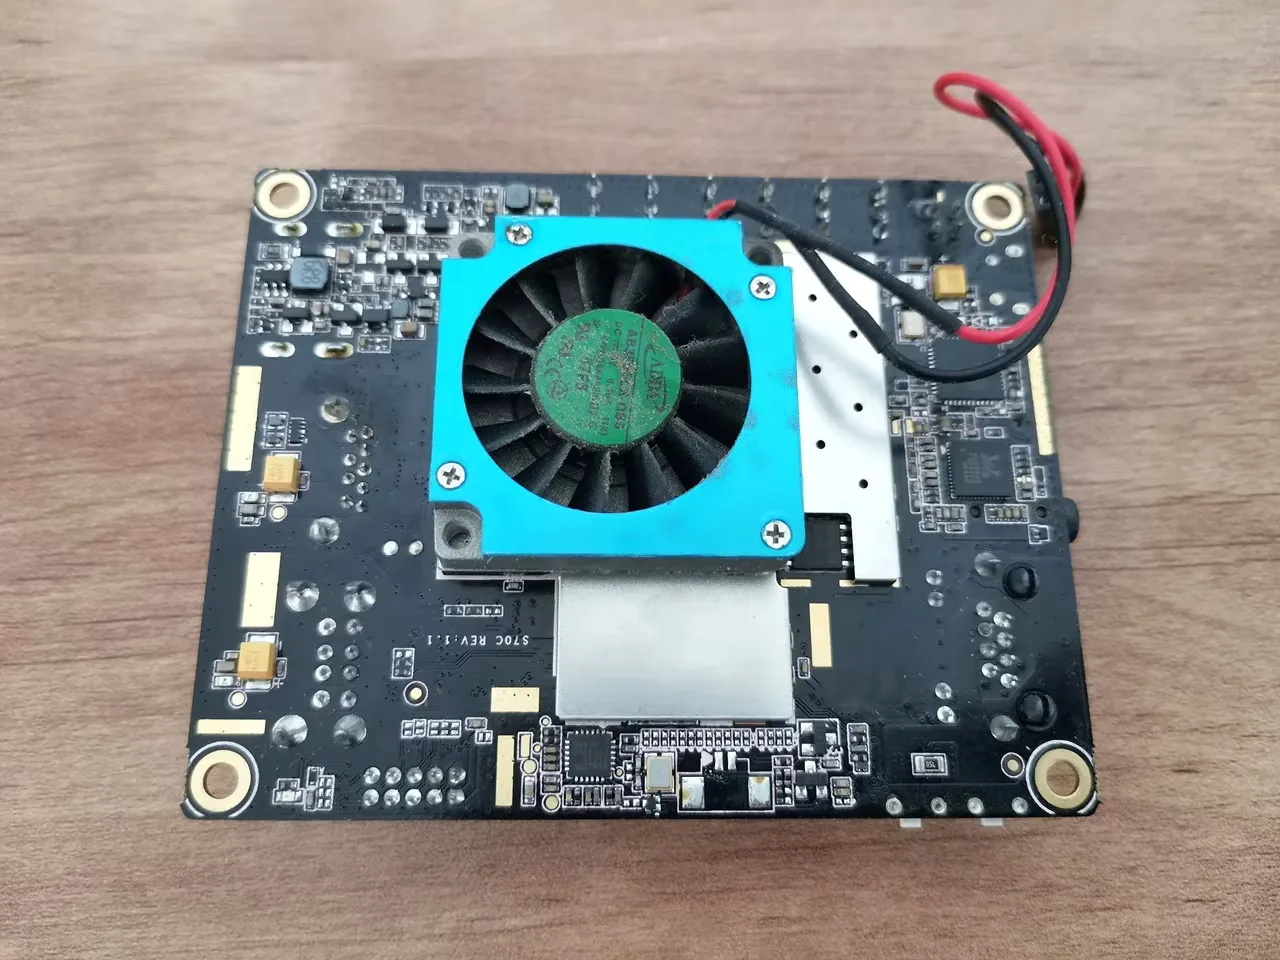
Installing an active heatsink.
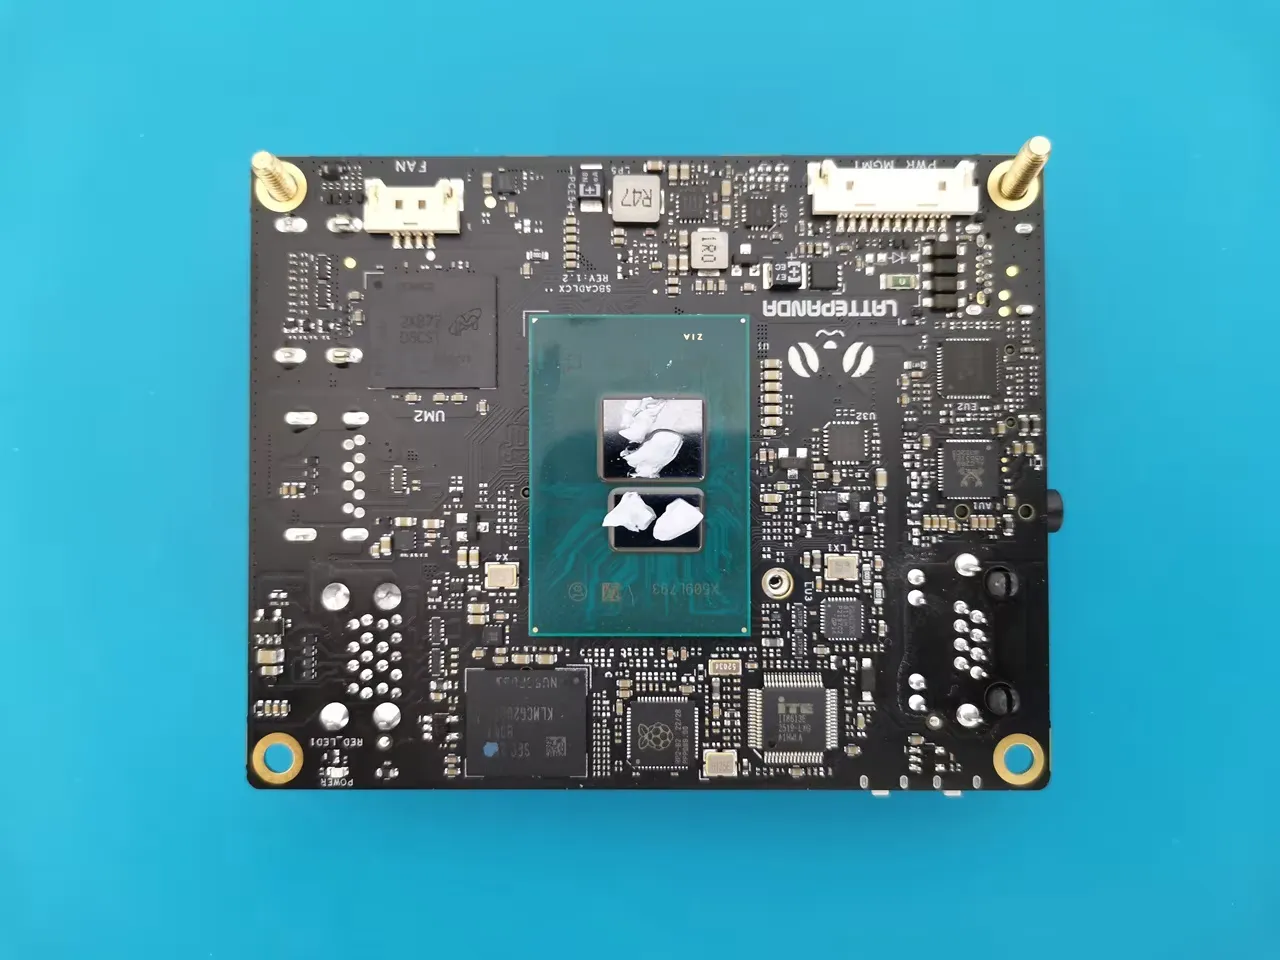
Installing the active heatsink with its spinning fan was a breeze. The company supplied a high-quality, sturdy heatsink that mounts on the rear side of the board with screws, right where the main Intel CPU is located. The fan works efficiently but might be too loud for some users. To address this, DFRobot also provides a large passive heatsink that can be mounted in a similar manner. On the bright side, the fan utilizes Pulse Width Modulation (PWM) control, kicking in only when a specific thermal threshold is reached, effectively lowering and stabilizing the temperature.
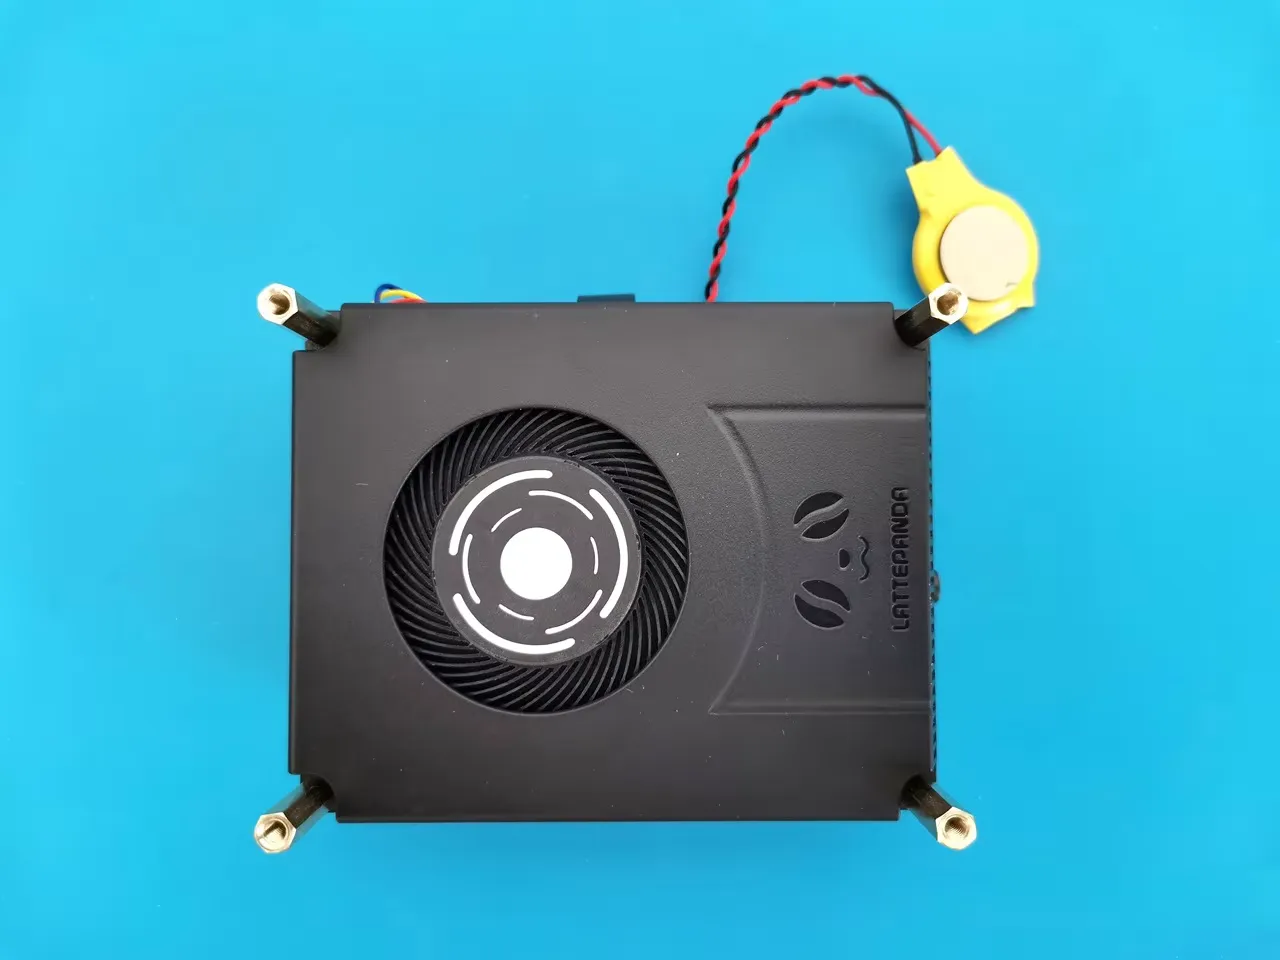
Repurposing the cooling fan from the older LattePanda V1 board and modifying it for compatibility with the IOTA board.
While the board fits snugly inside the LattePanda V1 metal case, an active fan cooler is still necessary to keep the processor cool. We attempted using a 7mm thick thermal pad, but the board continued to overheat. For those still using the old Lettapanda v1 case and still want to use it, we strongly recommend finding a thin metal fan that can be mounted using thermal paste glue.
The main issue lies with the connector type: the IOTA uses a less common MX1.25-4P connector with PWM support, while the V1 fan connector relies on a 2-pin jumper connector. This essentially means the fan from the LattePanda V1 cannot be reused with the IOTA board.
The cheapest and simplest solution to migrate or make use of the V1 fan
One option is to connect the V1 fan wires directly to the IOTA GPIO header to obtain the necessary 5V, though PWM support likely won’t be available with this setup. Still, it’s a workable solution.
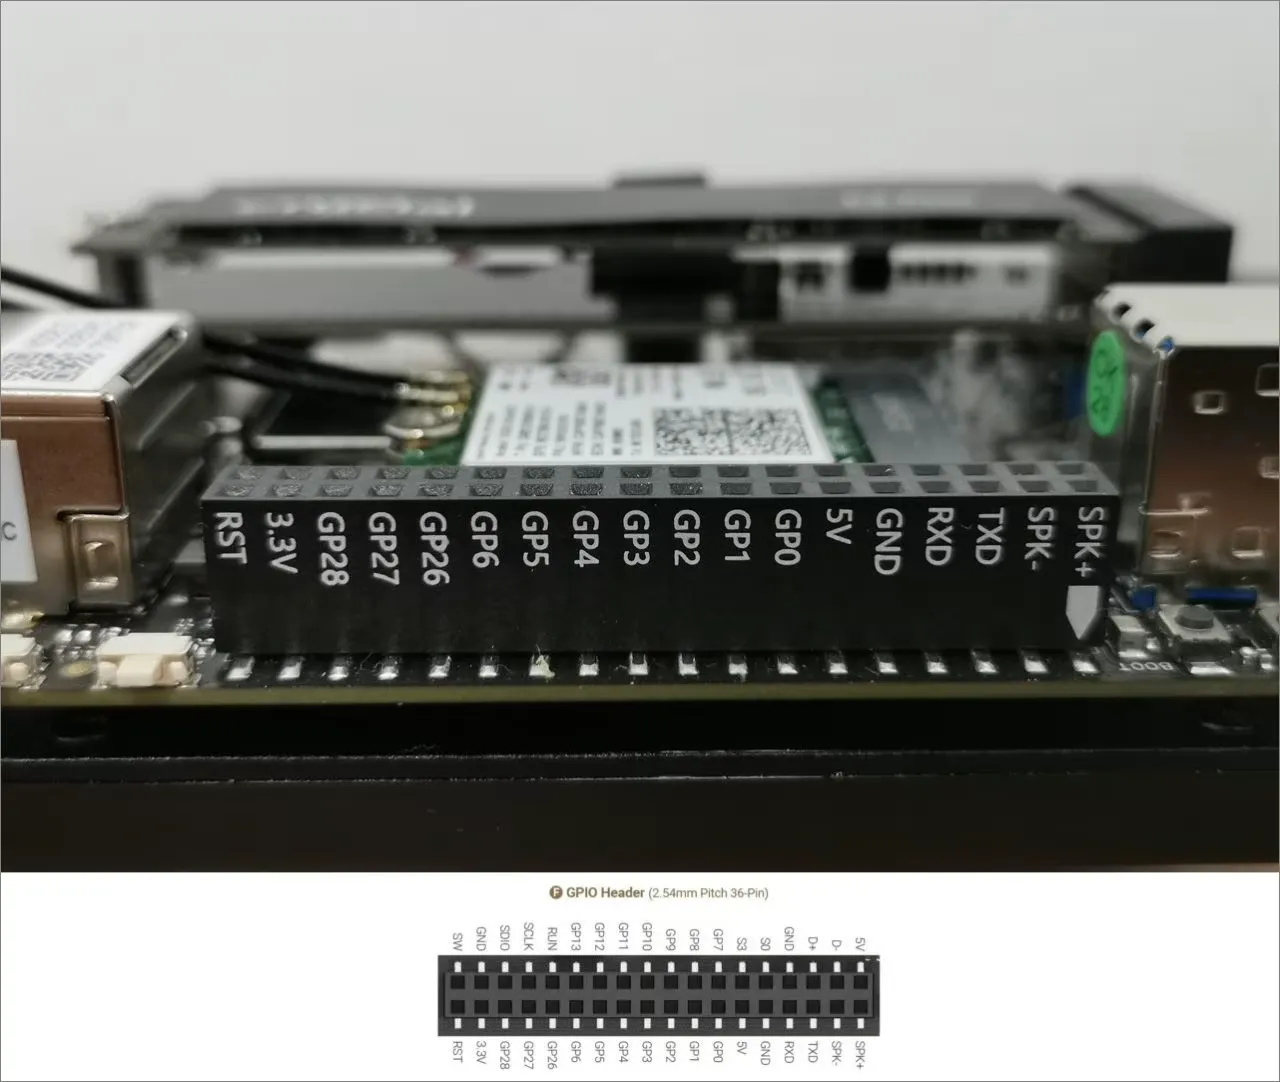
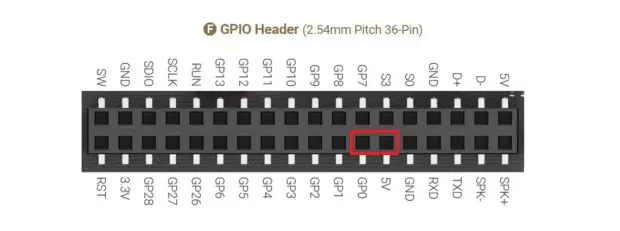
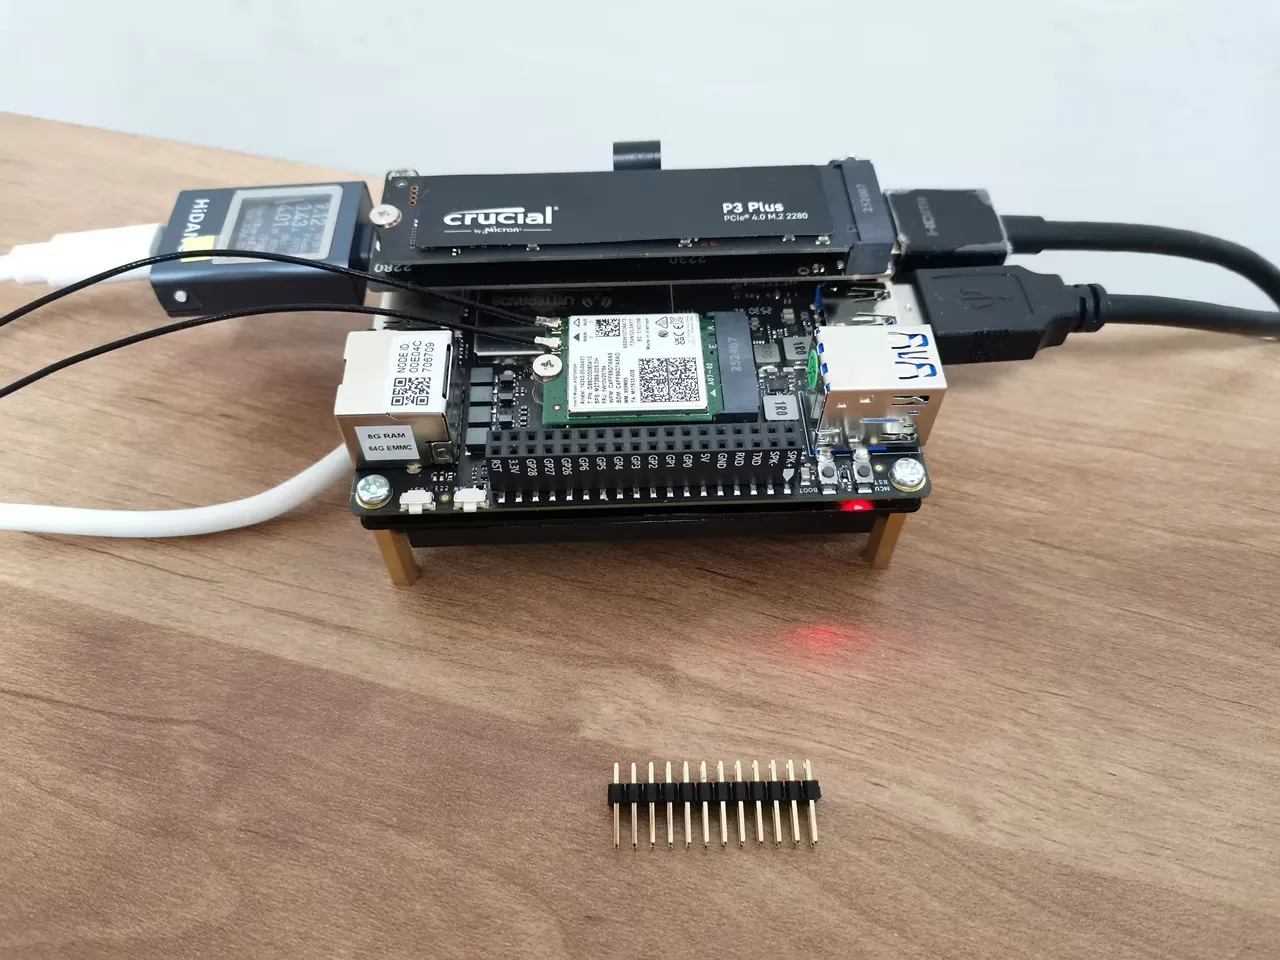
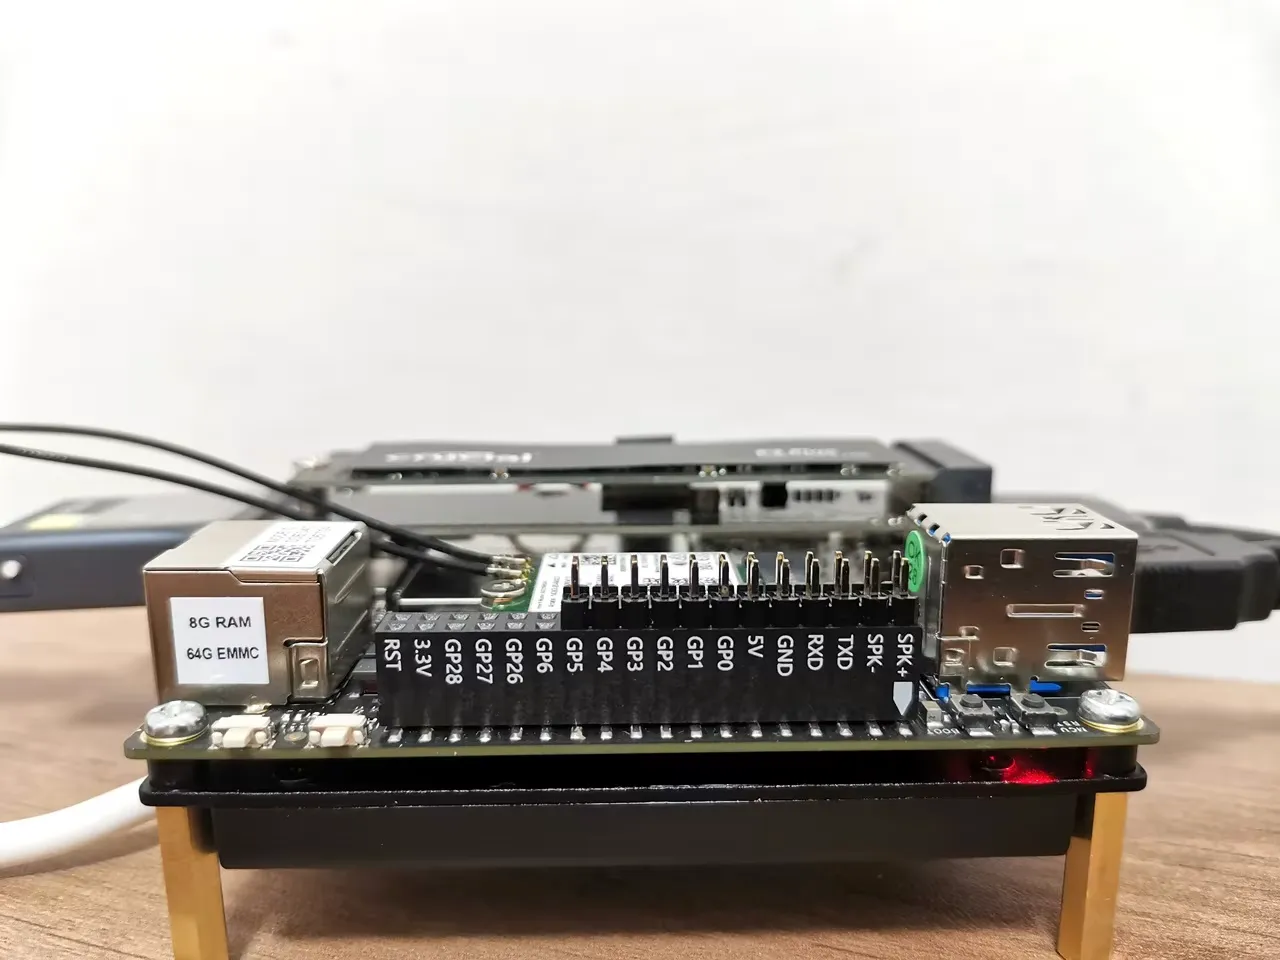
The GPIO header interface on the IOTA board.
How can the FAN migration be accomplished?
To set up the old V1 fan connector with the IOTA board, start by following these steps:
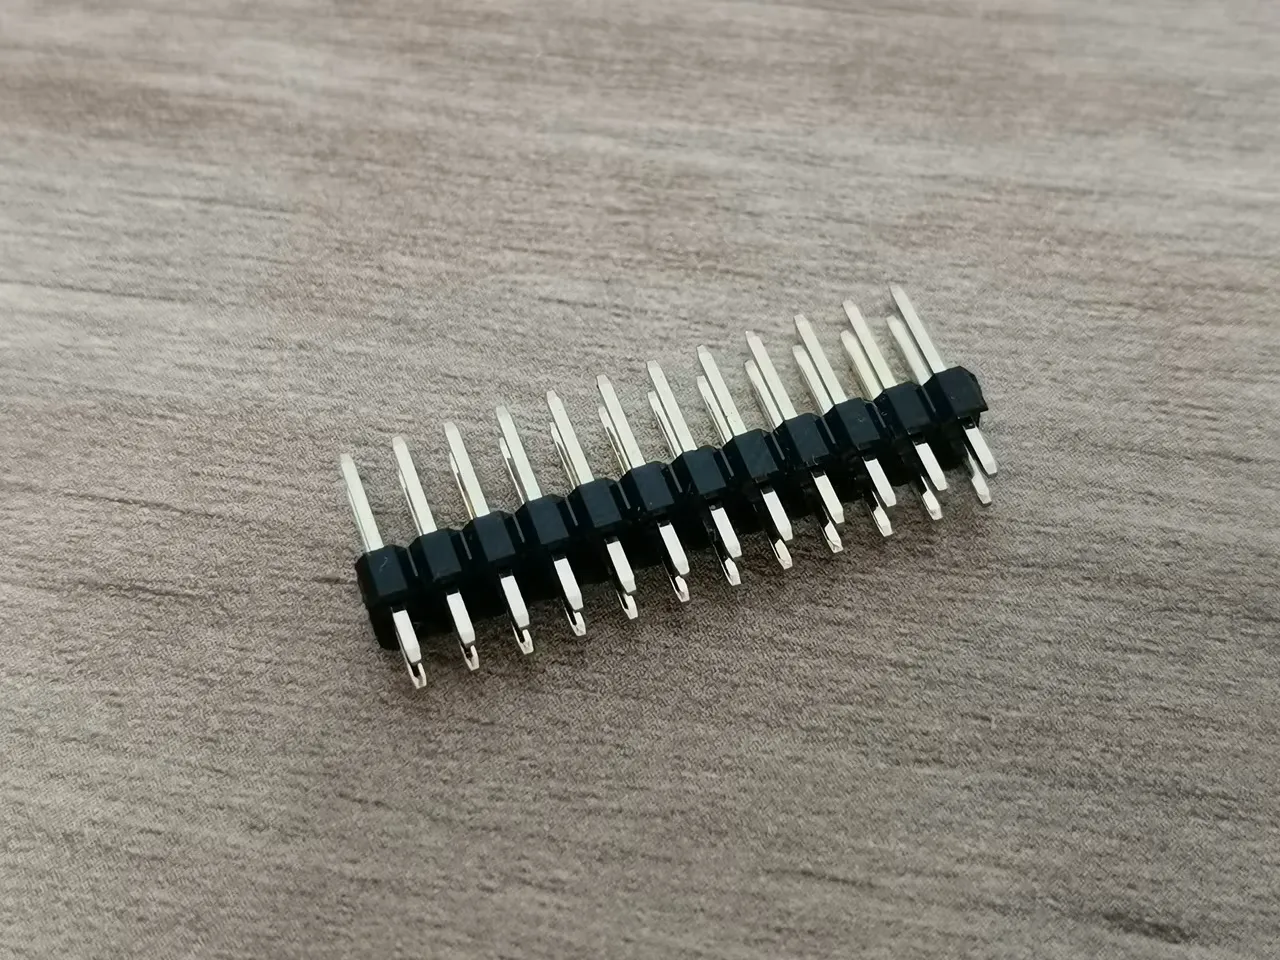
- Connect a double-row straight male-to-male pin adapter to the IOTA 36-pin GPIO interface. This ensures the necessary pins are available to attach the fan pins for the V1 fan plug, as shown in the photos below.
- Disassemble the fan from the old Lattepanda V1 board.
- Use adhesive thermal paste to attach the fan to the IOTA board.
- Attach the V1 FAN plug to the 5V and GND pins on the IOTA board, as shown in the photo below.
Checking if the V1 fan works on the IOTA board.


When you installed the IOTA Active Cooler, was there a gap between the CPU and the cooler? Mine seems to have an air gap that can’t be overcome with thermal paste.
Maybe, but I can’t say for sure. The thermal paste should help, even if there is a very small gap.
If you’re really annoyed with the gap, you can always try adding a thermal pad. What you should focus on is checking the temperatures to see if they are stable. If they are stable and reasonable in range, then everything is working as it should.