
Getting into the BIOS settings
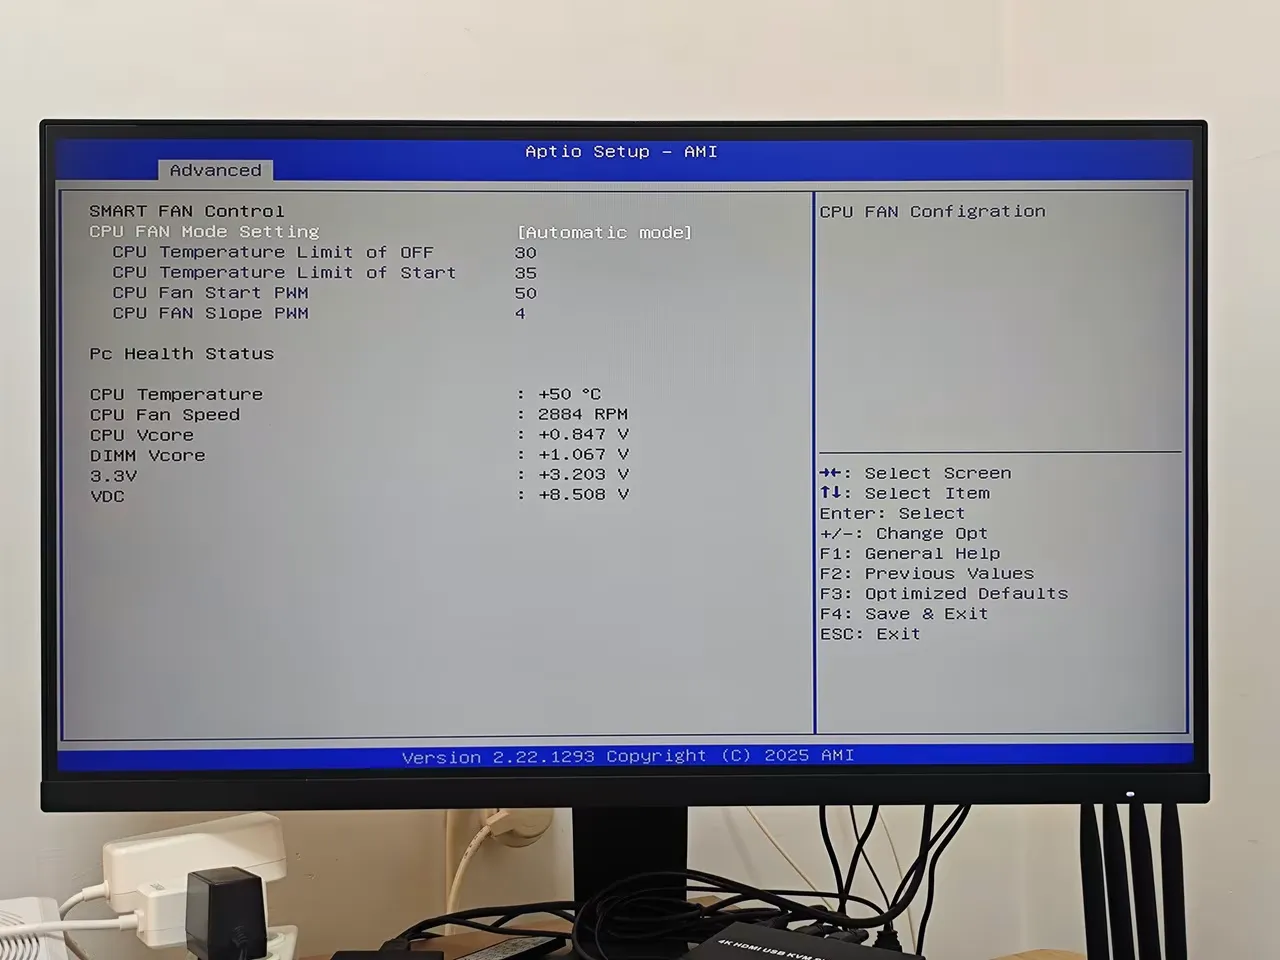
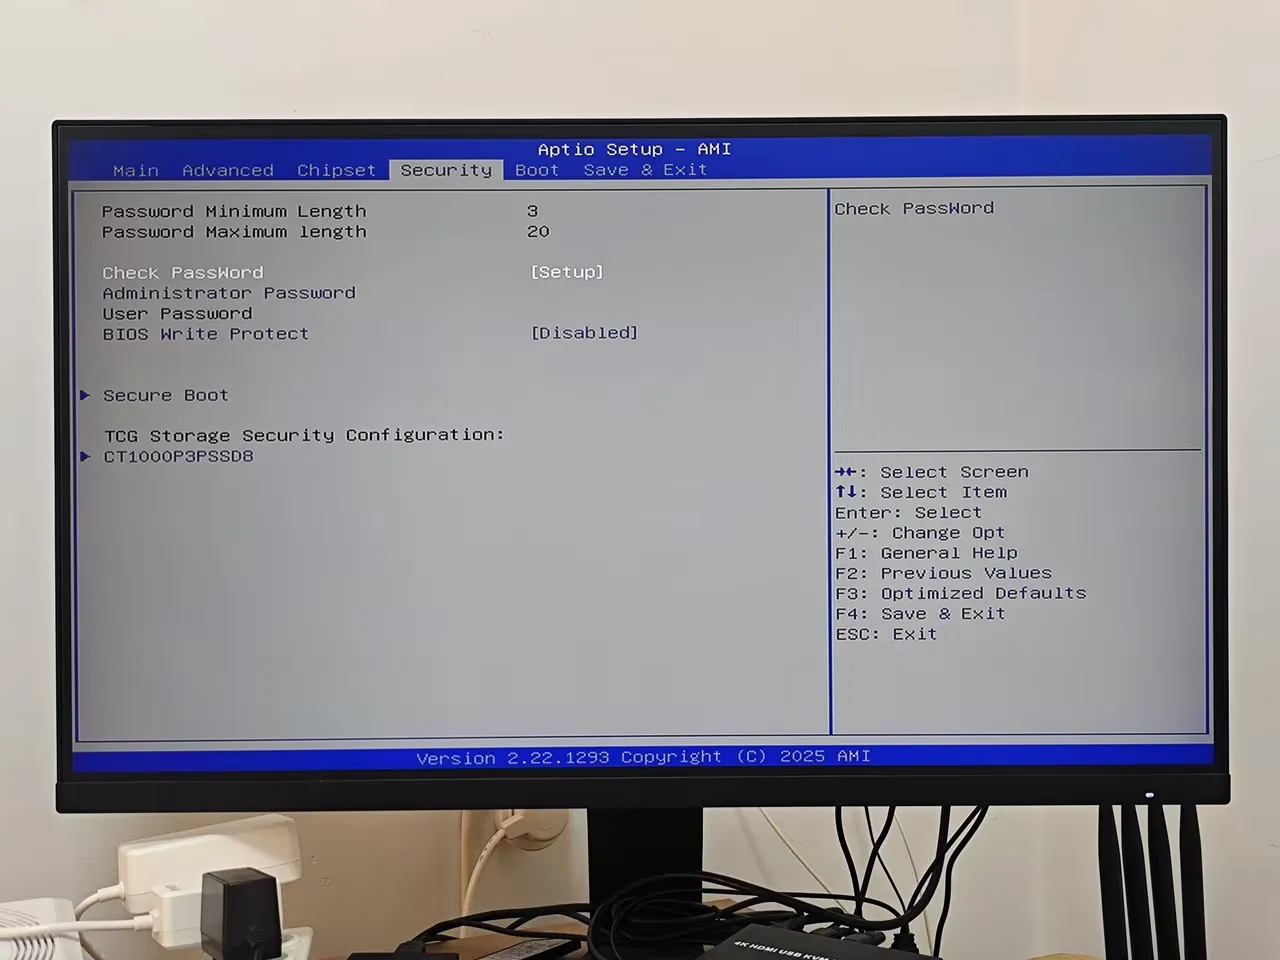
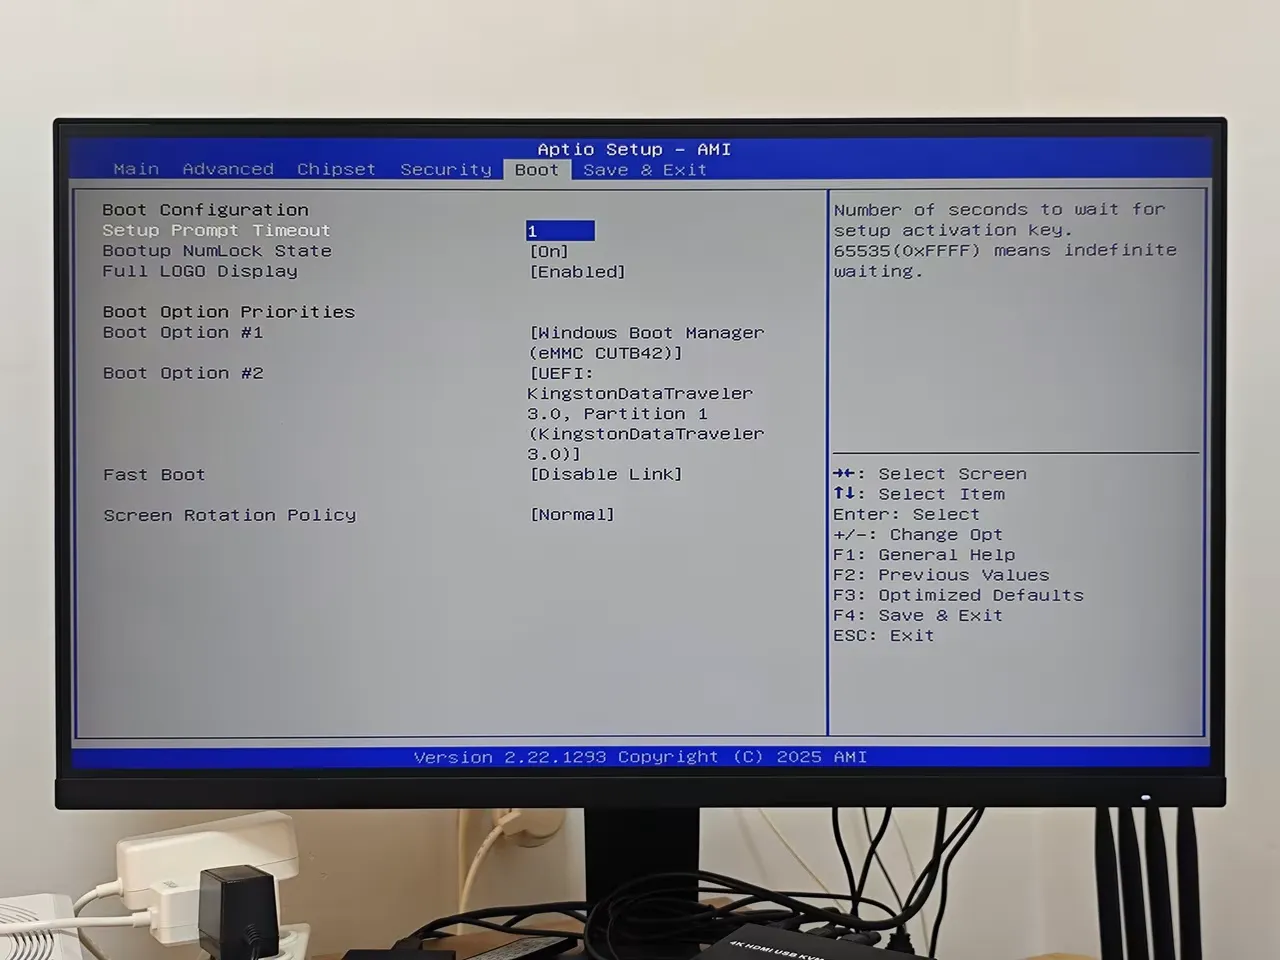
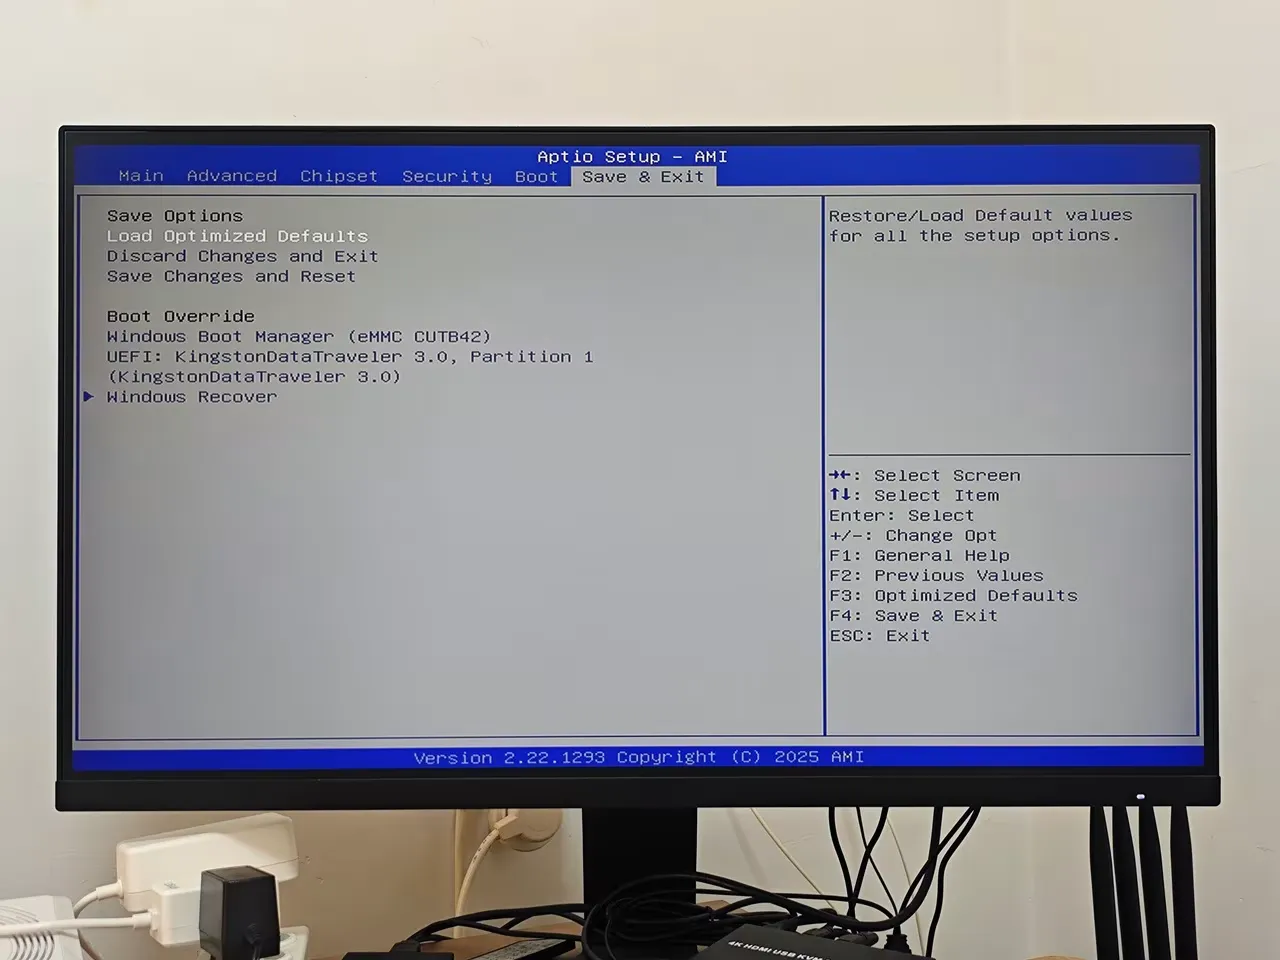
If you need to tweak or adjust some settings, you can do so by entering the BIOS section by pressing the Delete button a few times during the boot phase. You can also adjust the PWM settings in the BIOS, either by customizing temperature thresholds for the minimum and maximum levels or by using the default automatic mode.
BIOS Settings
Changing the TDP in BIOS or UEFI settings

To change the TDP on the LattePanda IOTA board, you’ll need to enter the BIOS/UEFI settings and manually adjust the power limits. Here’s a basic guide based on available details:
- Power on your LattePanda IOTA.
- Press DEL or ESC repeatedly during boot to enter BIOS/UEFI.
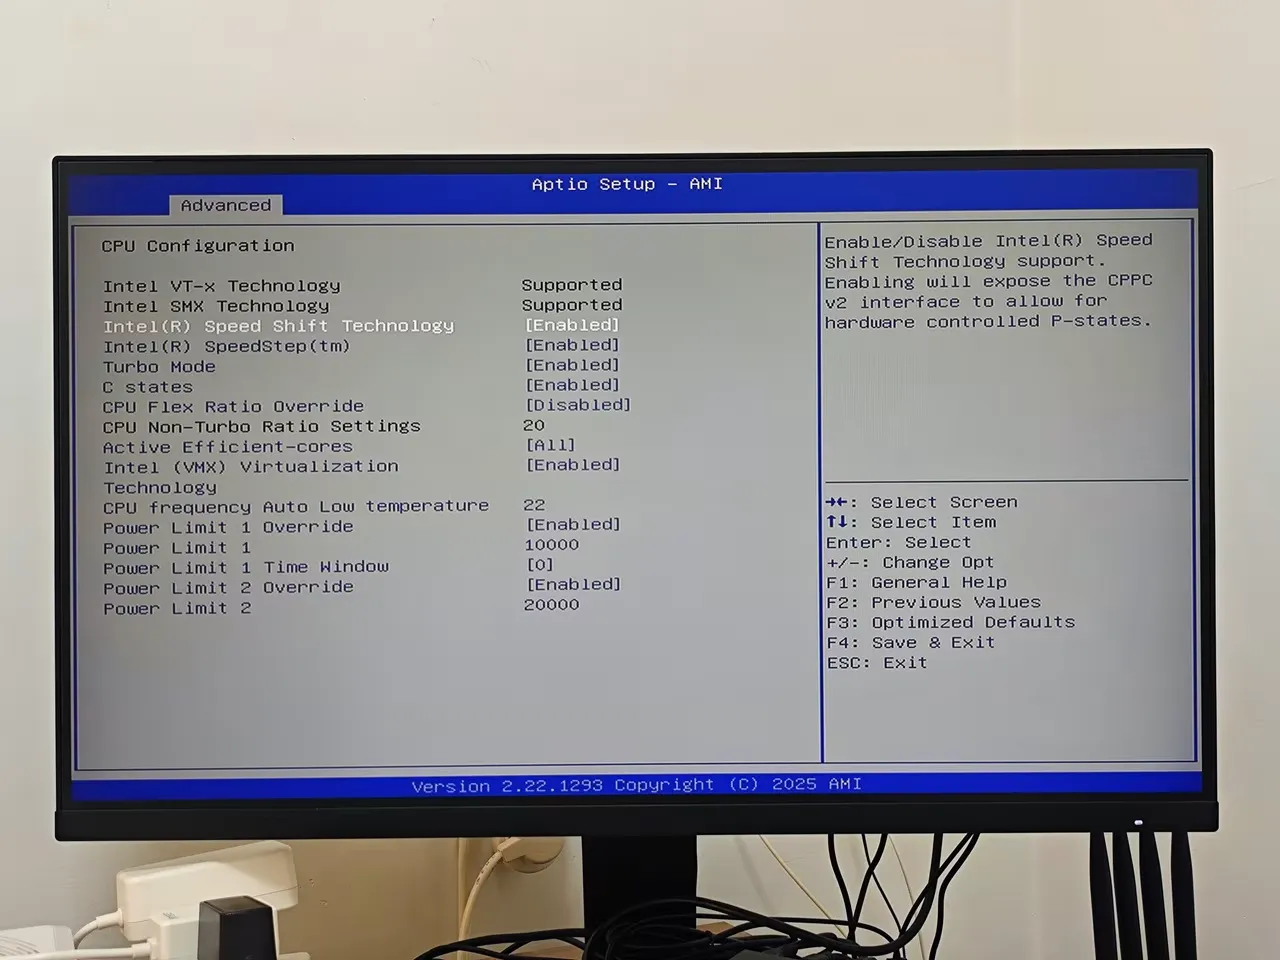
- Navigate to the Advanced tab -> CPU Configuration.
- Look for Power Limit 1 (PL1) and Power Limit 2 (PL2) settings.
- Adjust PL1 and PL2 Settings, this control sustained and burst power limits respectively.
- Set both PL1 and PL2 to values that correspond to 15W. You may need to convert watts to amperage depending on the BIOS interface.
- Save and exit.
- Press F10 to save changes and reboot
Why it’s needed and what are the benefits
1. Boost Performance
- Increasing TDP setting allows the CPU to draw more power, which can enable higher clock speeds and better sustained performance.
- Useful for demanding tasks like video editing, gaming, or running virtual machines.
🌡️ 2. Improve Thermal Management
- Lowering TDP can also reduce heat output, which is helpful in thermally constrained environments like fanless enclosures or compact embedded systems.
- Helps maintain cooler operation and may extend hardware lifespan.
🔋 3. Optimize Power Efficiency
- Reducing TDP is beneficial for battery-powered devices or energy-sensitive applications.
- Ideal for mobile robots, IoT deployments, or solar-powered setups where every watt counts.
🧪 4. Experimentation and Customization
- Developers and enthusiasts might tweak TDP to test system limits or optimize for specific workloads.
- Useful in benchmarking, overclocking, or tuning embedded systems for niche use cases.
🖥️ 5. Match System Capabilities
- Some systems have limited cooling or power delivery—adjusting TDP ensures the CPU stays within safe operational limits.
- Prevents thermal throttling or instability in underpowered setups.
Explaining the settings
| Settings | Default values | Information |
|---|---|---|
| CPU frequency auto low temperature | 22 | The CPU frequency adjusts automatically depending on temperature. When temperatures are low (like 22°C), the BIOS might permit higher frequencies or keep them lower to save power. |
| Power limit 1 override | Enabled | |
| Power limit 1 | 10000 | This is the long-duration power limit, defining how much power (in watts) the CPU can use sustained over time. Override Enabled: You’re manually setting this value rather than letting the board or CPU decide. 1000: This is extremely high—most CPUs operate in the 65W–250W range. A value of 1000W is likely a misconfiguration or placeholder. If applied, it could cause overheating or instability unless you have extreme cooling. |
| power limit 1 time window | 0 | This defines how long the CPU is allowed to operate at PL1 before adjusting. Value of 0: Often interpreted as “infinite” or “disabled,” meaning the CPU can stay at PL1 indefinitely. Combined with a high PL1 value, this could lead to thermal throttling or damage if cooling isn’t sufficient. |
| power limit 2 override | Enabled | This is the short-duration power limit, allowing the CPU to briefly exceed PL1 for performance bursts (e.g., turbo boost). |
| power limit 2 | 20000 | 2000 is extremely high and likely unrealistic. Typical PL2 values range from 100W to 300W depending on the CPU. A value of 20000 mW could cause immediate thermal issues or be ignored by the system. |
Recommendations
- The default BIOS settings on the board have aggressive power configurations, which may not be safe or efficient. It’s recommended to lower these values to a safer range between 65W–250W.
- If you’re aiming for performance tuning:
- Double-check your CPU’s TDP and safe power limits.
- Ensure your cooling solution is adequate.
- You might consider choosing more moderate settings, like PL1 at 125W, PL2 at 250W, and a 28-second time window, which are recommended for Intel CPUs.
If you decide to change the current default values, do so at your own risk, as you might damage the board.
What temperatures should you expect?
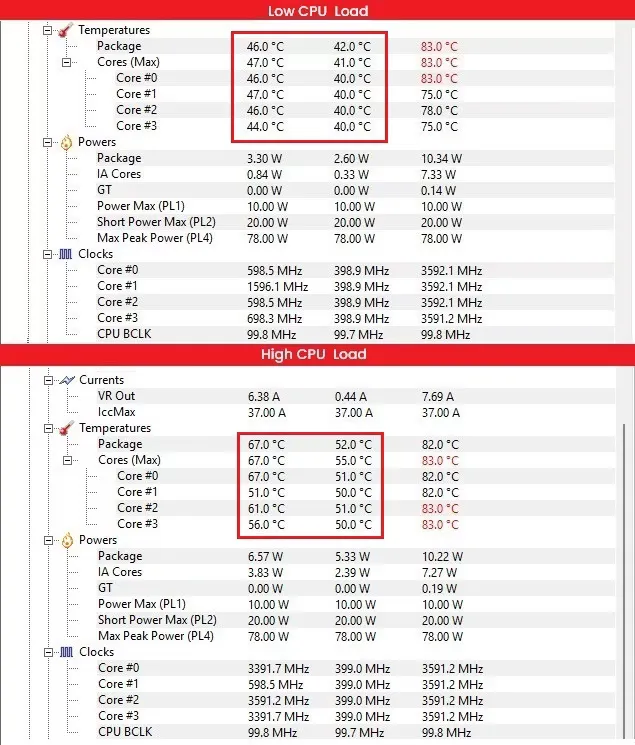
Due to its small board size, it tends to heat up considerably, though it remains within the expected range. At this point, the active heatsink activates to maintain safe temperatures. We tested the board in an ambient temperature of 27°C, with the board not assembled inside a closed case. In normal idle mode, without any demanding apps overloading the CPU cores, temperatures were around 44°C or higher. During more intensive tasks, when all CPU cores are running at higher peak frequency, temperatures can easily exceed 70°C but stay below the peak threshold of approximately 83°C, which is reasonable.
Checking temperatures with CPUID HWMonitor


When you installed the IOTA Active Cooler, was there a gap between the CPU and the cooler? Mine seems to have an air gap that can’t be overcome with thermal paste.
Maybe, but I can’t say for sure. The thermal paste should help, even if there is a very small gap.
If you’re really annoyed with the gap, you can always try adding a thermal pad. What you should focus on is checking the temperatures to see if they are stable. If they are stable and reasonable in range, then everything is working as it should.