
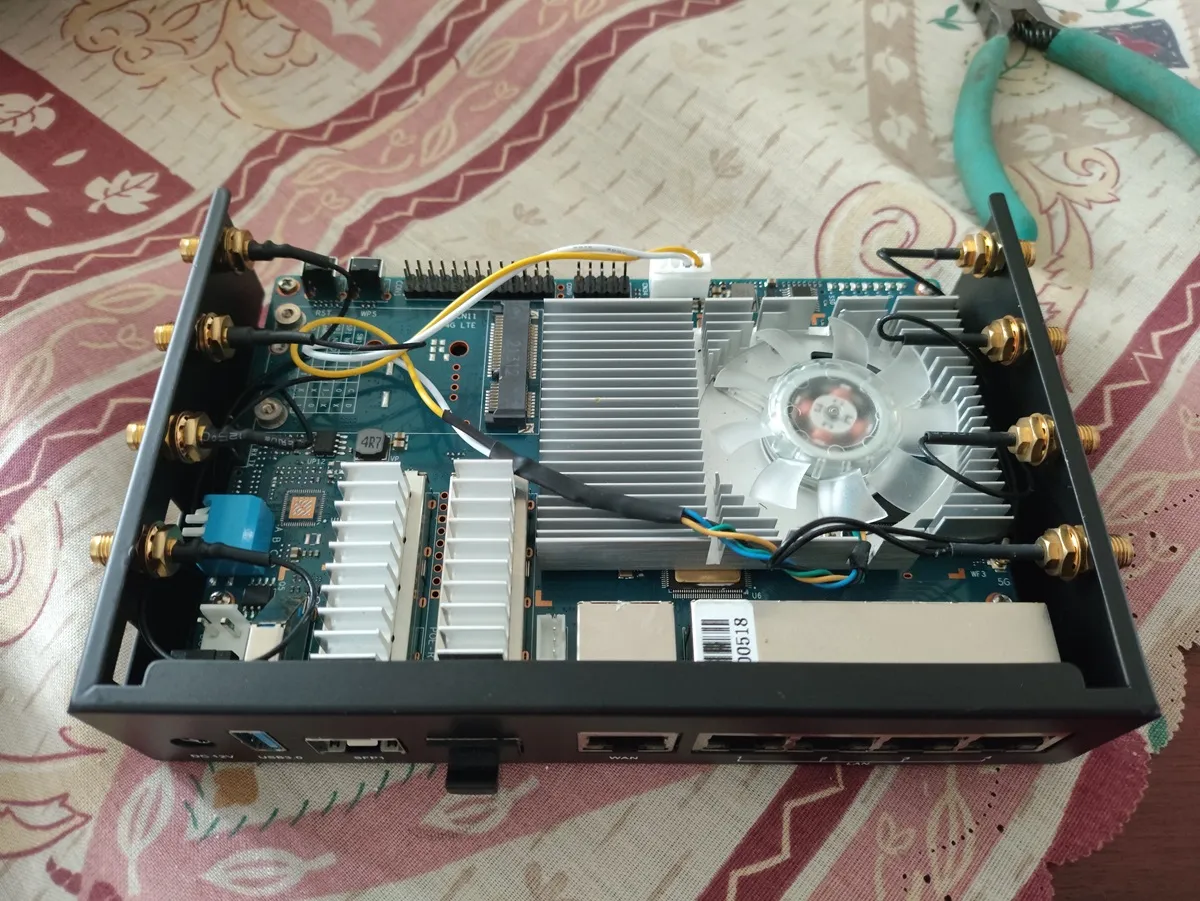
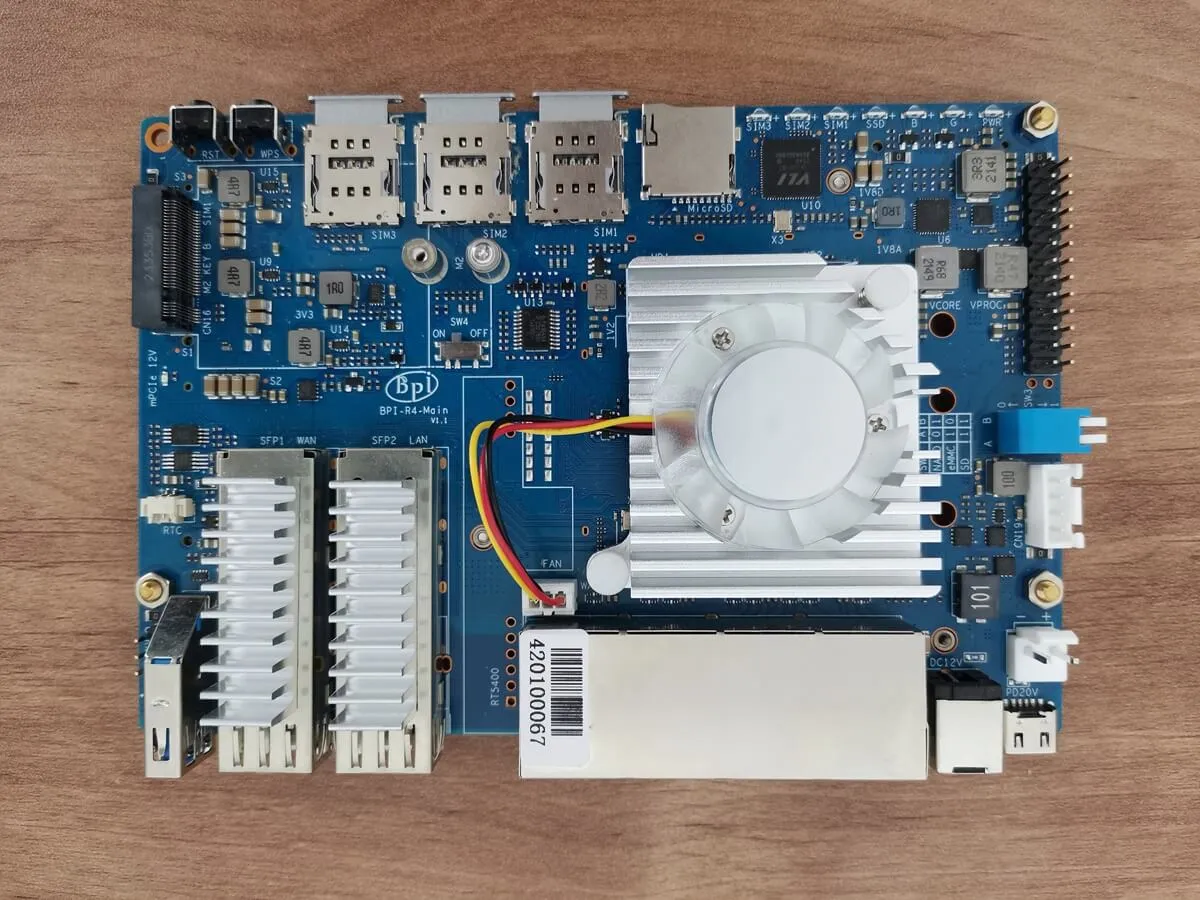
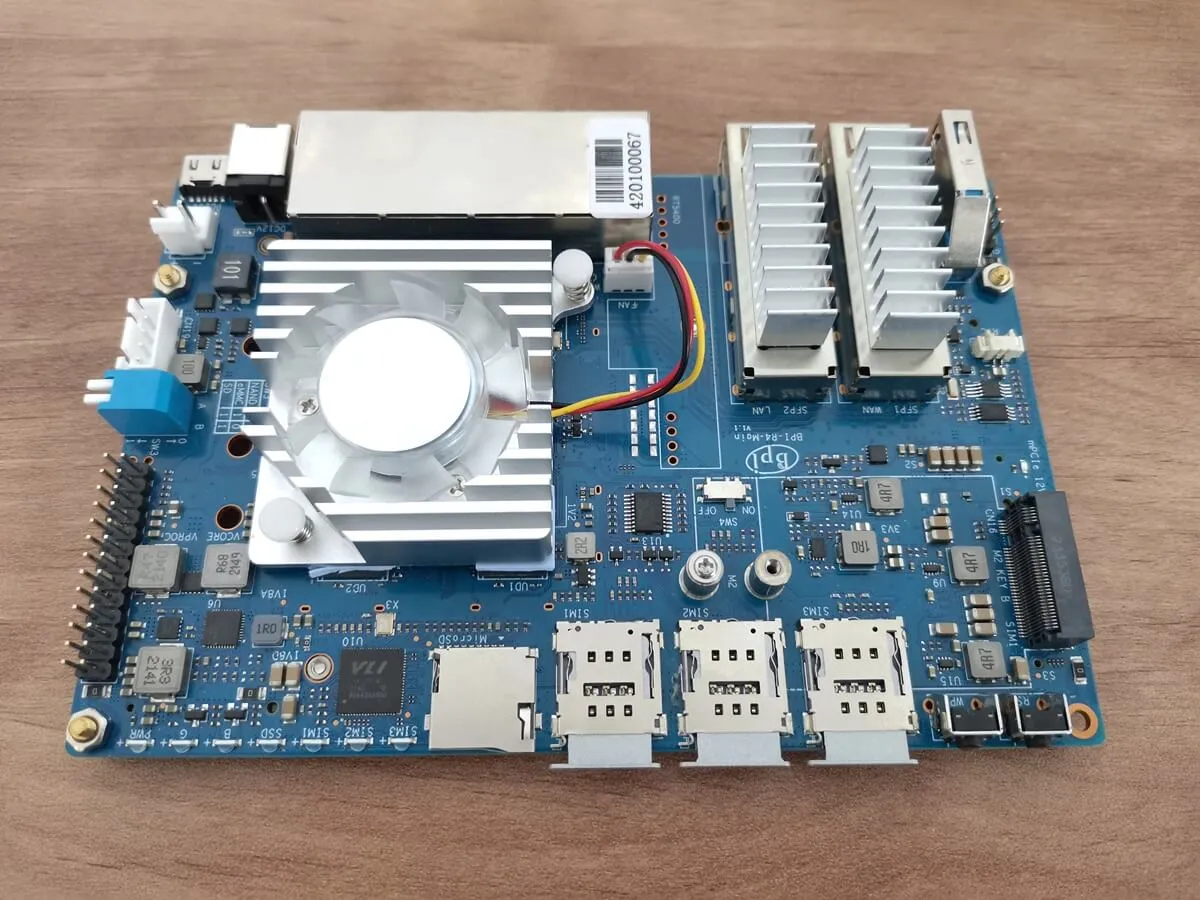
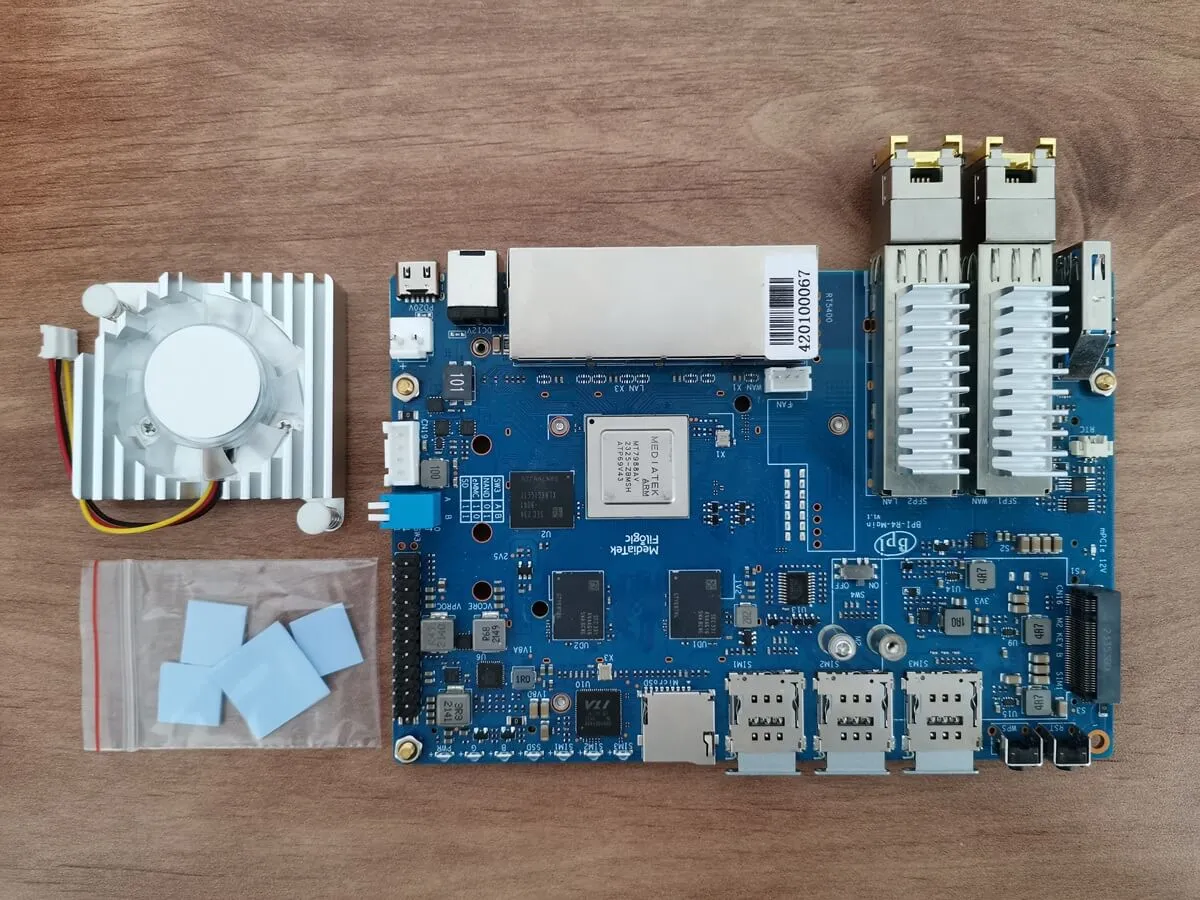
The process of installing a heat sink
Heat sink dimensions
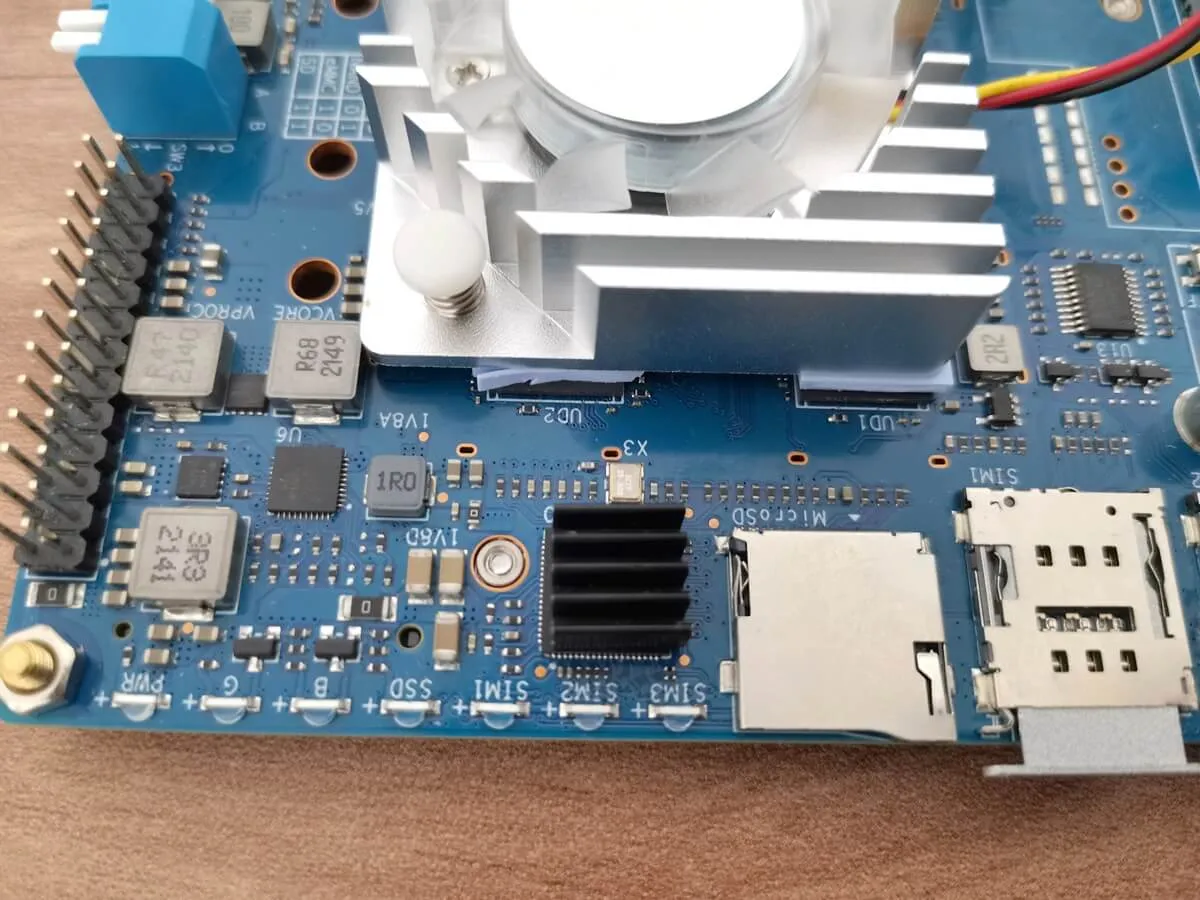
To create a heat sink for your R4 board, you have the freedom to design and customize it yourself. Just make sure that it meets the minimum dimensions of 40 x 46 mm to effectively cover and cool most of the chips. The height of the required heat sink will depend on the measurements of your case. However, for the VLI VL822-Q7 Hub Controller chip next to the Micro SD Card slot, you will need to use a separate 9×9 mm heat sink.
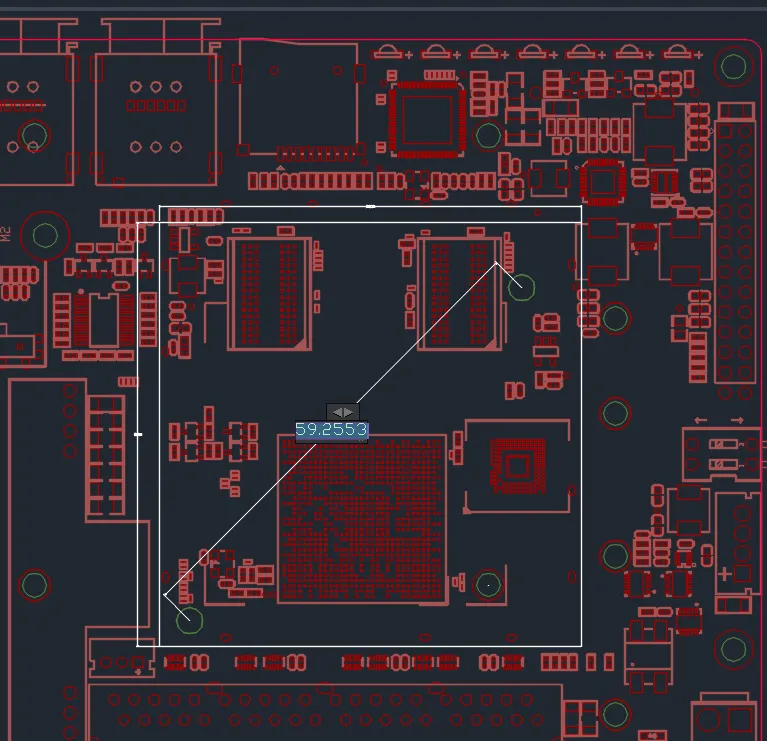
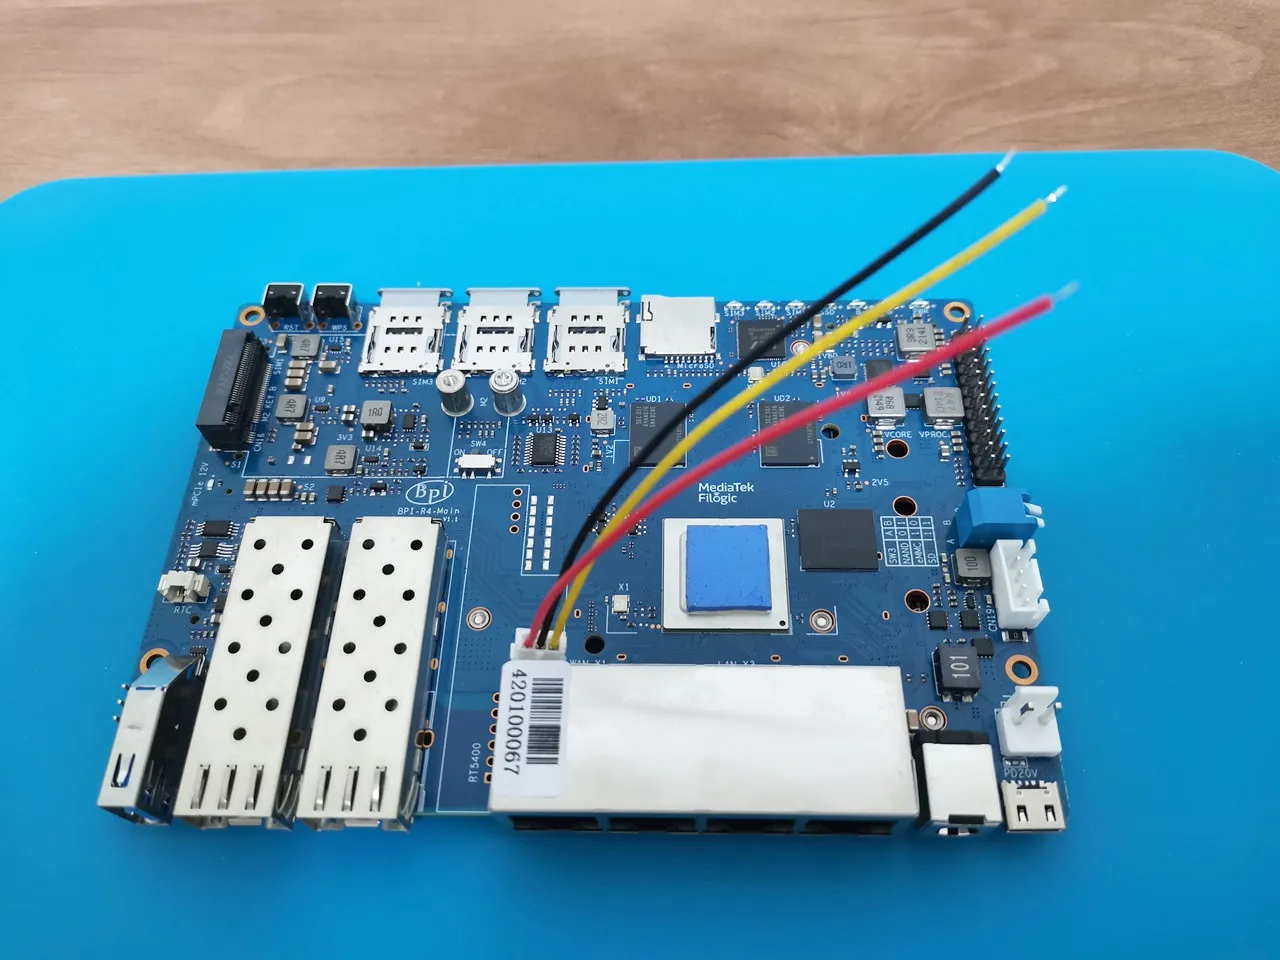
The R4 board is designed with two strategically located mounting holes spaced 59 mm apart, ensuring a perfect fit for an optimized heat sink. By choosing a passive type without a fan, the hassle of using a 5V power plug is completely eliminated. However, should you require Pulse-width modulation (PWM) functionality, you can easily find a compatible fan with three wires and connect it effortlessly using a convenient pre-made JST PH 2.0 3 Pins connector plus wires.
Distance between the Heat sink mounting holes
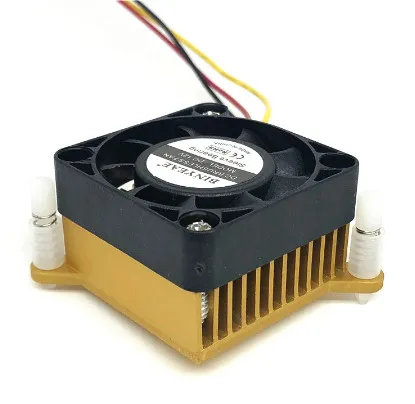
Purchasing an Active Heat sink
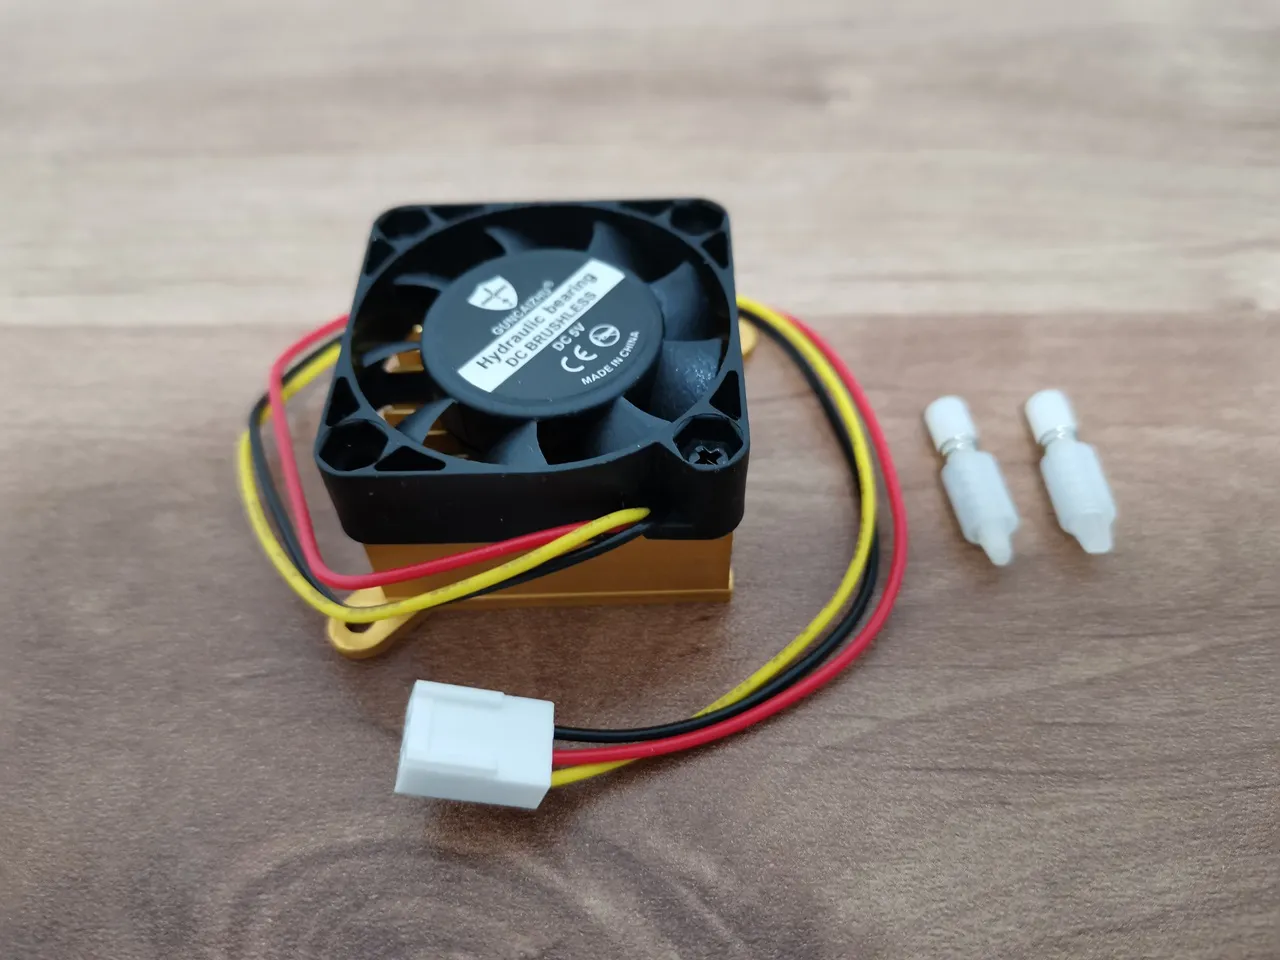
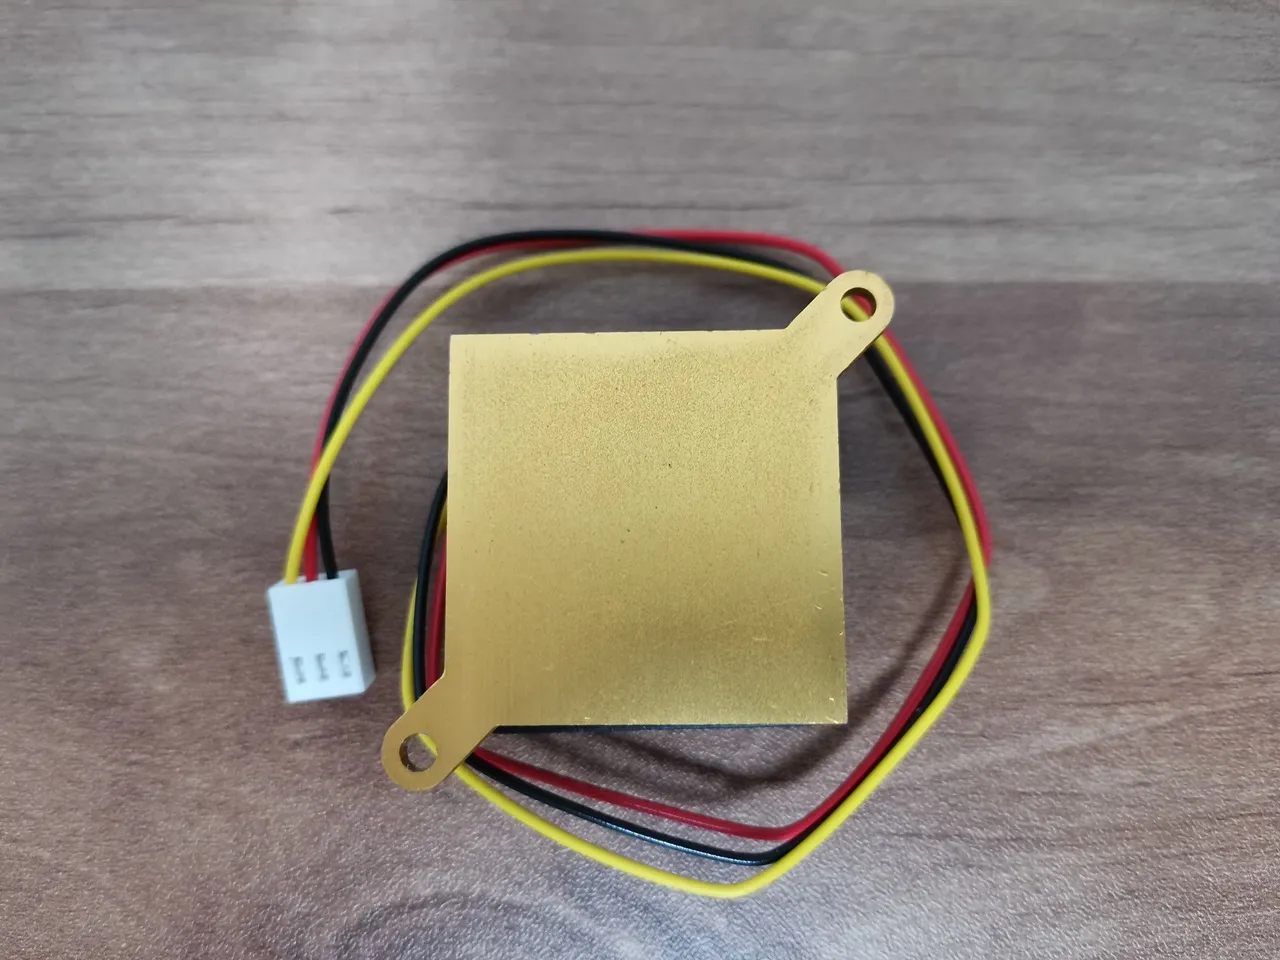
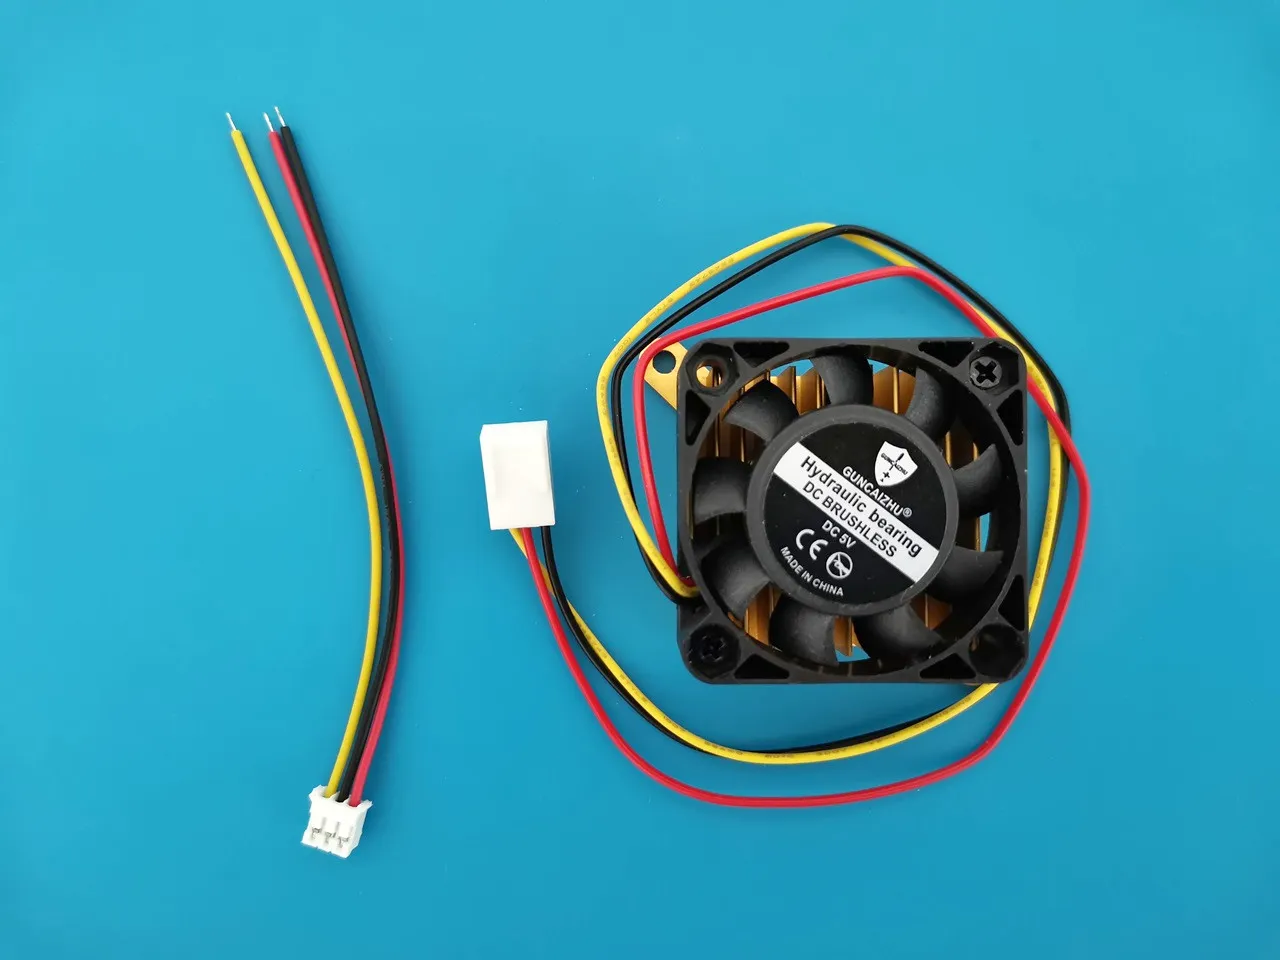
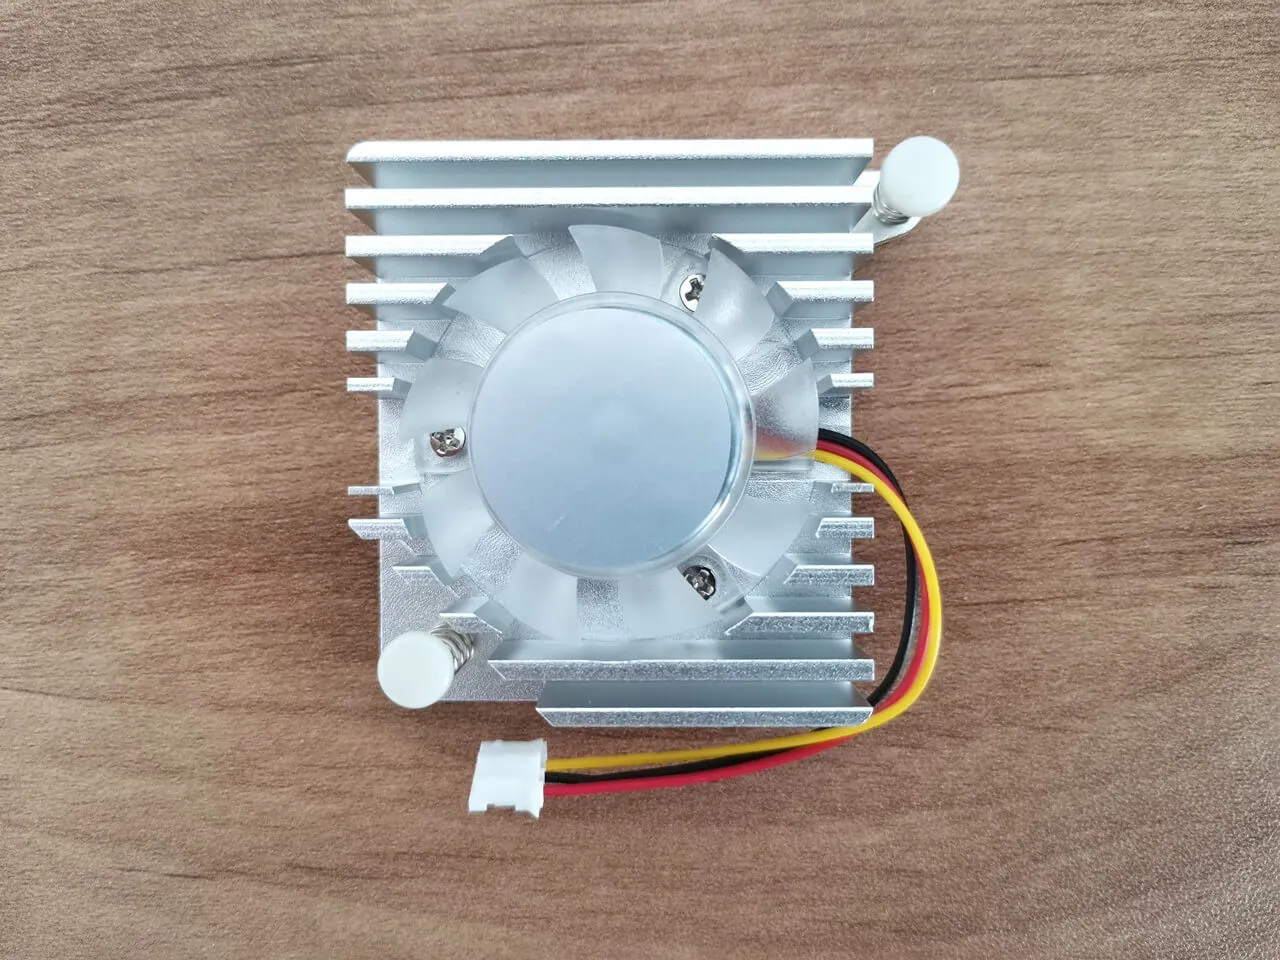
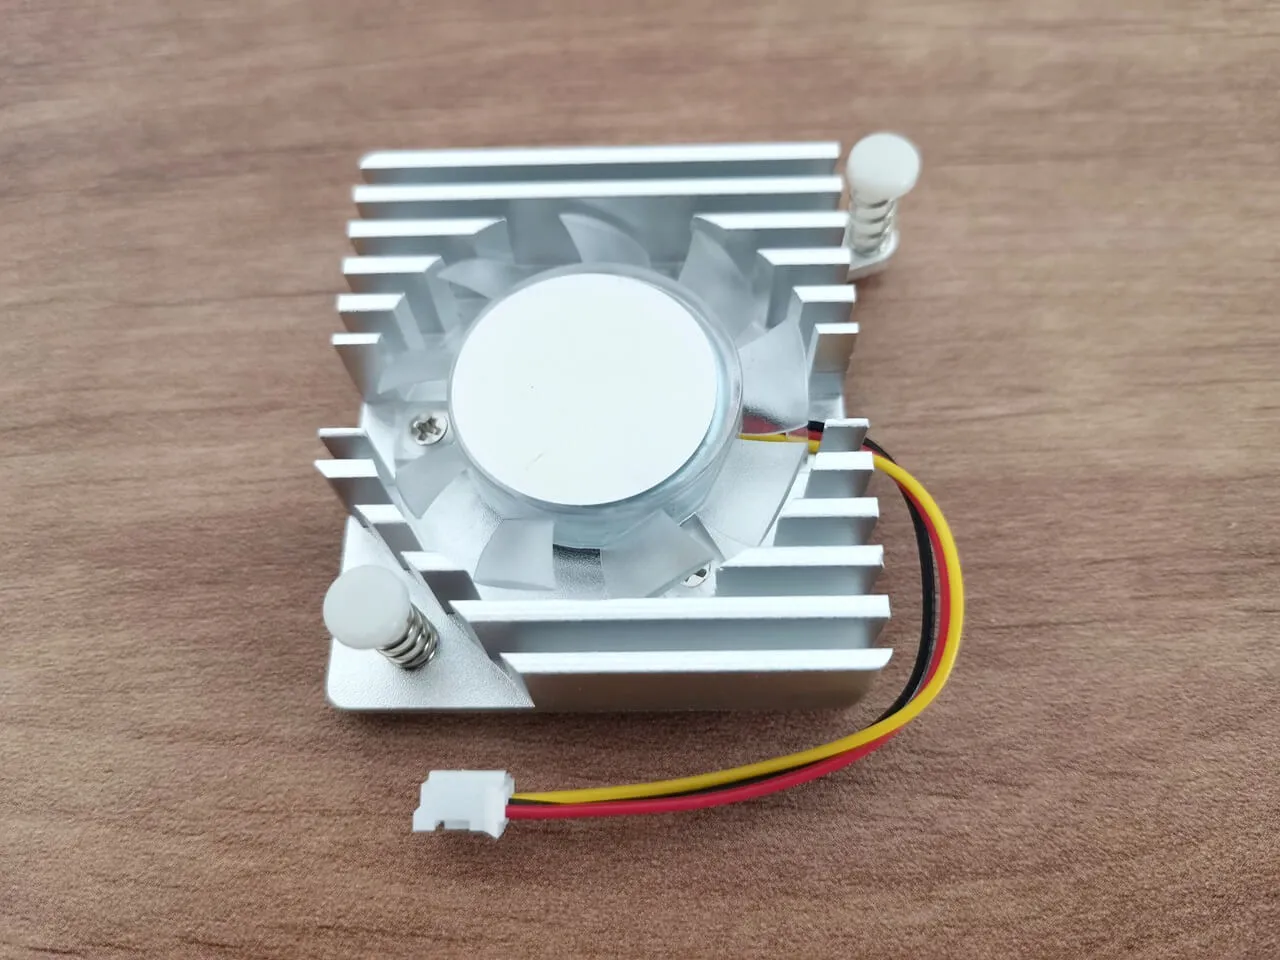
For those who desire a personalized active heat sink, the following measures 40x40x10mm and will only provide partial cover for the RAM and eMMC chips. Alternatively, it is possible to detach the fan and install it onto an alternative heat sink which fits better. For guidance with the wiring, check the Fan wiring section which provides the correct color wiring arrangement for the connector.
Product Photo | QTY | Product description | Purchasing link |
 Active heat sink | 1 | Dimensions: 40x40x10 mm Bearing type: | |
This site contains affiliate links to products. We may receive a commission for purchases made through these links. | |||
Replacing the active heat sink connector
The original Molex KF2510 (3-pin) connector has been swapped with a new XH2.54-3PIN connector for a better fit with the R4 board. This was done by cautiously cutting the connector and joining the wires to pre-prepared wires that already have the connector attached.
Alternatively, it is possible to replace only the connector by using a crimp tool, eliminating the need to cut any wires. However, this procedure may prove to be quite challenging and time-consuming for inexperienced tech enthusiasts.
Ensuring proper cooling for the SFP+ cages
By incorporating heat sinks with adhesive stickers measuring 10x35x10mm, we have successfully found a practical solution for dissipating heat from the SFP+ cage. These heat sinks are specifically designed to be compatible with R3 and R4 cases, giving you an efficient means of managing heat release. Made from aluminum, these heat sinks possess excellent thermal conductivity, effectively extracting heat away from the SFP+ cage. Additionally, if desired, copper heat sinks are also a good option.
Banana Pi R3
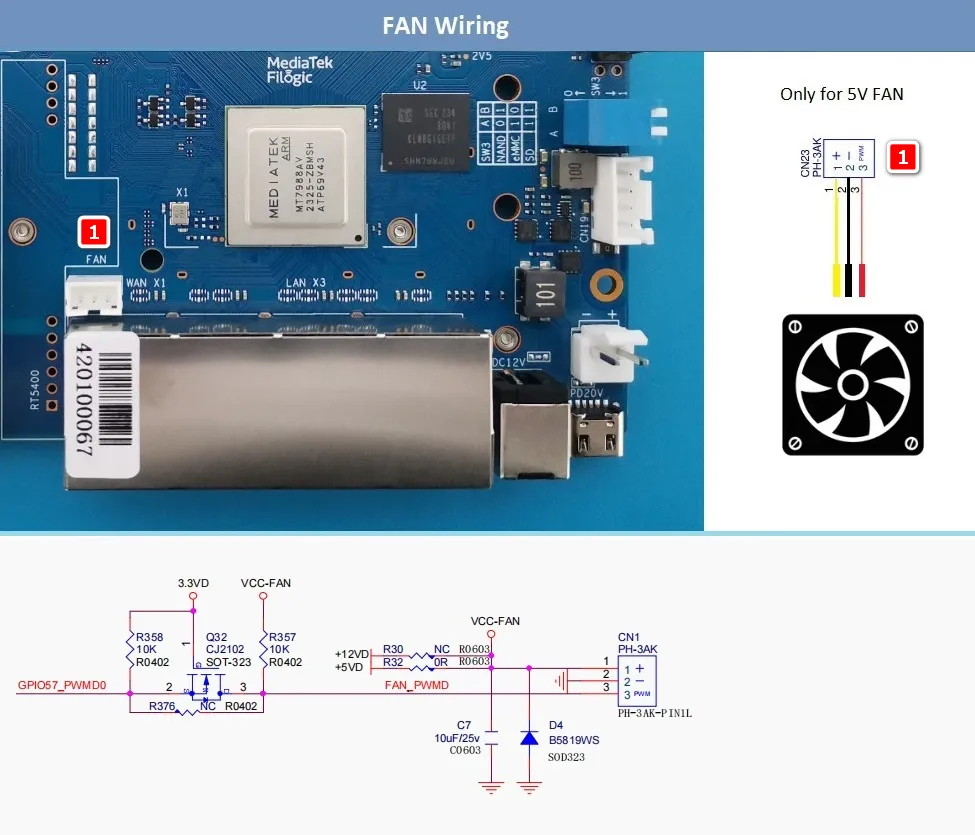
FAN Wiring
| Pin No. | Color | Function |
| 1 | Yellow | Speed pulse signal |
| 2 | Black | GND |
| 3 | Red | 5V |
Wait, there is a simpler method.
If you don’t want to have extra time dealing with customizing a heat sink, you have the option to purchase one from one of the Banana Pi agents available on AliExpress. This heat sink fits perfectly, securely covering the majority of the chips. Its affordable price of approximately $4.00 makes it even more appealing.
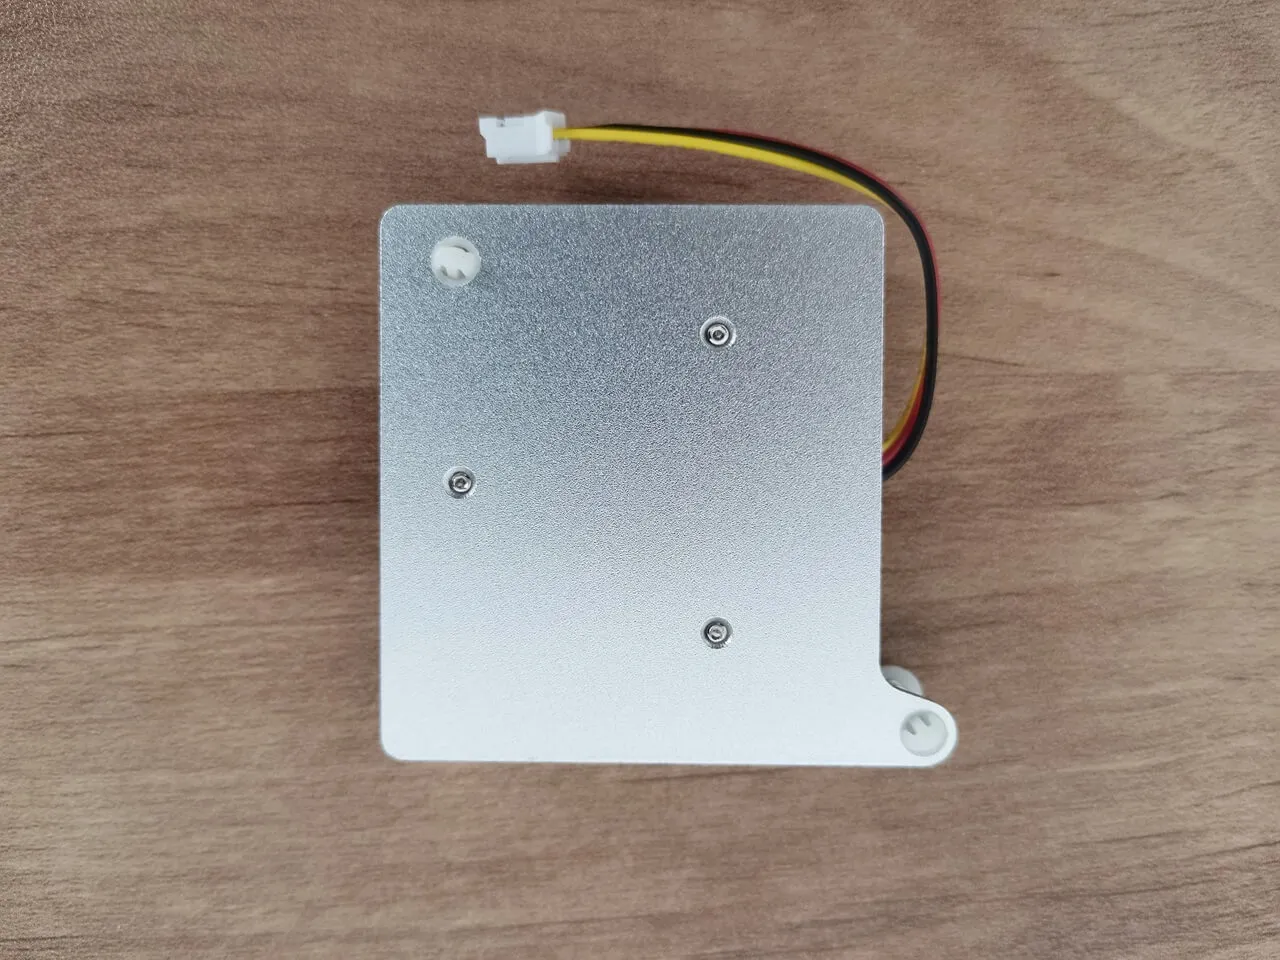
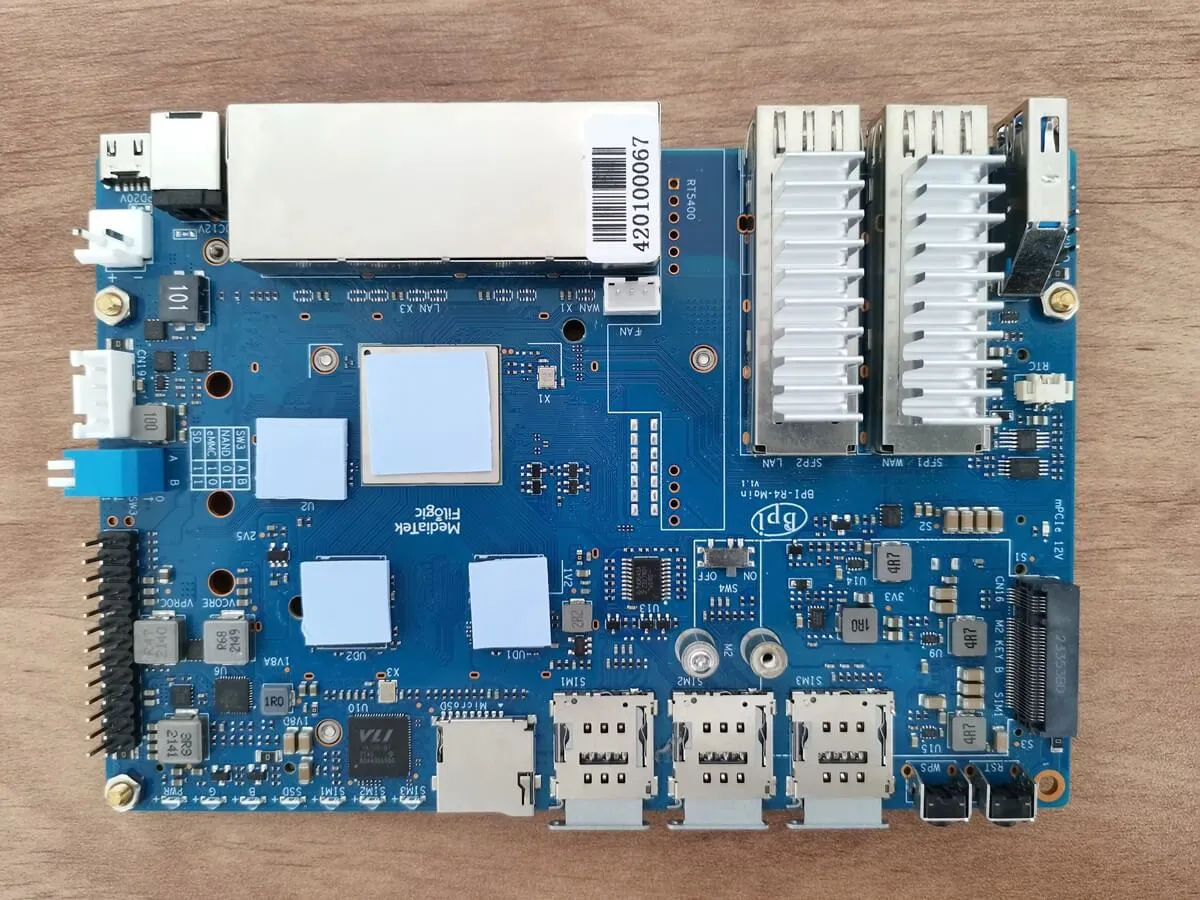
The active heat sink package includes four thermal pads that are placed on top of the R4 board’s main chips. For mounting it to the R4 there are also two plastic studs which are inserted to the board holes.
You may want to consider replacing the plastic studs with a pair of screws and nuts for a more secure hold, which can contribute to enhancing thermal convection.


Good Job
Thanks
That’s the most in-depth review I’ve seen of the BPI-R4. However, the benchmark and Wi-Fi testing sections are noticeably missing. Any reason why?
Thanks. Probably at that time I didn’t have the extra patience to wait until they fixed the bugs/problems. Hopefully a few months have passed and it should be fine now.