
Here’s a guide on how to set up a 6-bay NAS rack for 2.5-inch HDD/SSDs using the Banana Pi R4 Board!
Step-by-Step Guide for Installing a NAS Drive Rack (HDD 2.5″)
In this DIY project, we will utilize a 6-rack drive bay specifically designed for mounting in a PC desktop case. Instead of assembling it inside a case we will be using it externally connected to the Banana Pi R4 board. To improve design even better, you can also consider designing a comprehensive 3D printed case that can accommodate all the components.
Can you use the existing metal case for this project?
The answer is most likely no. The current case design lacks sufficient space between the PCB and the bottom of the case to accommodate additional HDD drives. The available space is extremely limited, especially for mounting six 2.5-inch drives, and particularly if one intends to install an M.2 SATA adapter, necessitating consideration for extra room for the SATA connectors. One possible solution for the metal case involves cutting a section from the bottom of the case directly below the M.2 SATA adapter to ensure there is adequate space for the cables and SATA connectors.
Performing some basic calculations:
To power our external rack, we utilized an external PSU board capable of delivering an impressive 5.5A (peak) at 5V and 14.5A (peak) at 12V. By not utilizing the Banana Pi R4 4-Pin connector, which is limited to approximately 3 Amps at maximum, we ensured that our setup could support more demanding power requirements. This allowed us to power not just a single SSD, but the entire rack with utmost efficiency and reliability.
Performing simple calculations to determine the maximum power requirements for the PSU board, in terms of watts.
- Power for 5V (Watts) = 5V × 5.5A = 27.5W
- Power for 12V (Watts) = 12V × 14.5A = 174W
Adding It All Up:
The PSU’s total wattage capacity is the sum of the individual rail wattage:
- Total PSU Capacity = 27.5 watts (5V) + 174 watts (12V) = 201.5 watts
The following is a list of components needed to construct the NAS:
Building a NAS (Items list) | |||||
Item No’ | Item Photo | Description | QTY | Price | Buy Link |
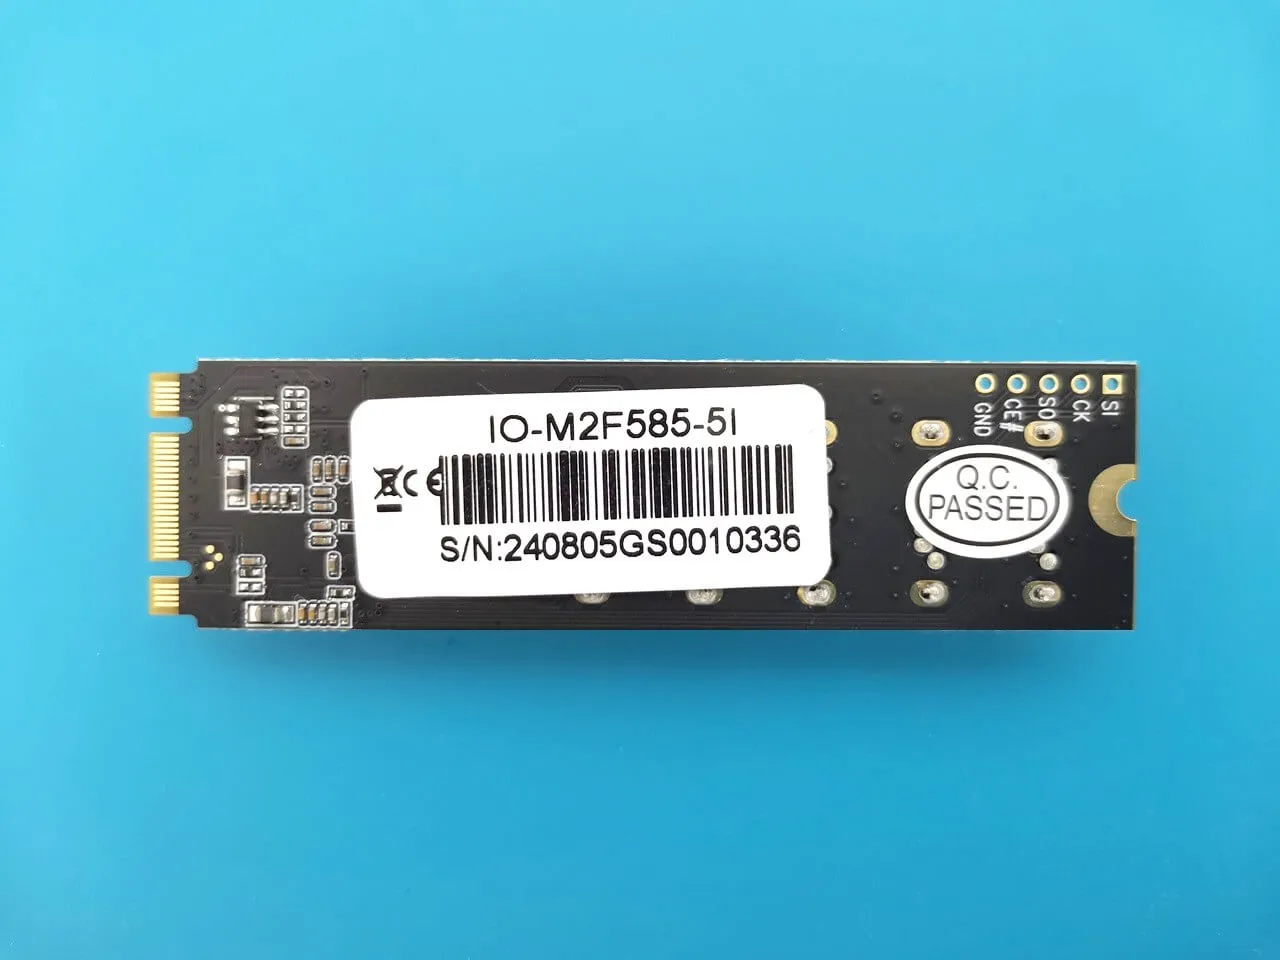
1 |  | 5-port M.2 NVME to SATA 3.0 expansion Card (B+M Key) (JMB 585) | 1 | $16 | |
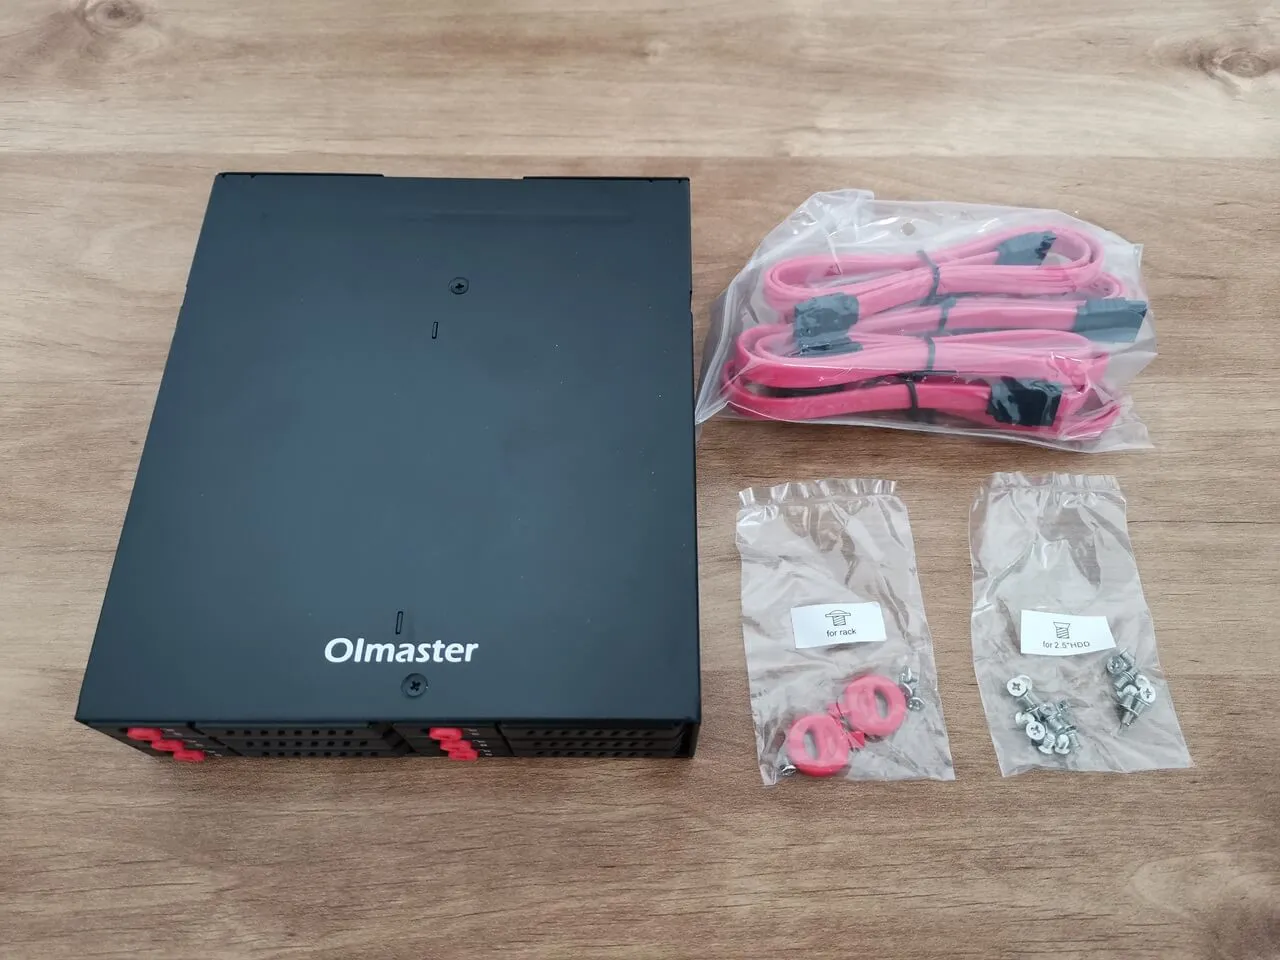
2 | 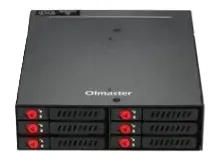 | 6 Slots Sata 2.5 Inch HD Rack | 1 | $35-40 | |
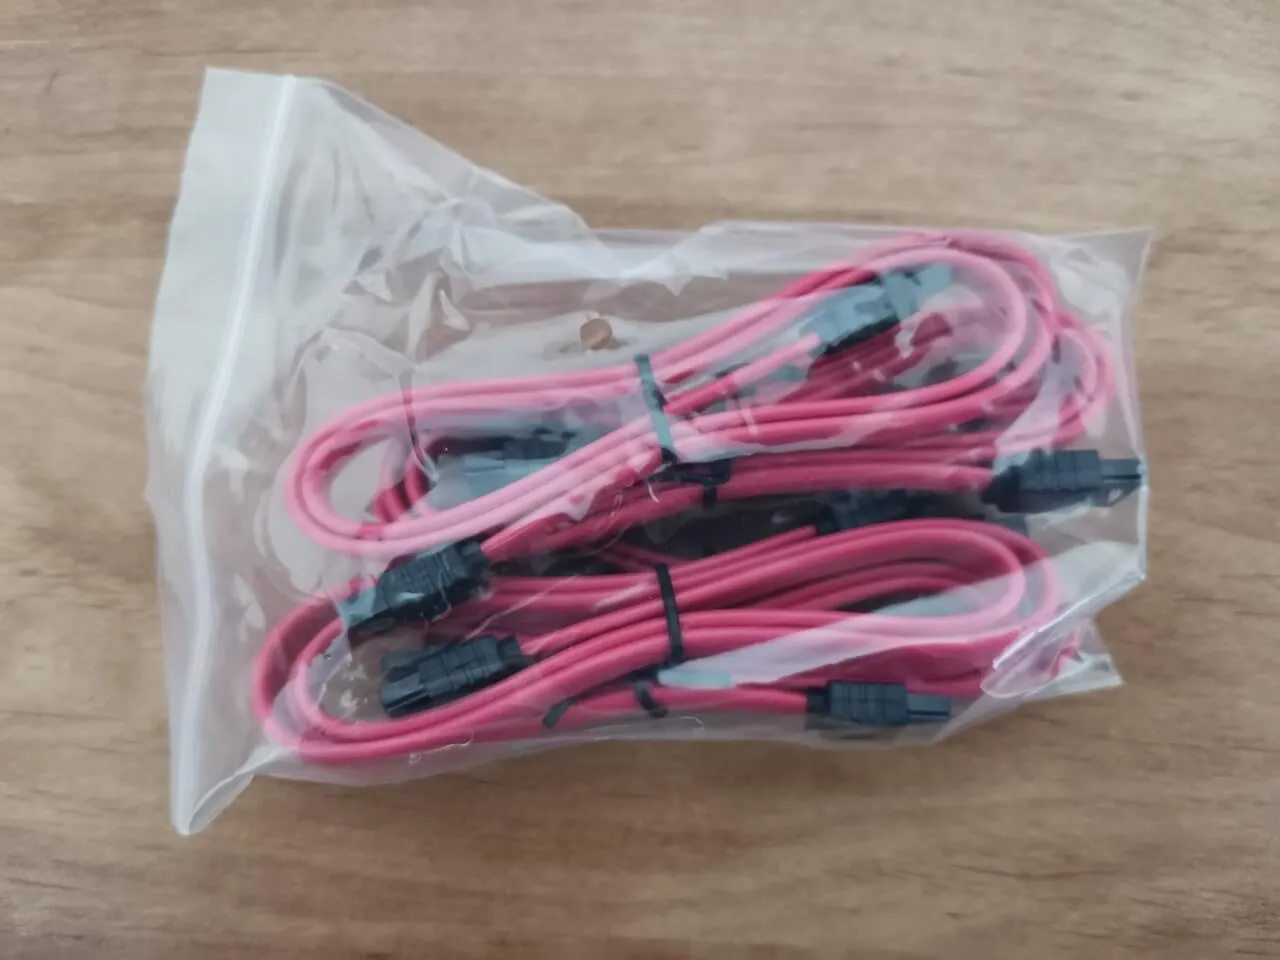
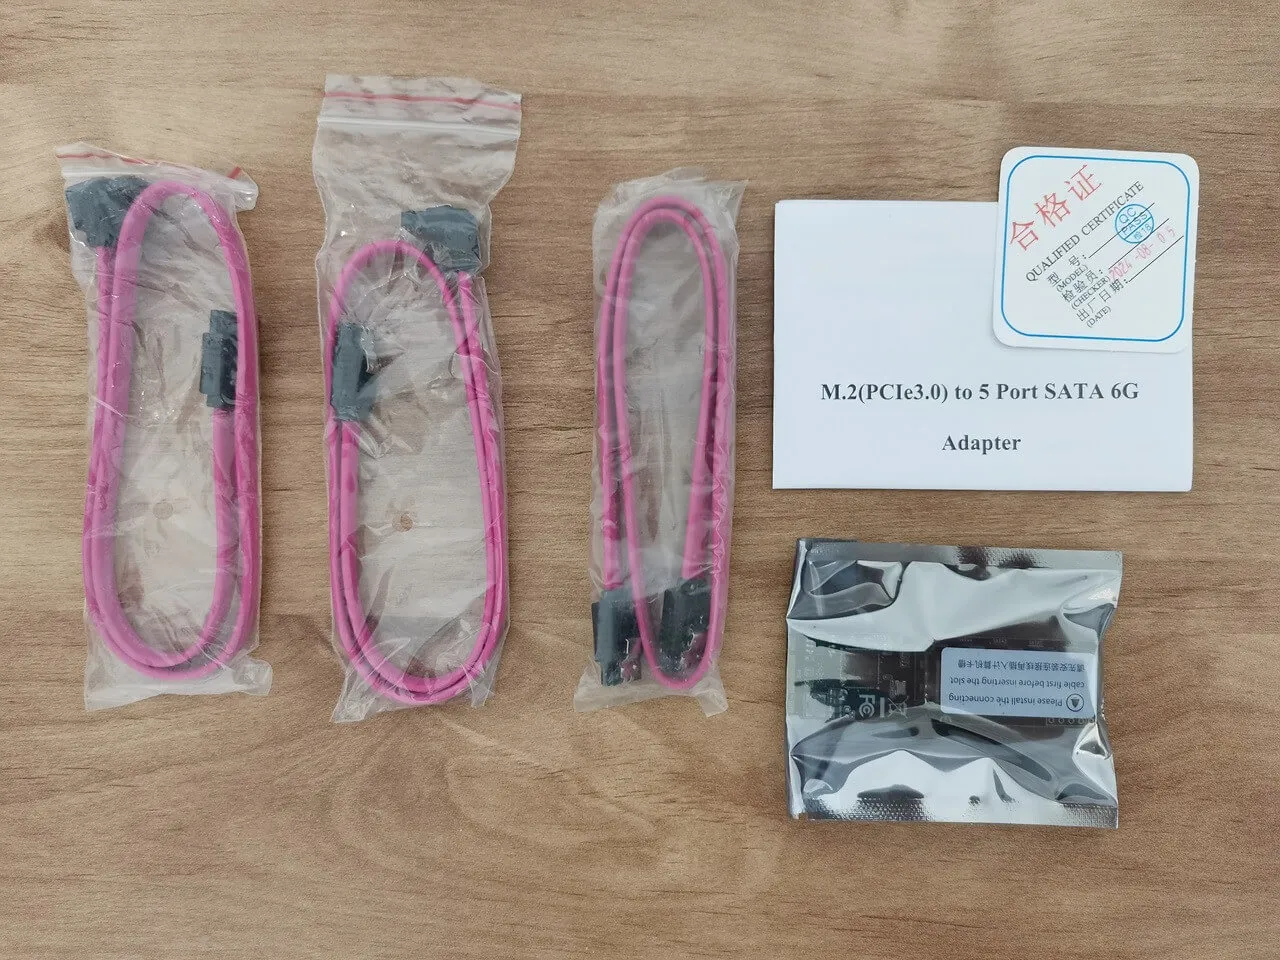
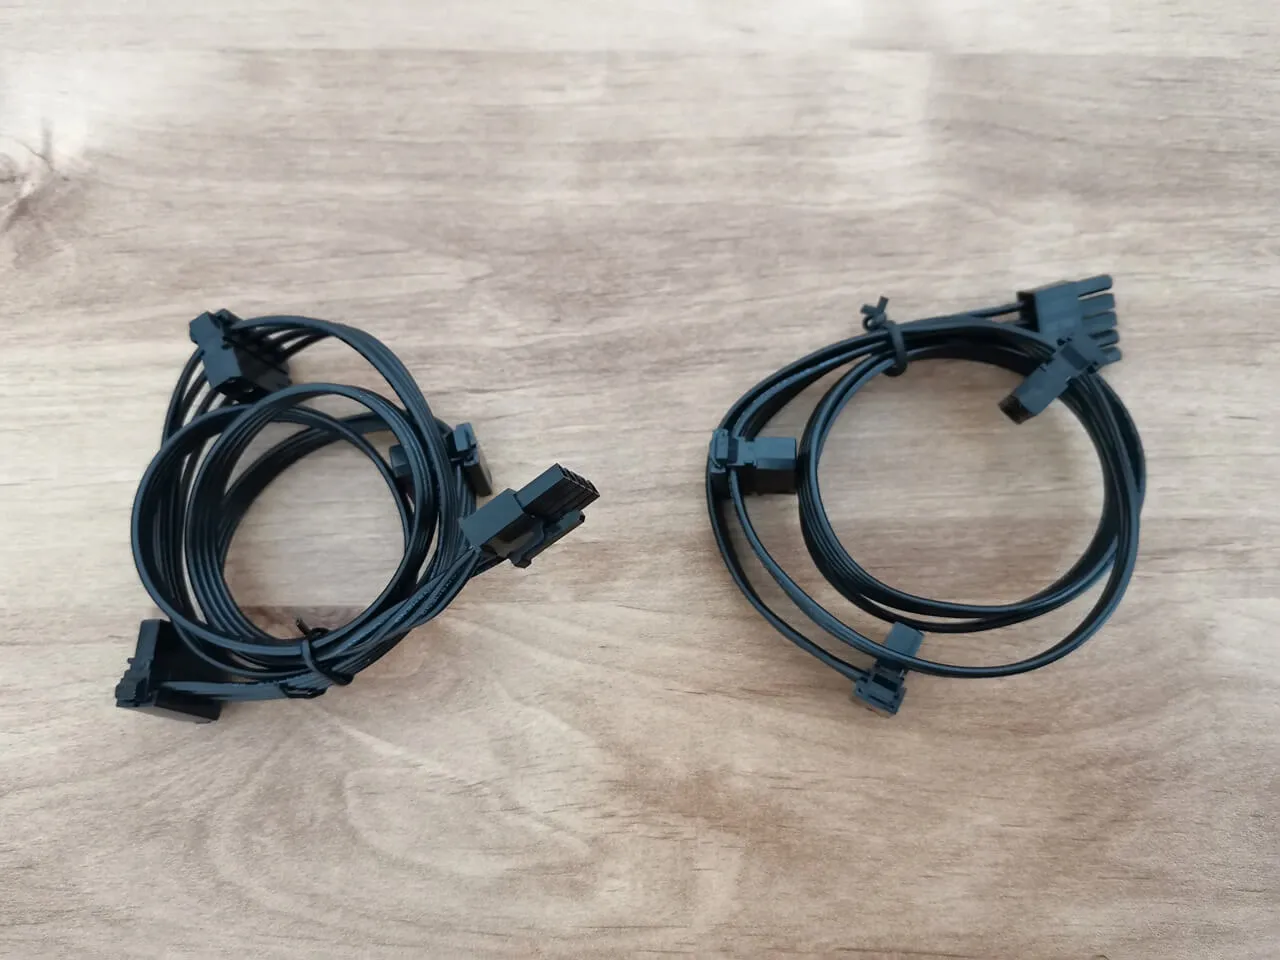
3 | 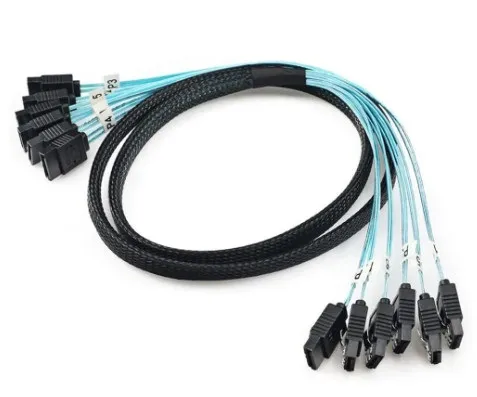 | 6 pcs set Sata Cable (0.5M)[Left Elbow to Straight] | 1 | $6 | |
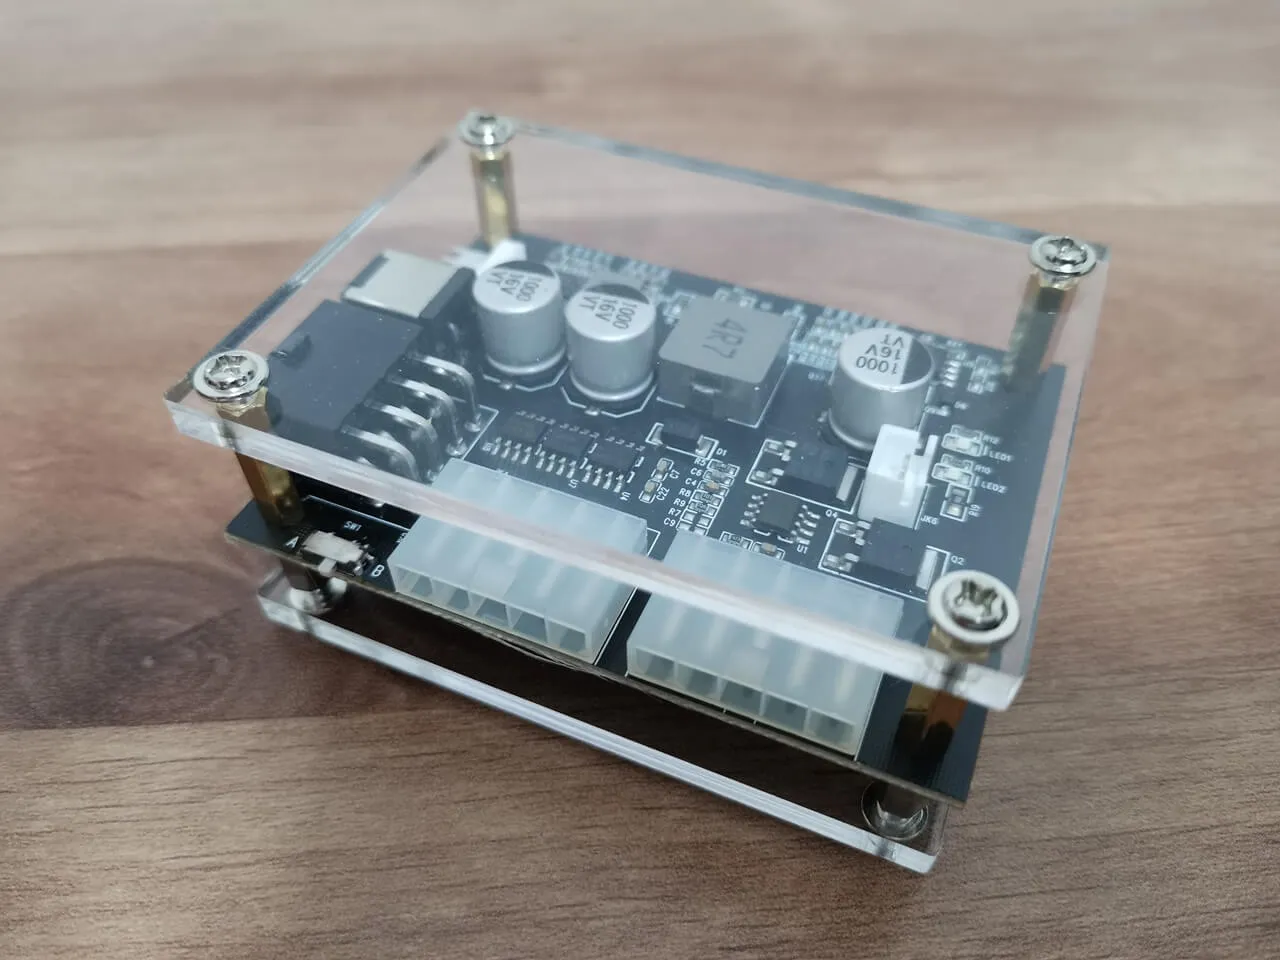
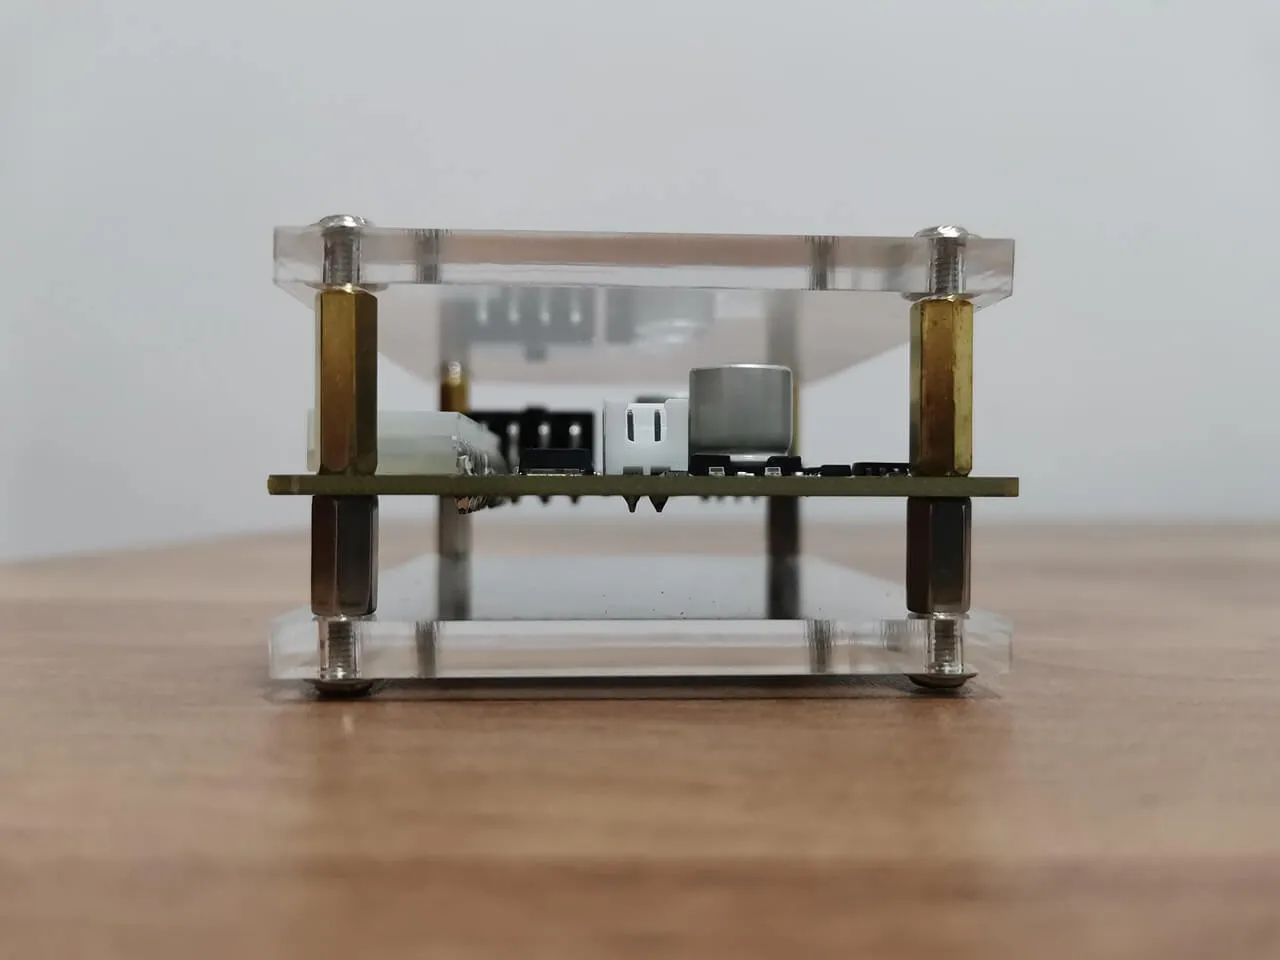
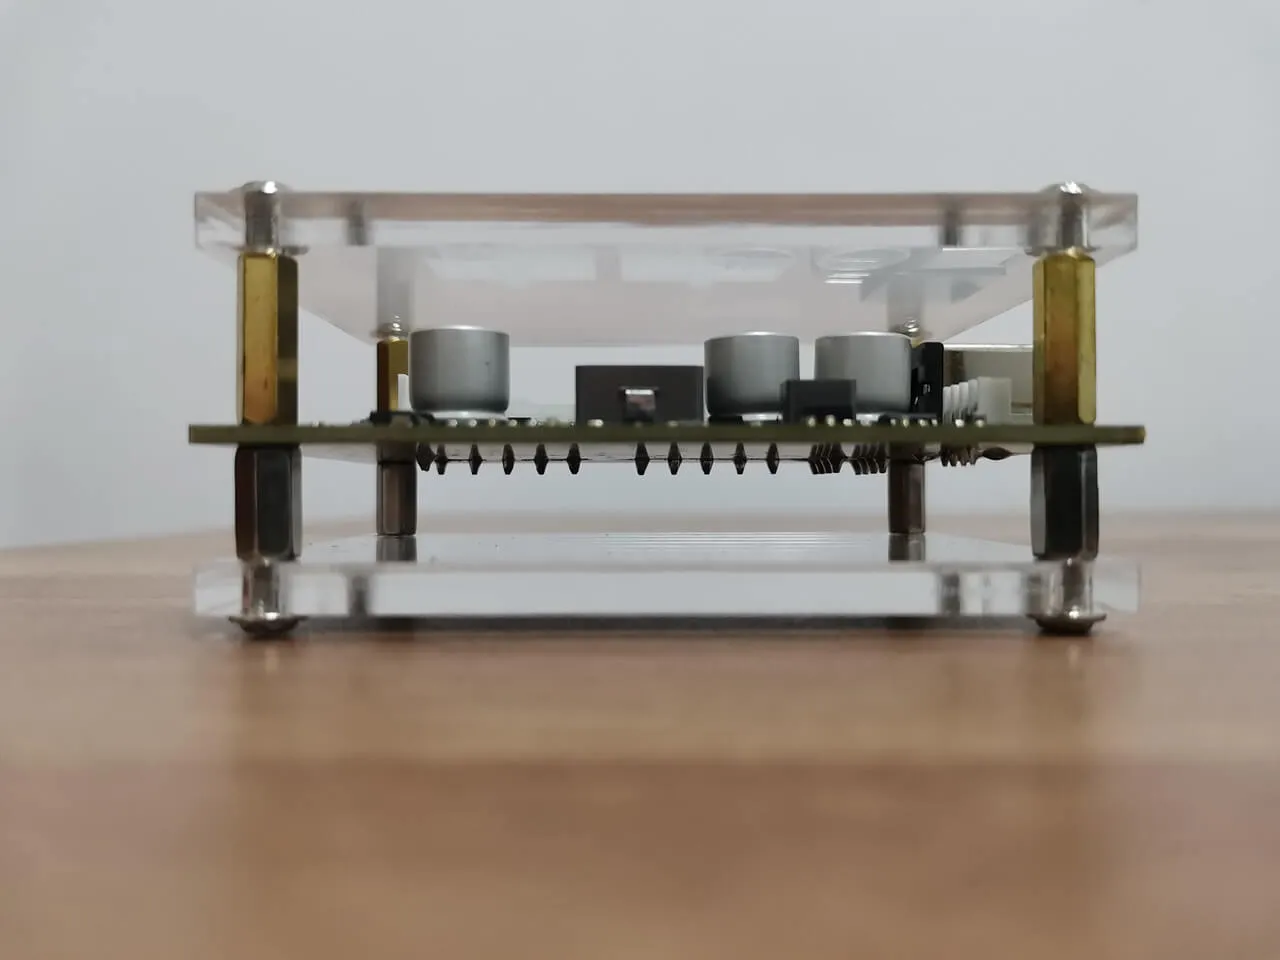
4 | 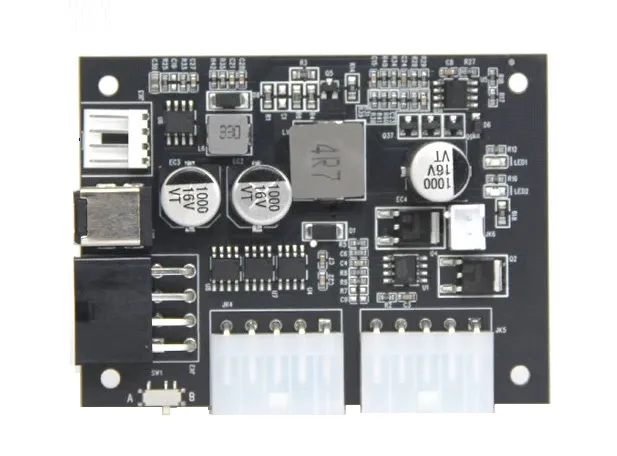 | DB8234 HDD PSU Module | 1 | $25 | |
5 |  | 5 Pin Moldex Power Supply Cable | 2 | $6.74 | |
6 | 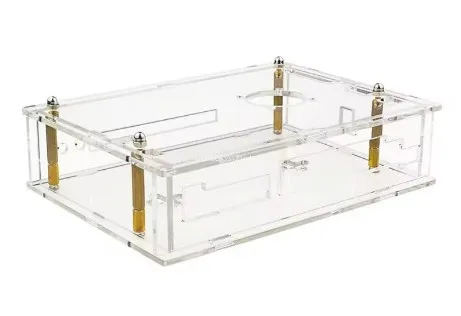 | Banana Pi R4 Acrylic Case | 1 | $6-$7 | |
AndroidPIMP.COM will not be liable or responsible for any loss or damage caused by improper wiring/assembly of the above components. | |||||
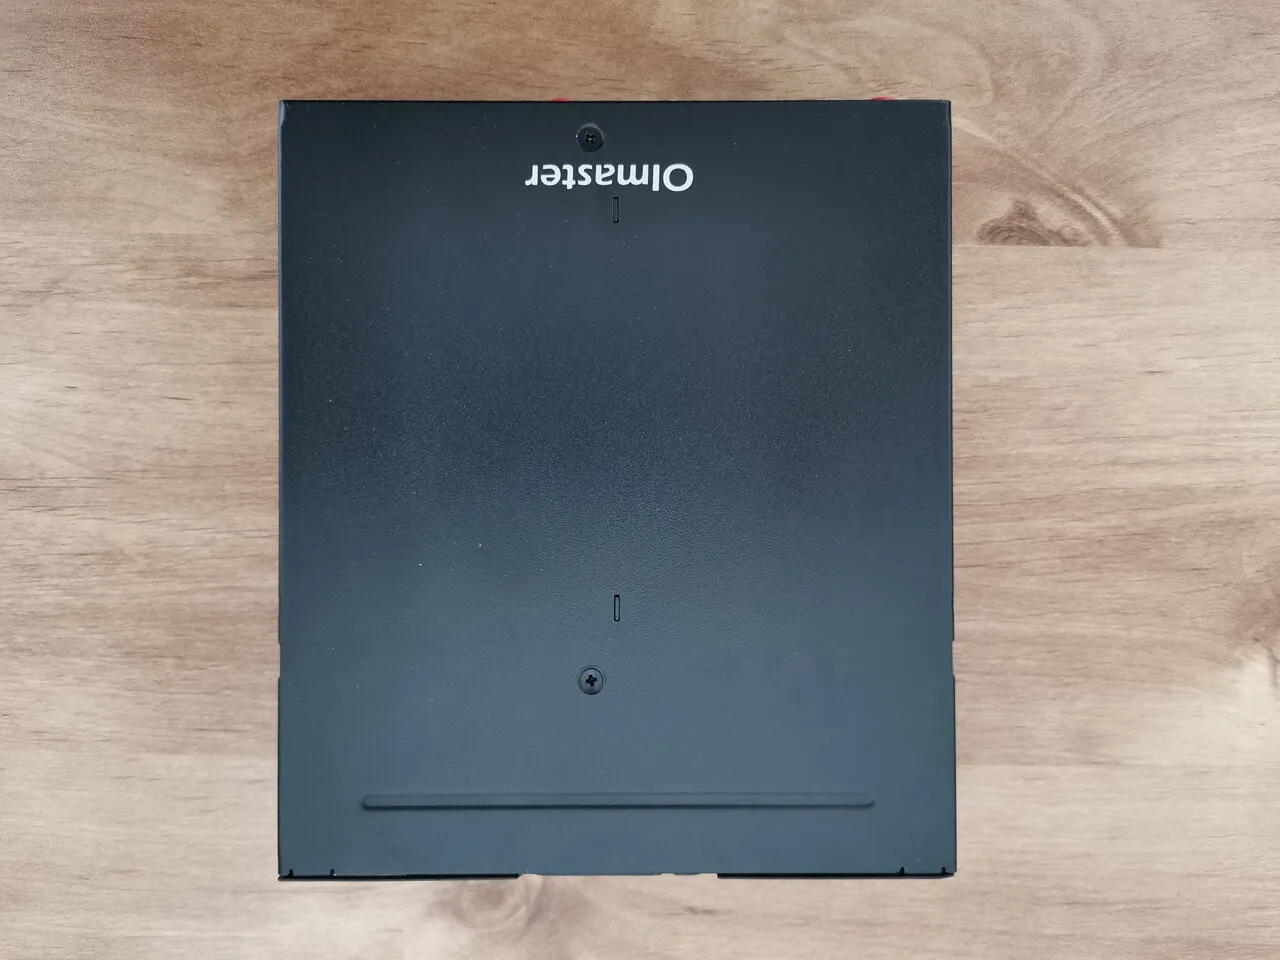
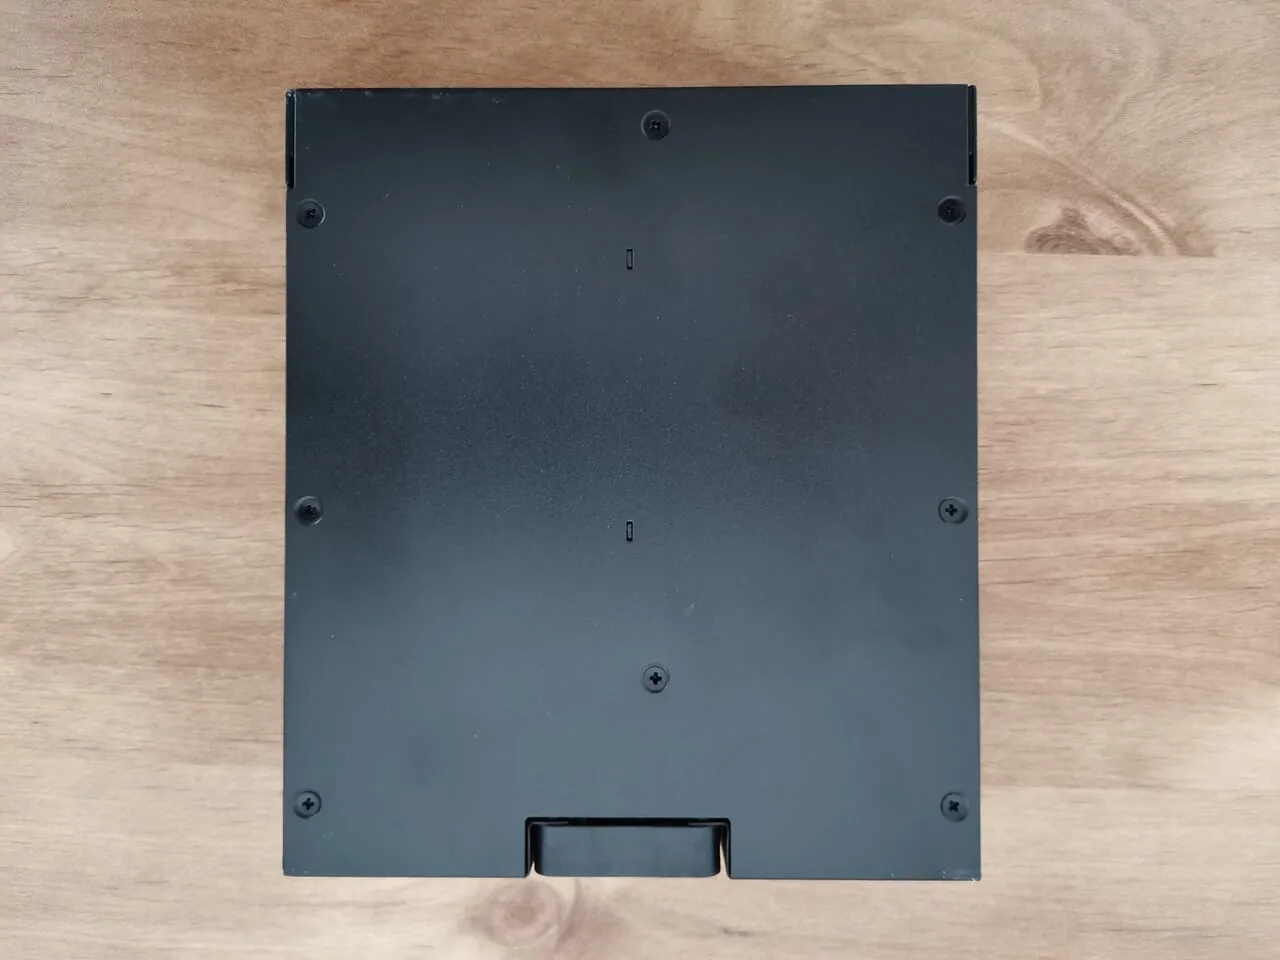
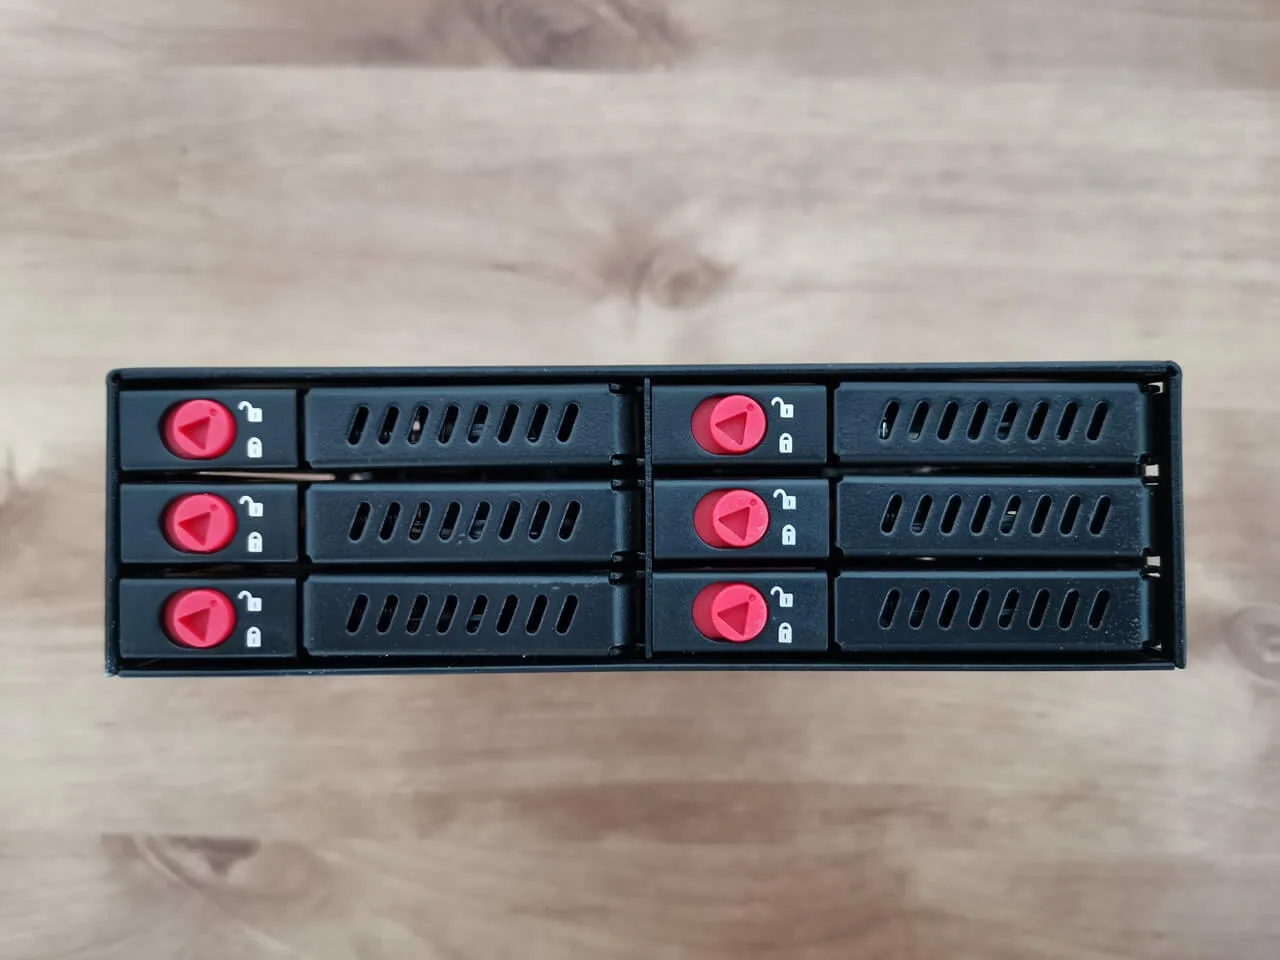
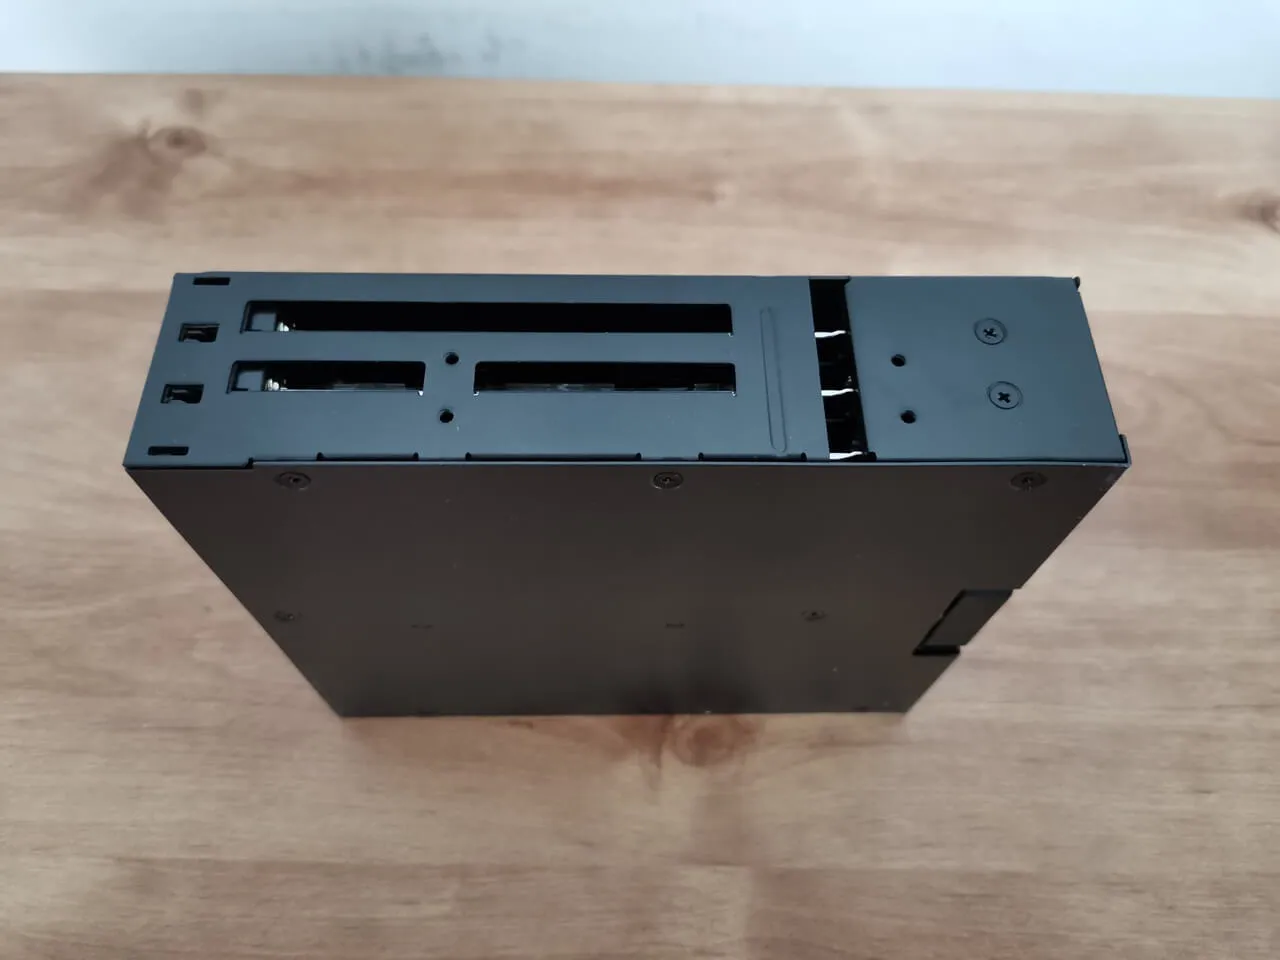
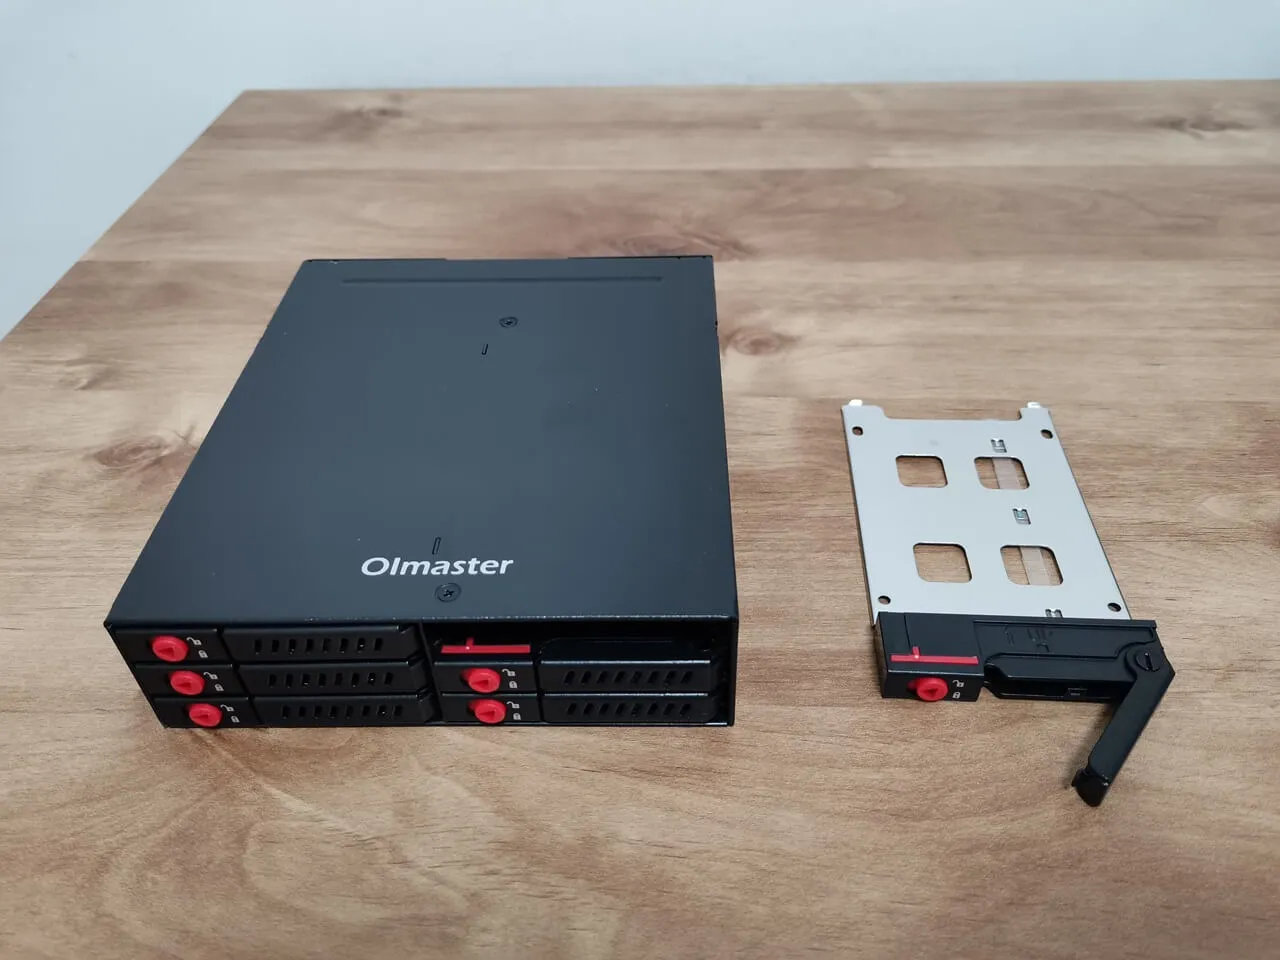
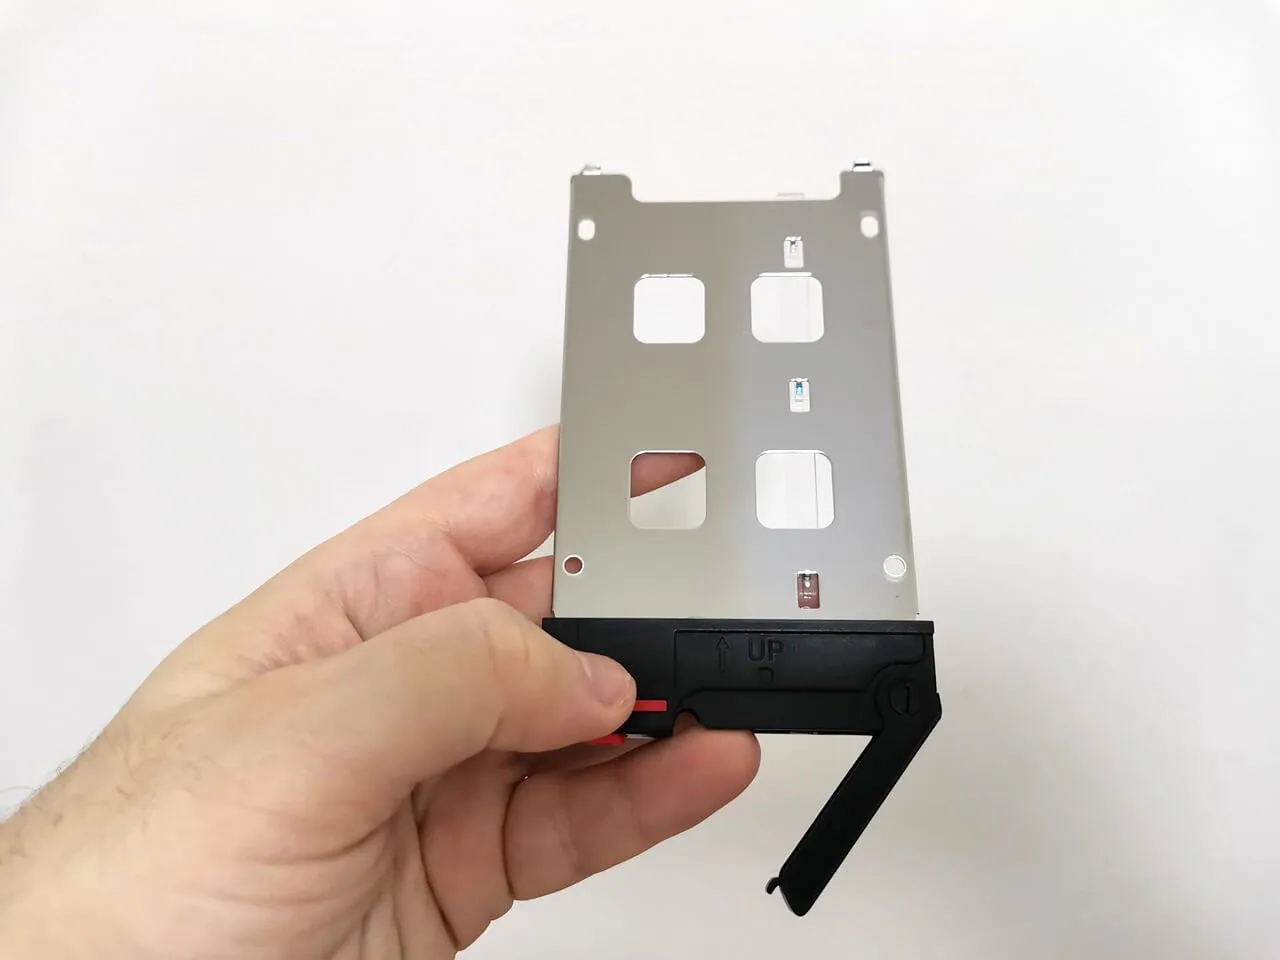
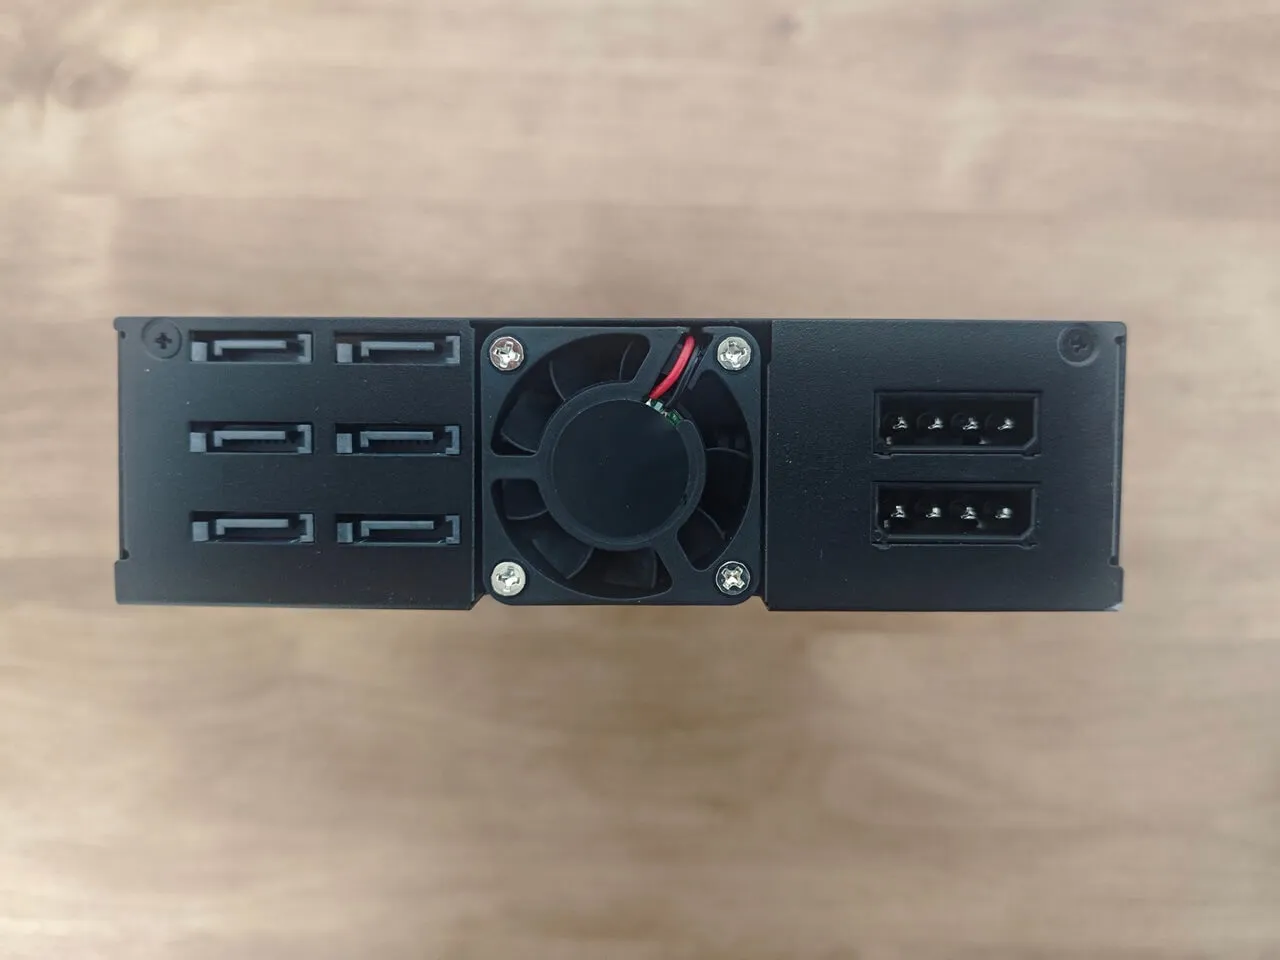
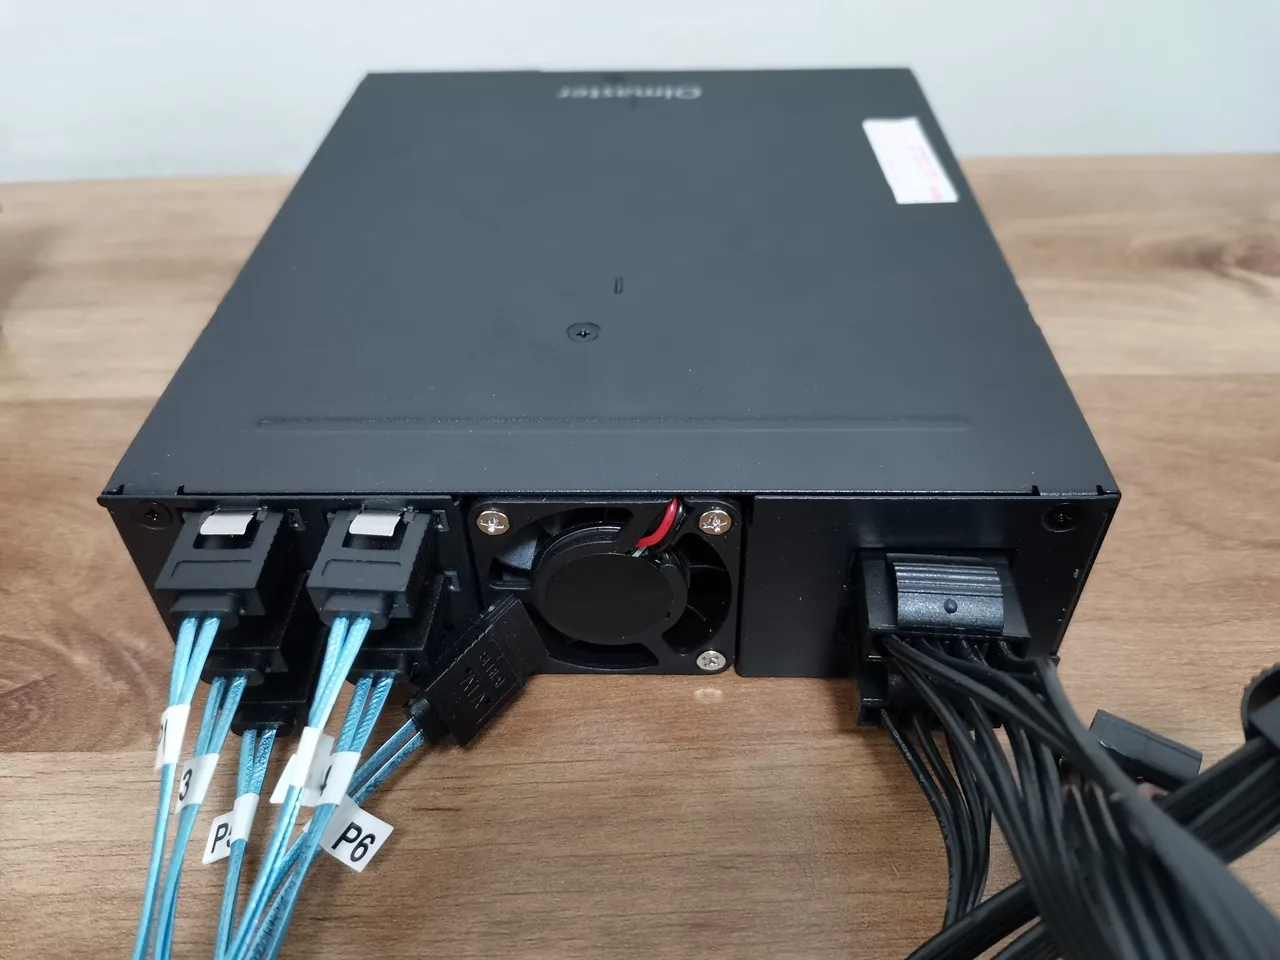
Olmaster MR-6601 NAS Rack
We found an incredibly affordable NAS rack on AliExpress, made of durable sheet metal that guarantees excellent construction. It also comes at an affordable price, ranging around $35-40, and provides a wide range of essential interfaces, including six SATA bay sockets and two Molex 5-pin power input sockets to connect to our PSU board.


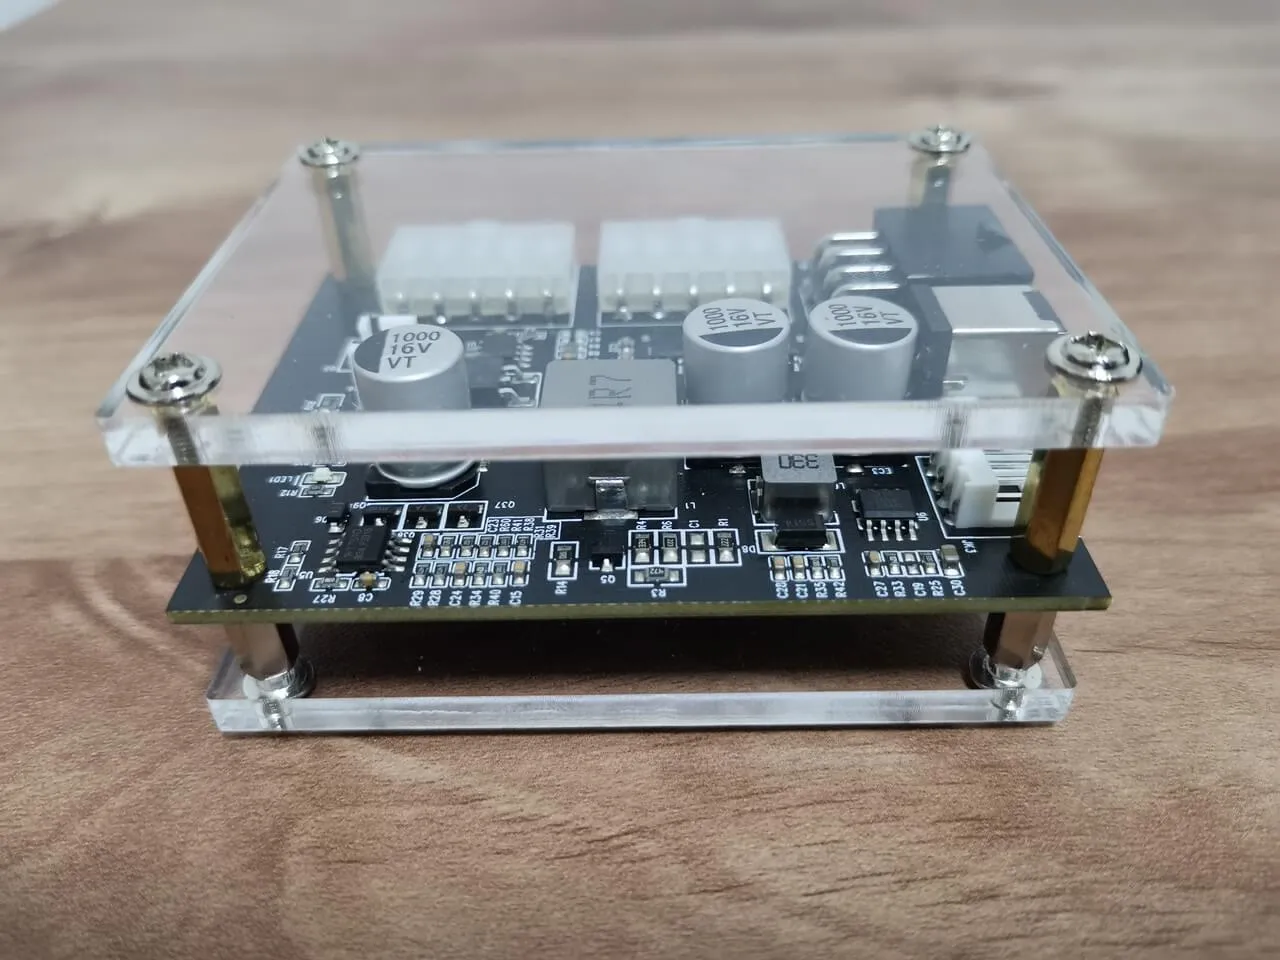
DB8234 HDD PSU Module
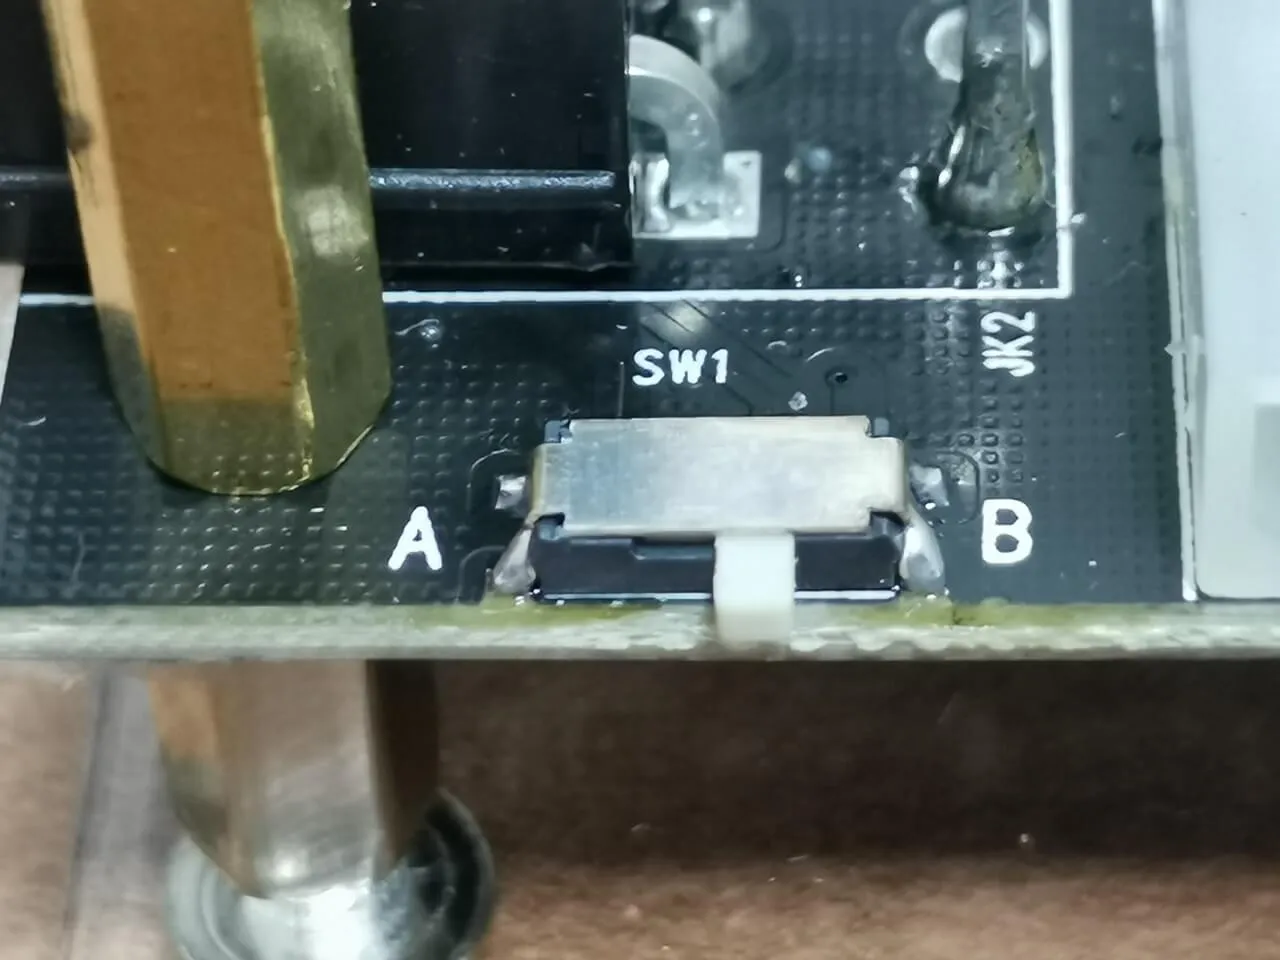
The power supply module is available in a bare board version or assembled inside a semi-open plastic case consisting of two ABS plates secured with four hex bolts and nuts. The board offers two modes of operation: Mode A, which is connected directly to the desktop PC power supply input signal, and Mode B, which can be switched to allow the board to independently provide the necessary power. For our small DIY project, we will need the use of Mode B. To switch to this mode, simply set it using the small switch embedded on the board.
HDD PSU Module (Model: DB8234)

Choosing the right 12V power adapter for the PSU Board
What are the power requirements?
Let’s assume that the total power required for 5 SSD devices is 6 Watts x 5, which equals 30W. A 12V – 3A power adapter with a power output of 12×3, which equals 36W, should be sufficient. However, if you desire a higher power capacity, the PSU, according to the Aliexpress seller, can handle a maximum of 12V 15A. Nevertheless, for powering SSDs, a power requirement of 36-40W should be more than adequate.
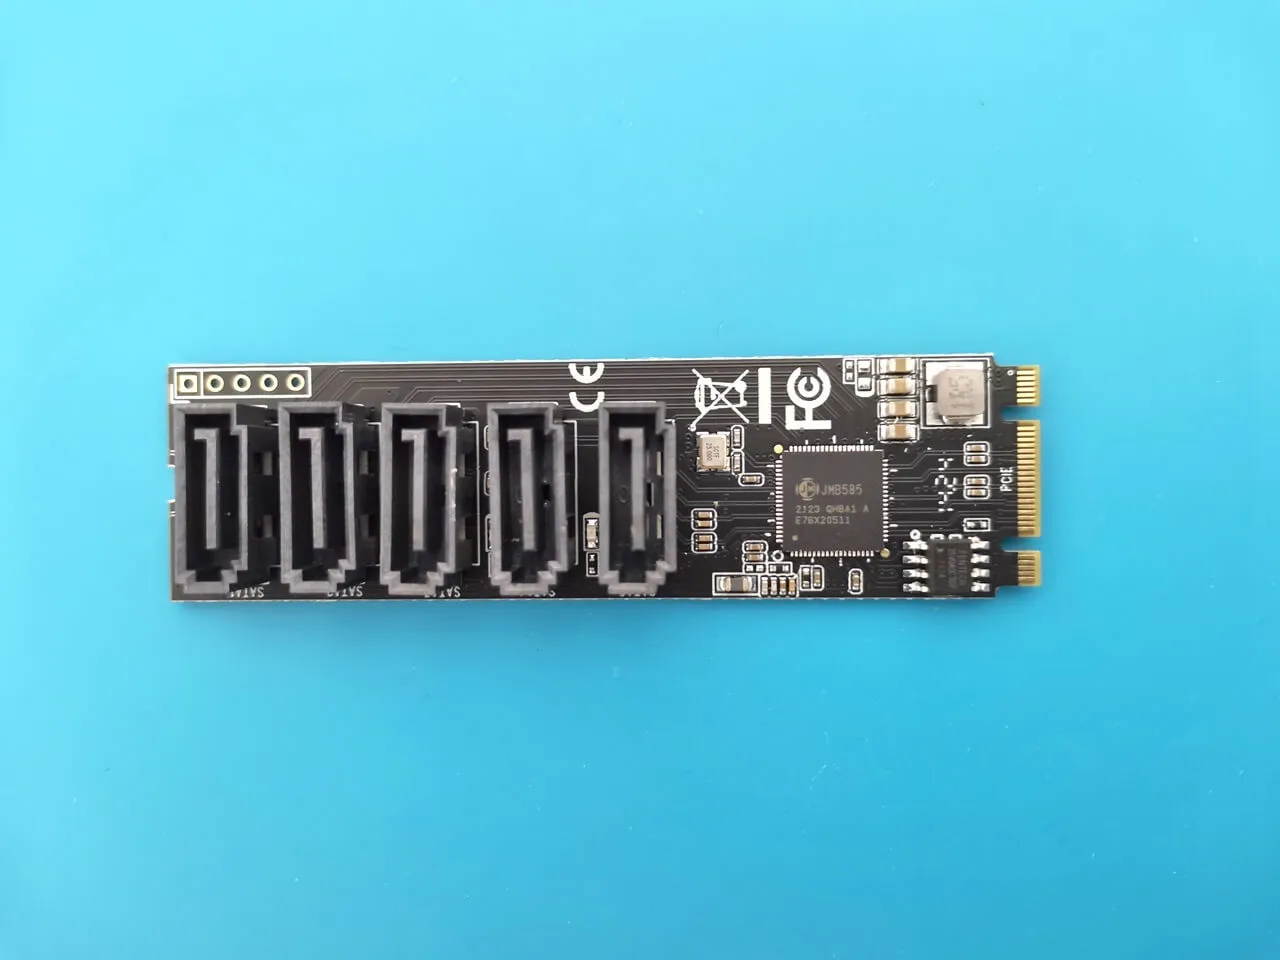
5-port M.2 NVME to SATA 3.0
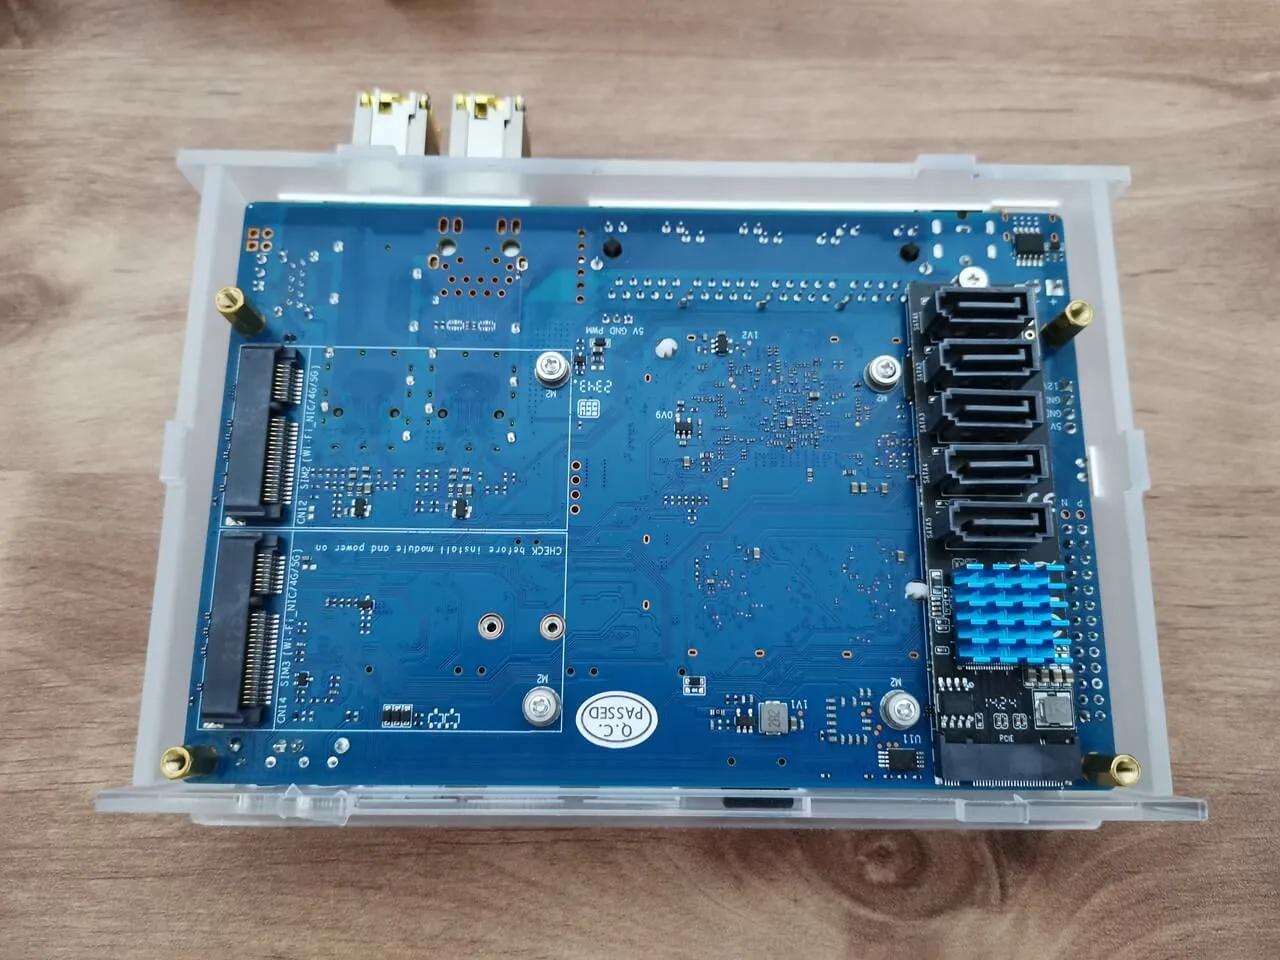
To ensure the successful completion of our project, it is essential to have a five-port SATA M.2 B+M Key type expansion card that is compatible with the Banana Pi r4 socket located on the rear of the board. Similar cards with five or two SATA interfaces are also available; however, our objective is to utilize six SSDs in a single NAS Rack.
5-port M.2 (Key M+B) NVMe to SATA 3.0 converter
The JMB585, a SATA bridge controller chip, has been confirmed by the SinoVoip team to be fully supported by the OpenWrt Kernel. However, it is important to note that choosing an older chip model significantly increases the risk of the operating system failing to recognize the card. You also have the choice to select between an M interface or an M+B Key interface, both compatible with the Banana Pi R4 M.2 socket.
IOCrest M.2 x5 Ports SATA Adapter Card
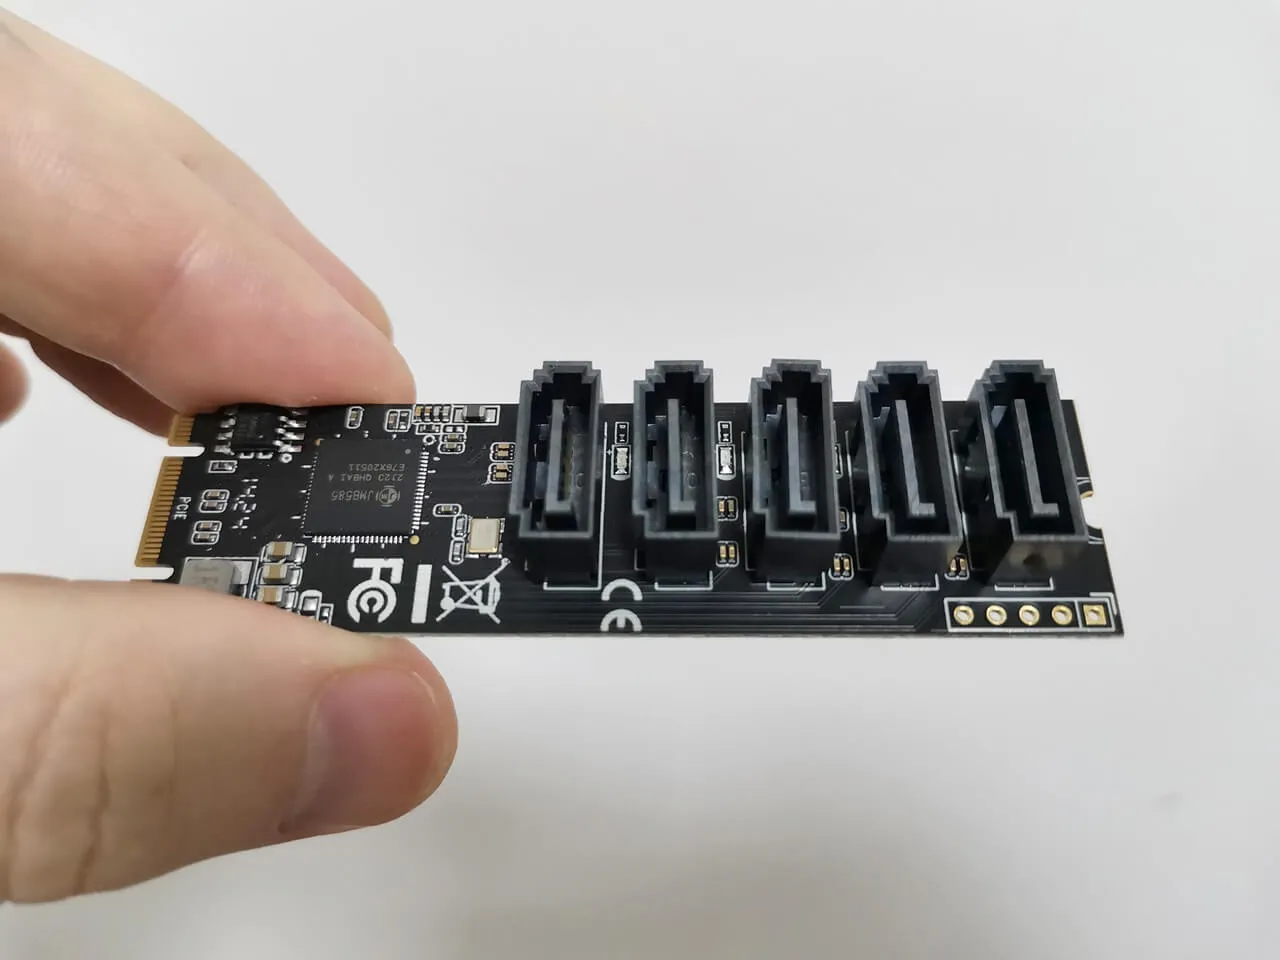
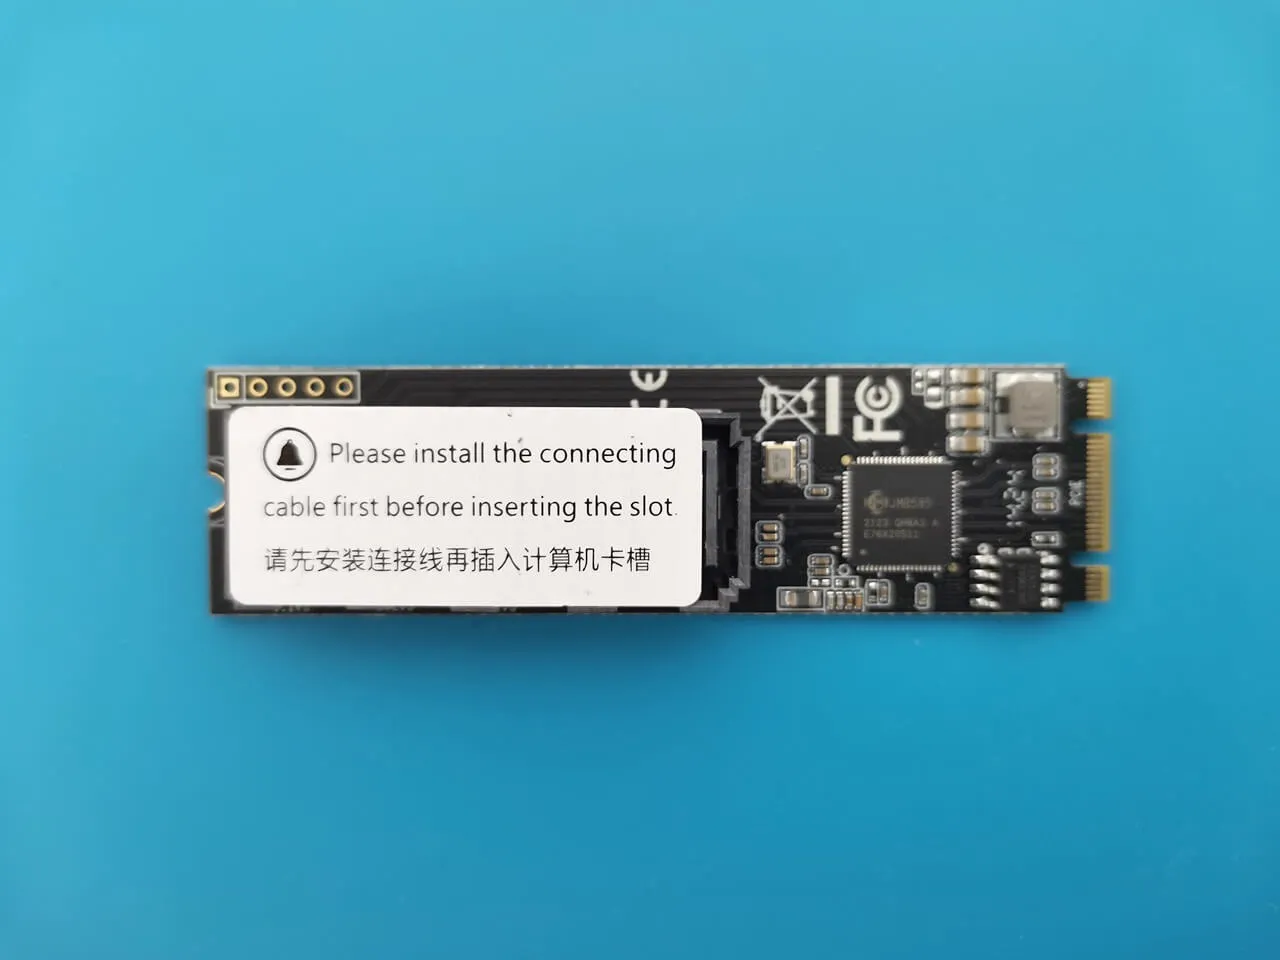
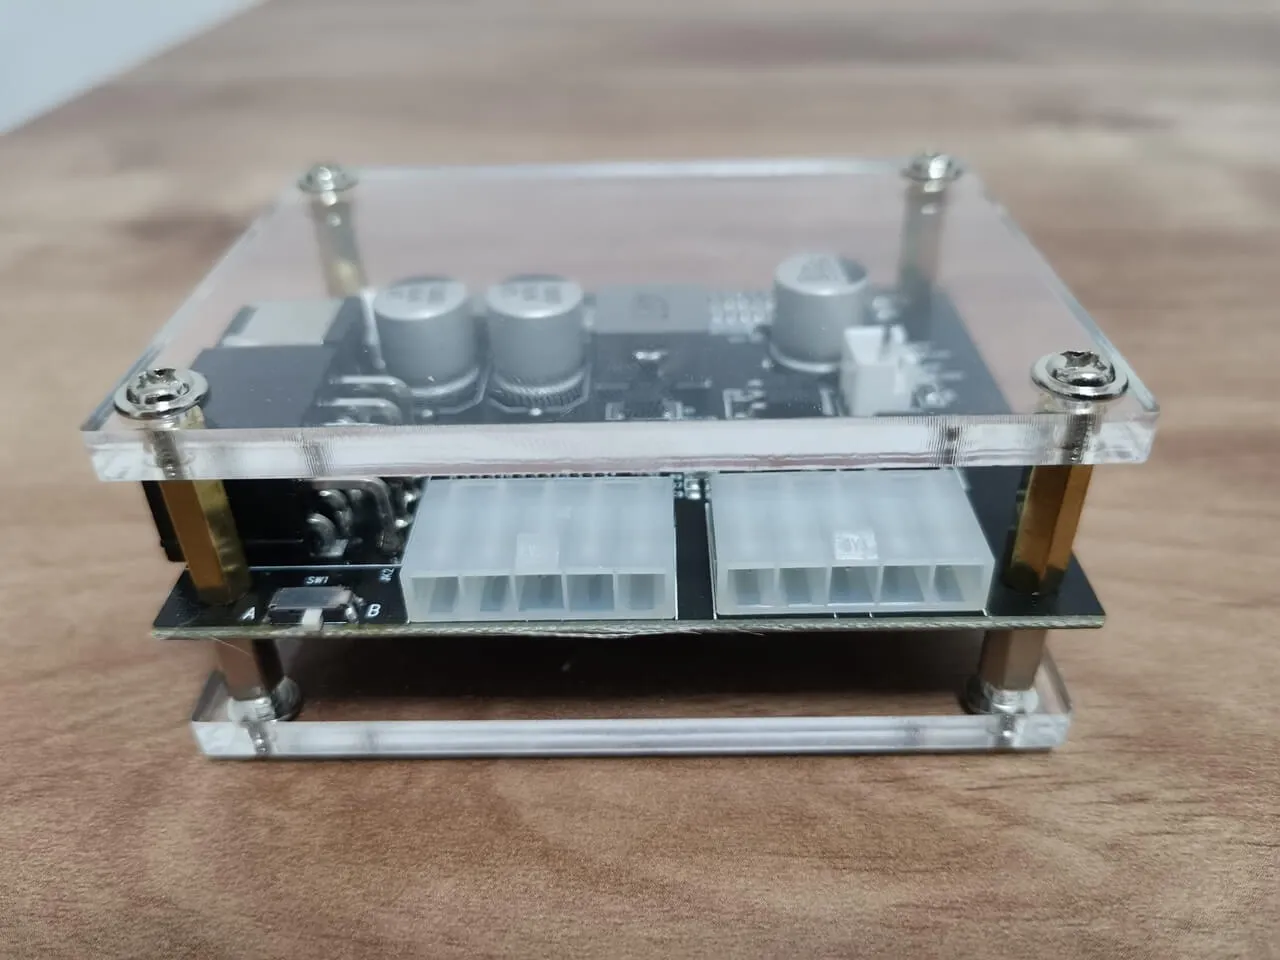
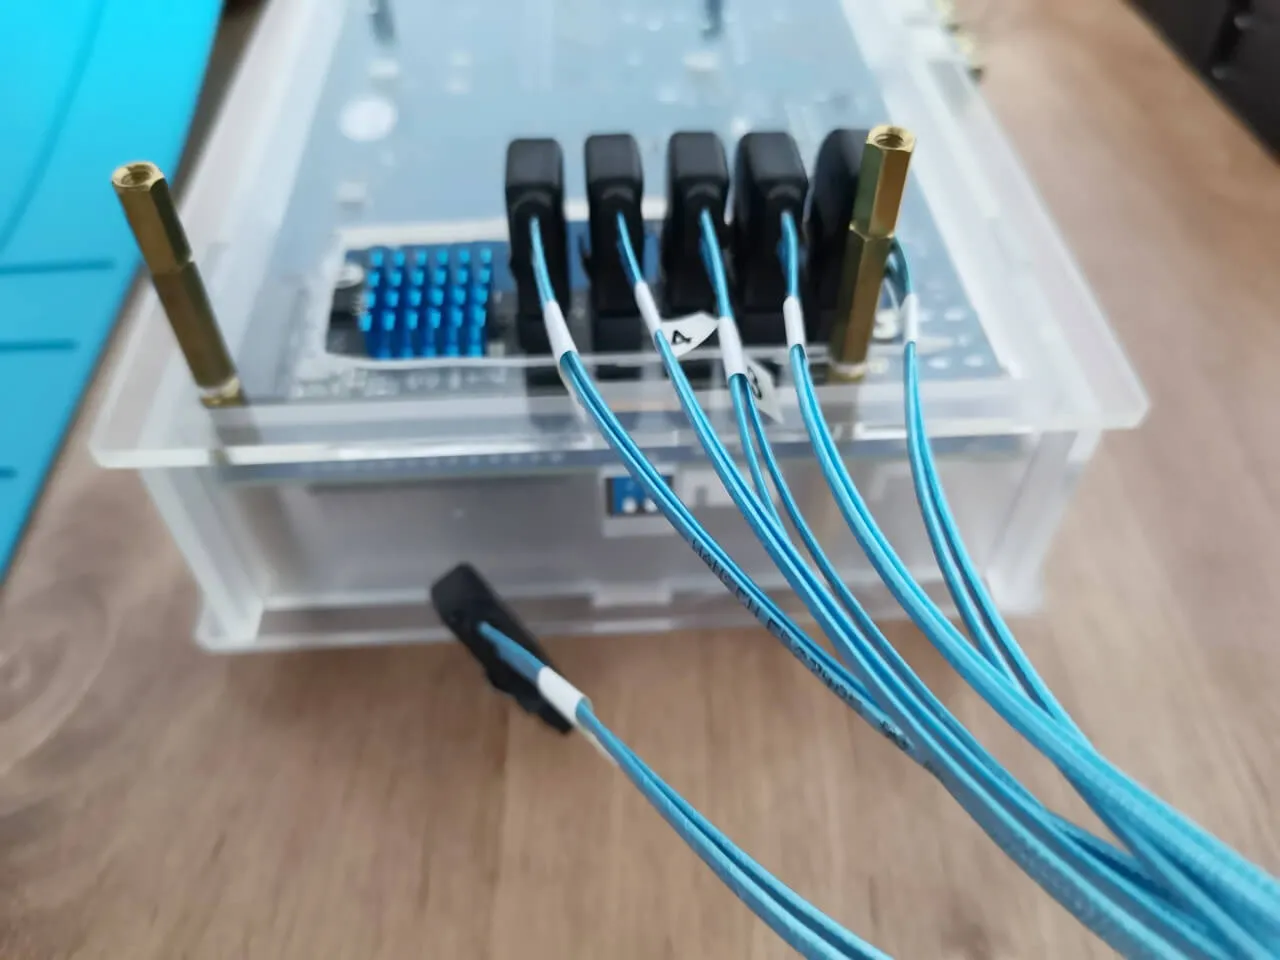
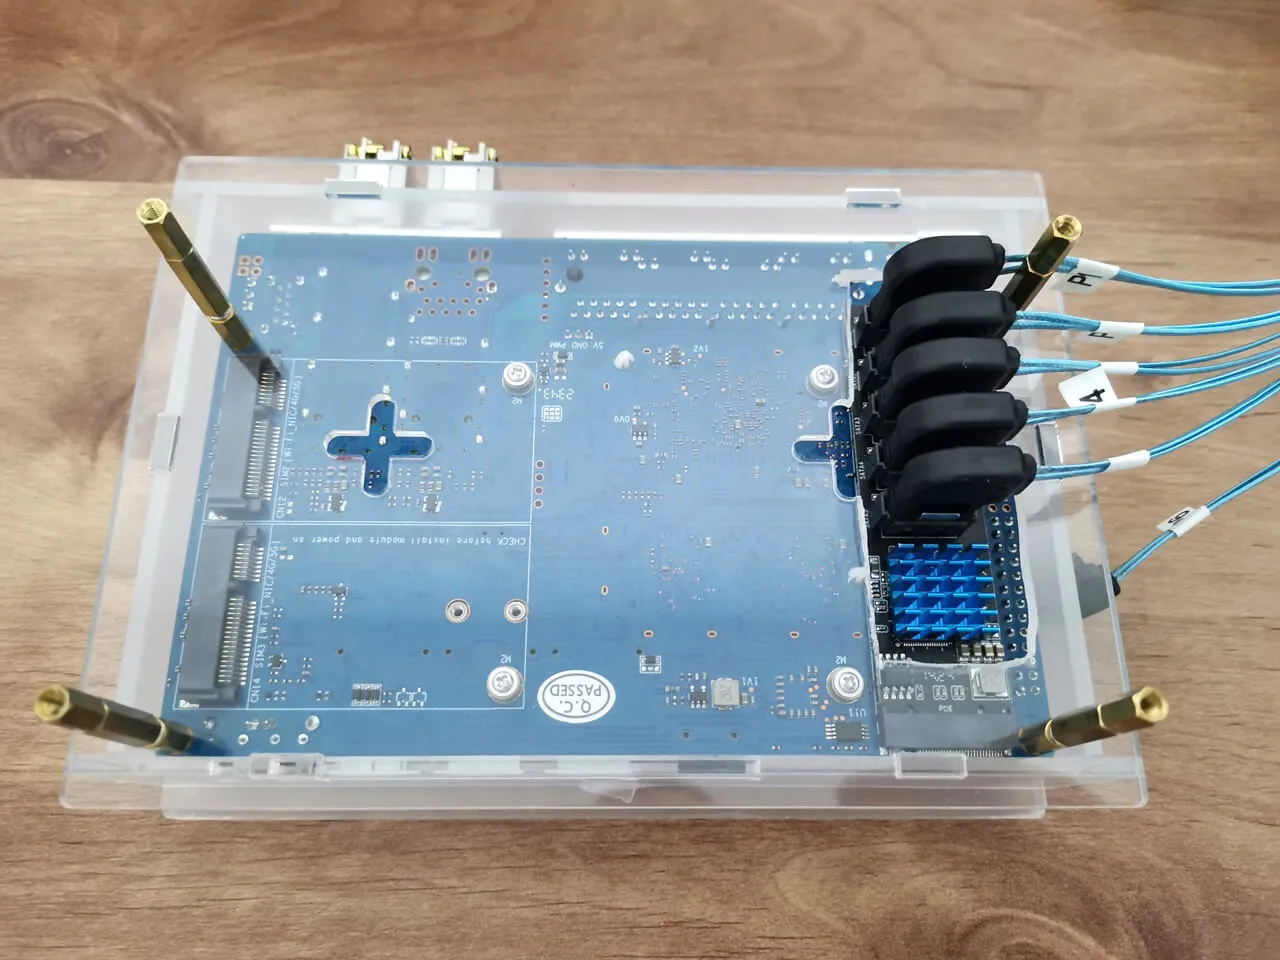
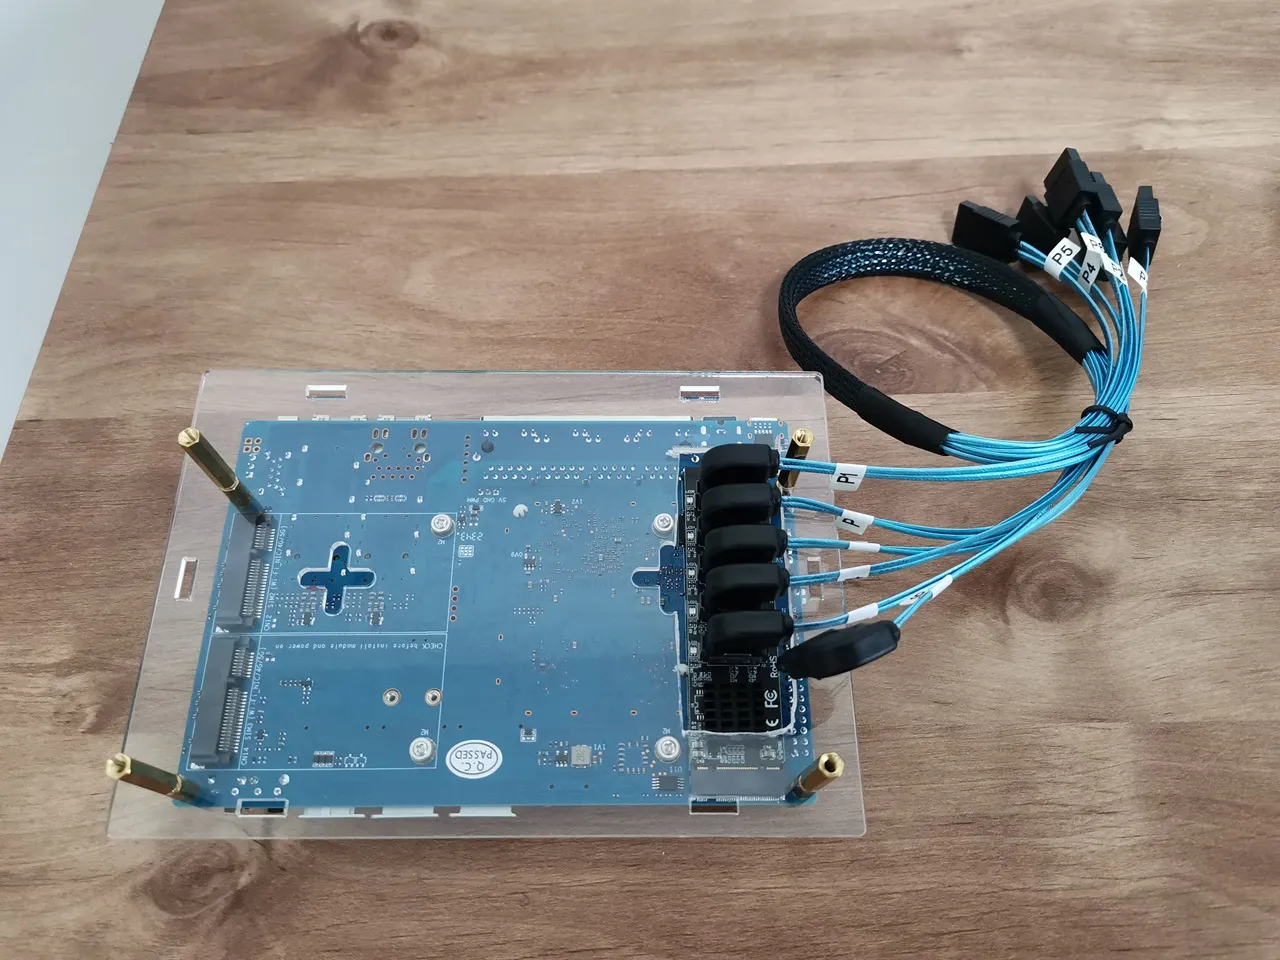
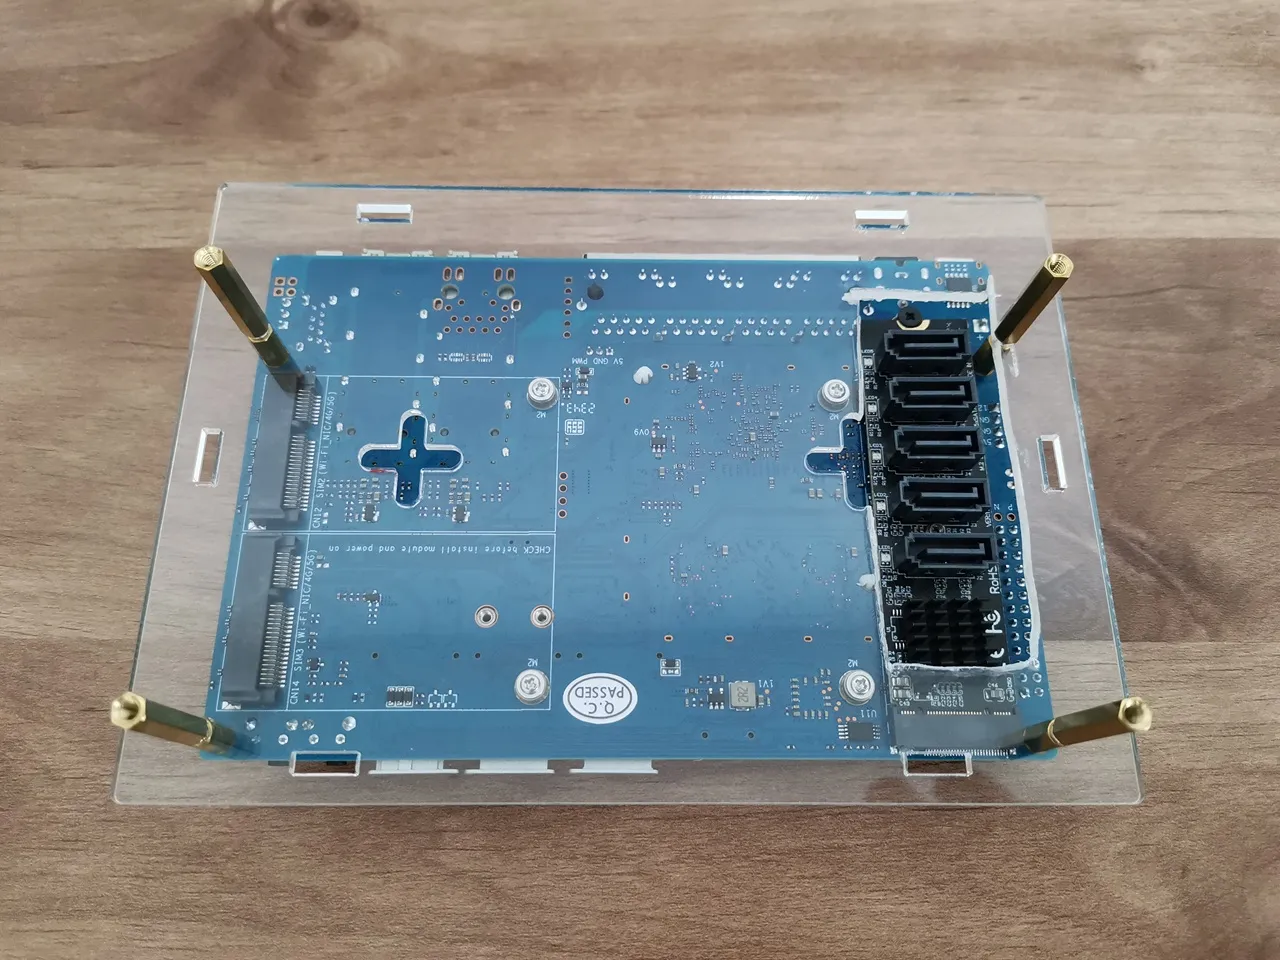
Installing the 5-port M.2 (Key M+B) NVMe to SATA 3.0 converter onto the Banana-Pi-R4
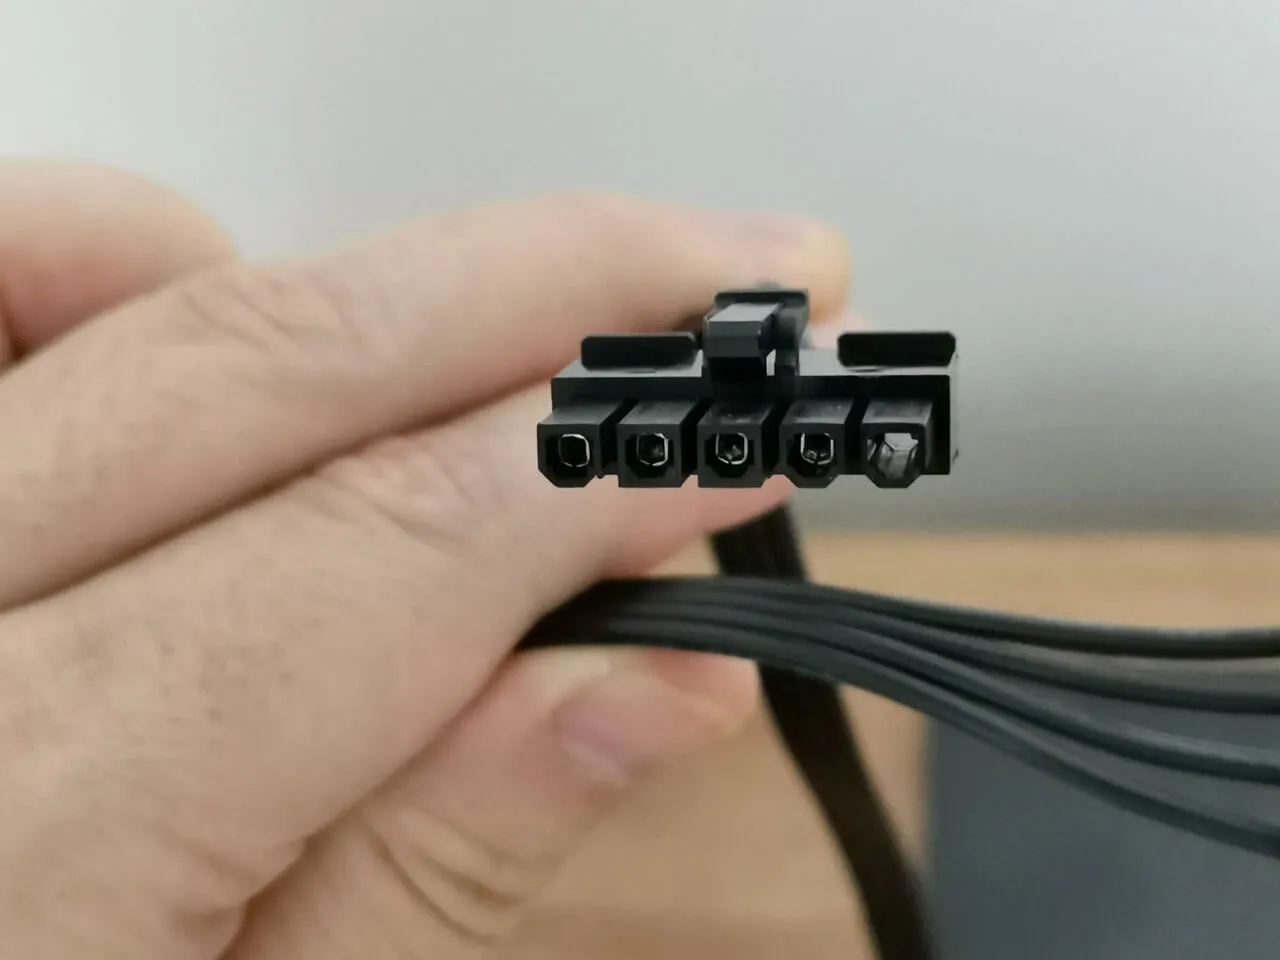
5-Pin Moldex Power-Cables
As previously mentioned, we will need to use two 5-Pin Moldex Power Cables. However, the one we found on AliExpress has a 90-degree elbow arrangement at the end, which can be quite restrictive when inserting it into the power sockets of the NAS rack. Alternatively, you can create your own by soldering a flat one, giving you more flexibility and convenience.

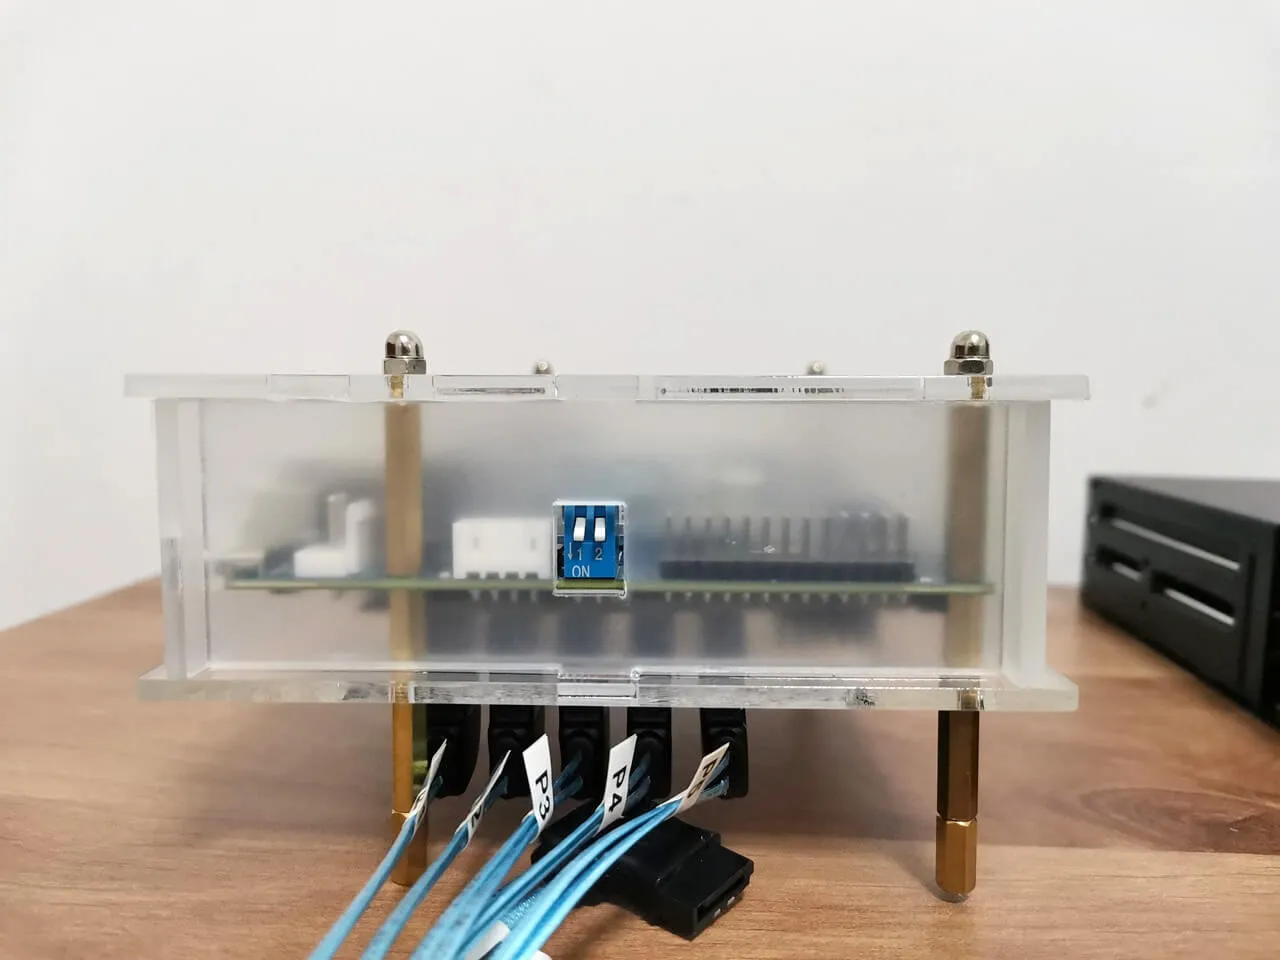
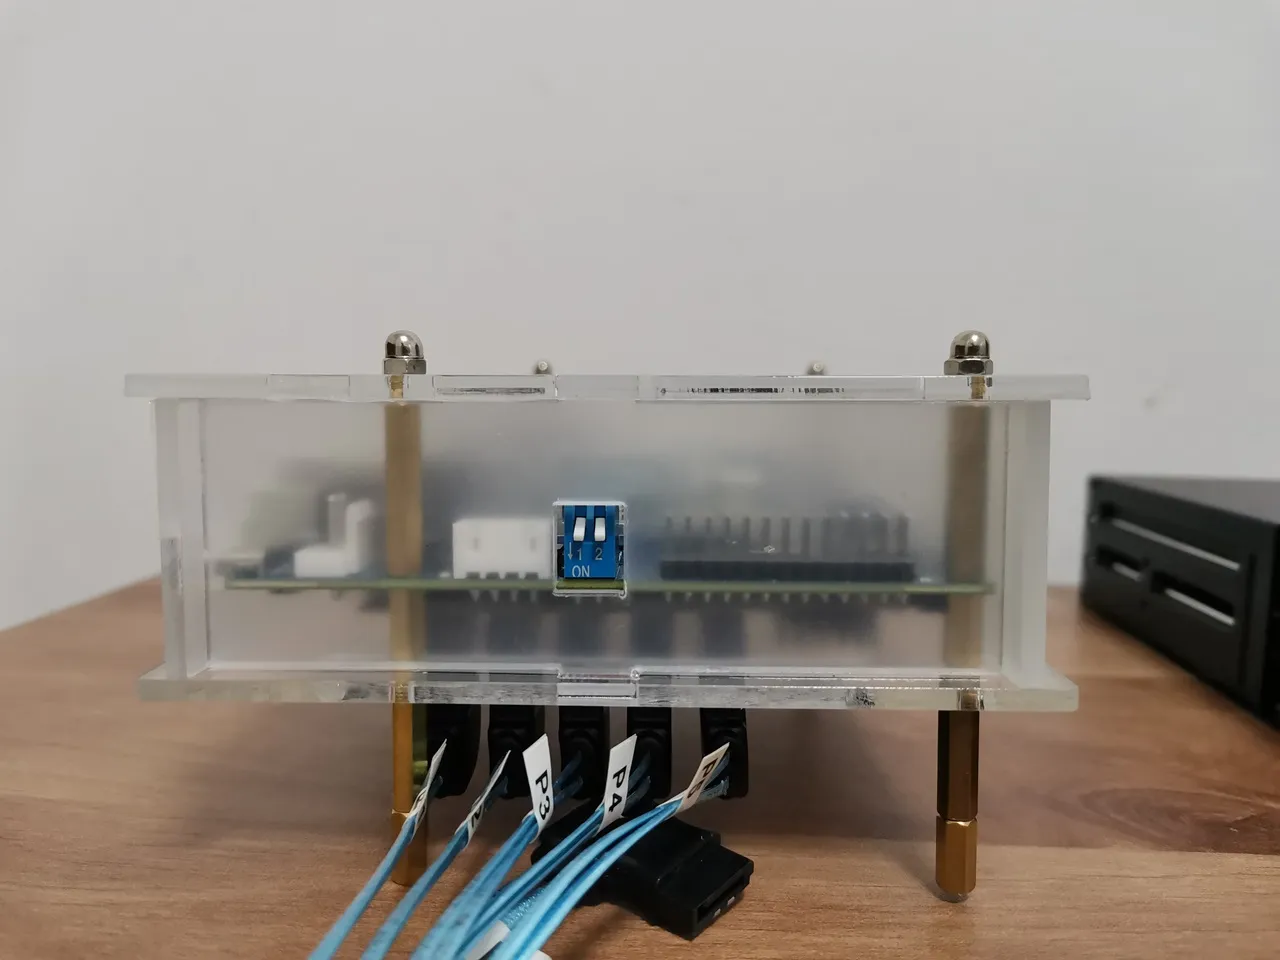
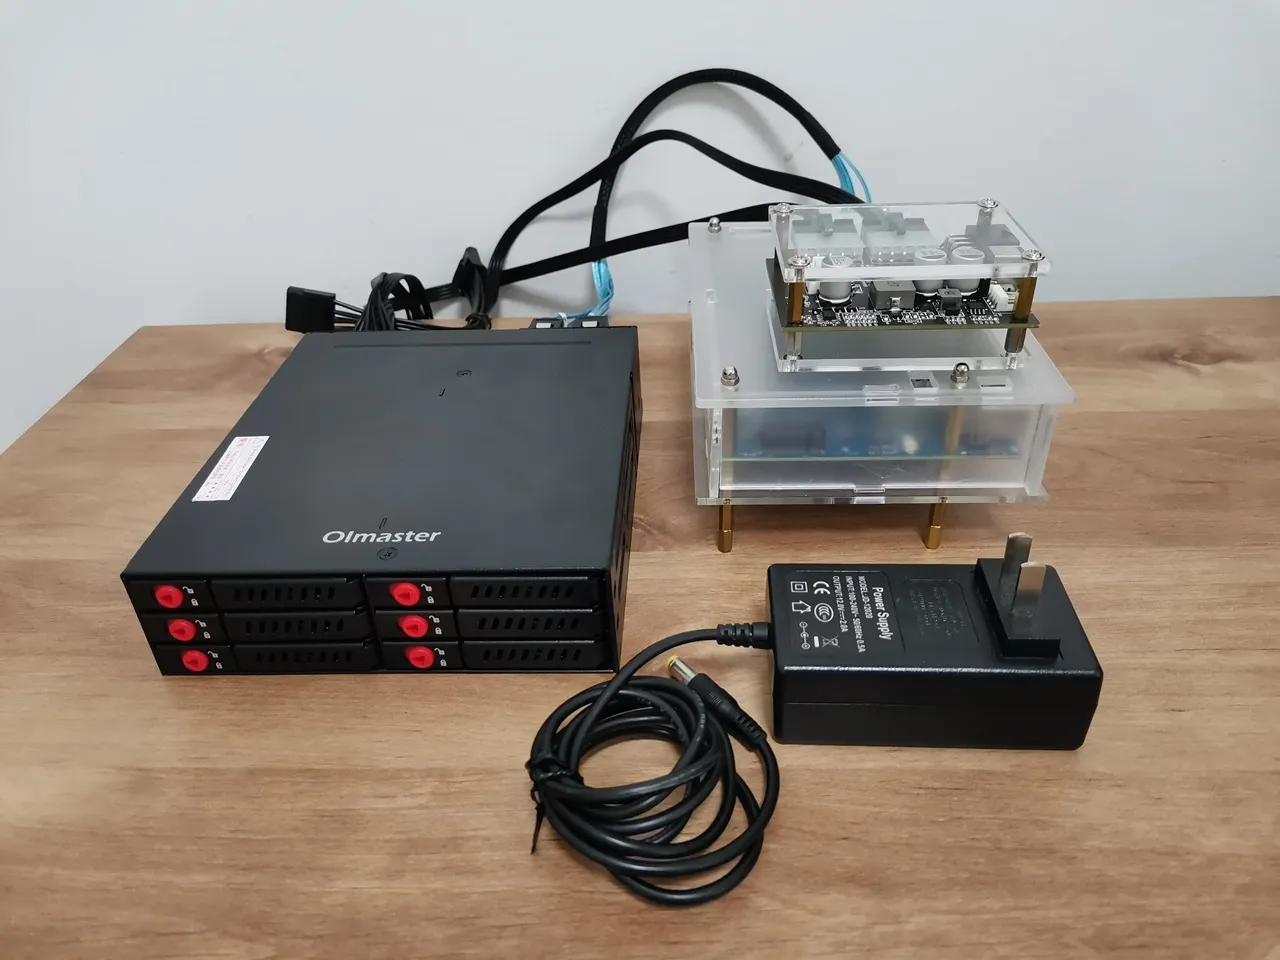
Assembling all the parts together
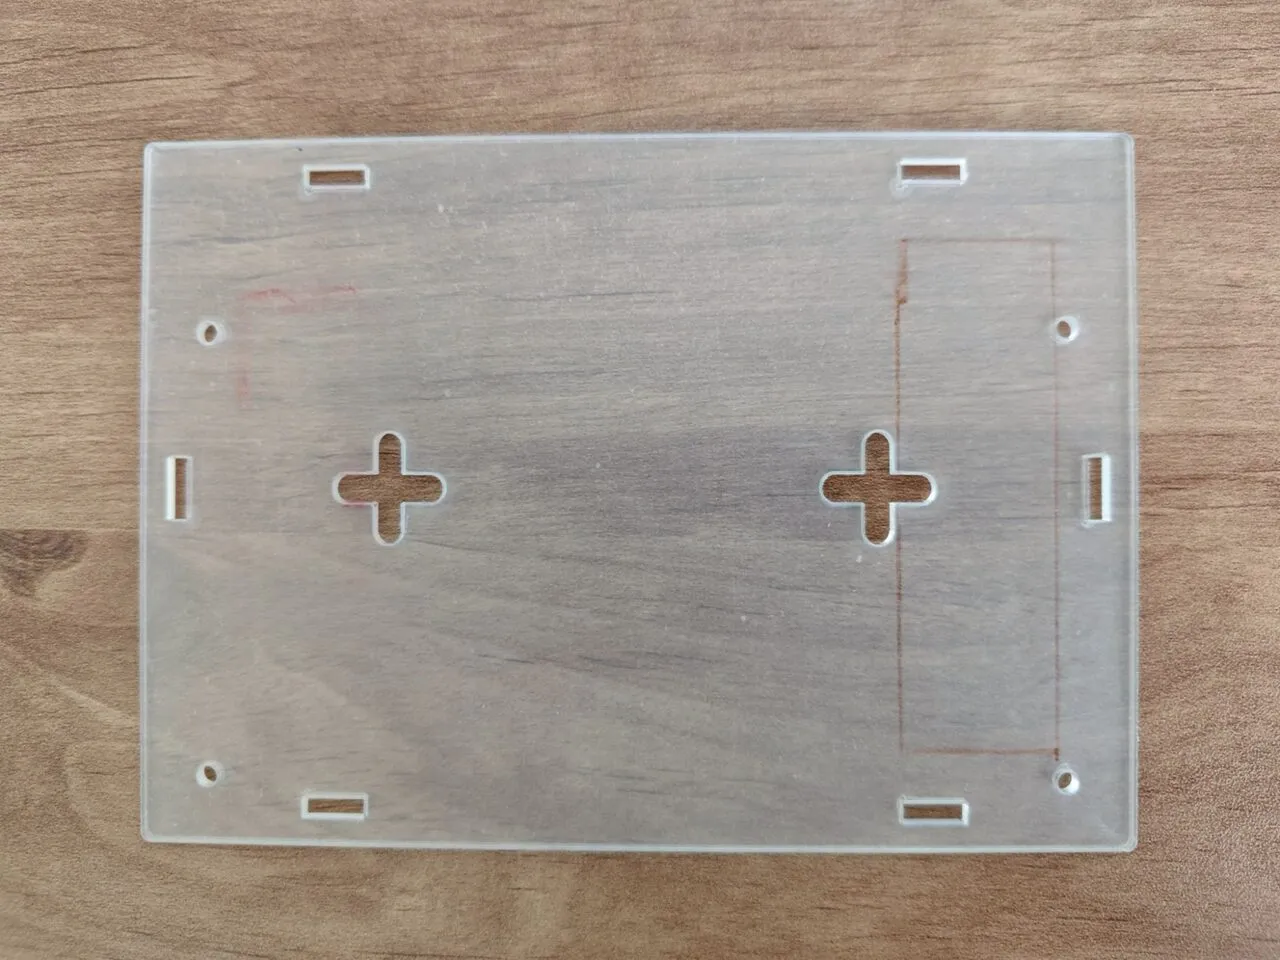
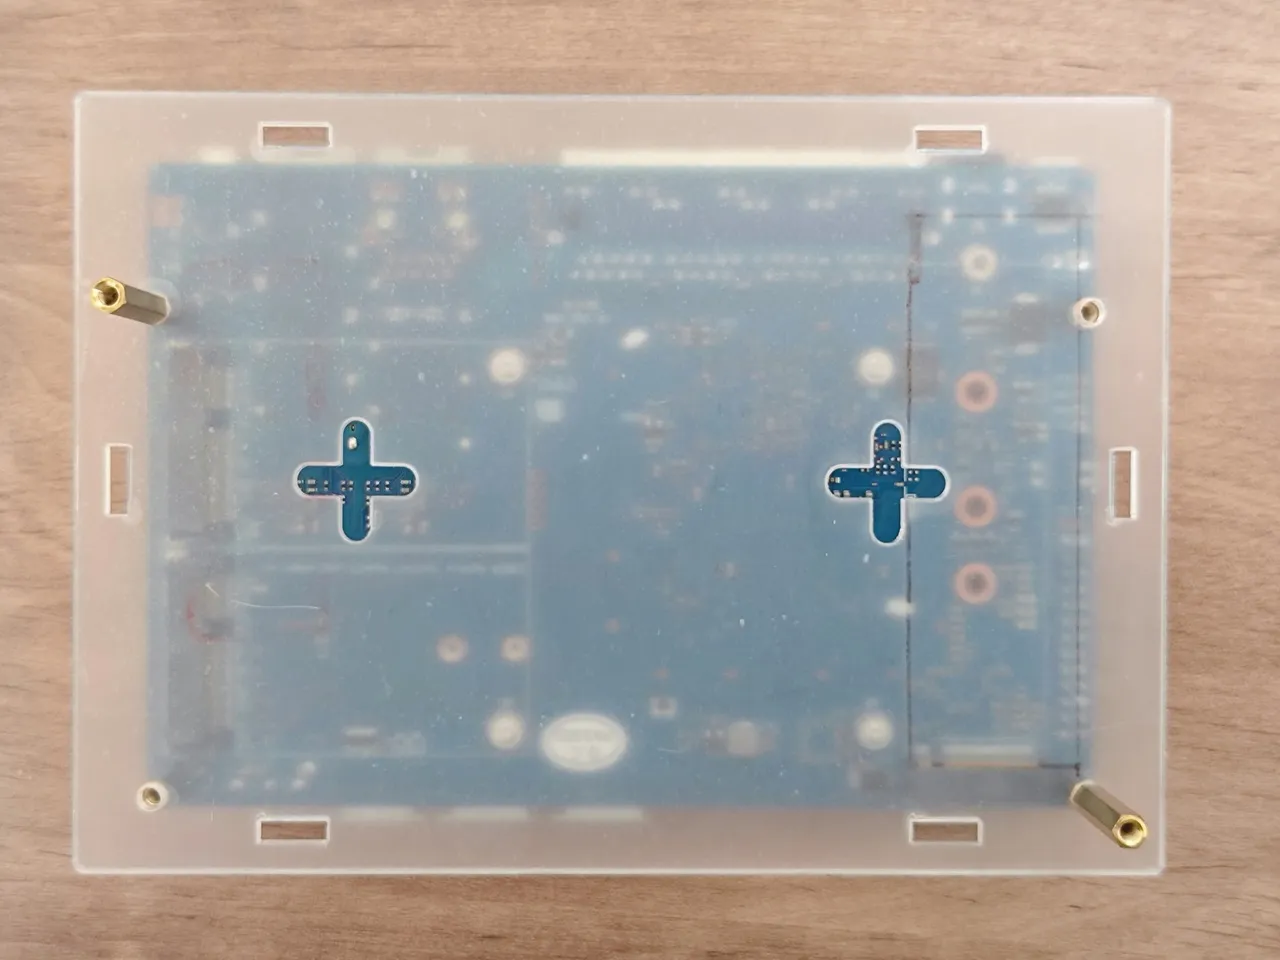
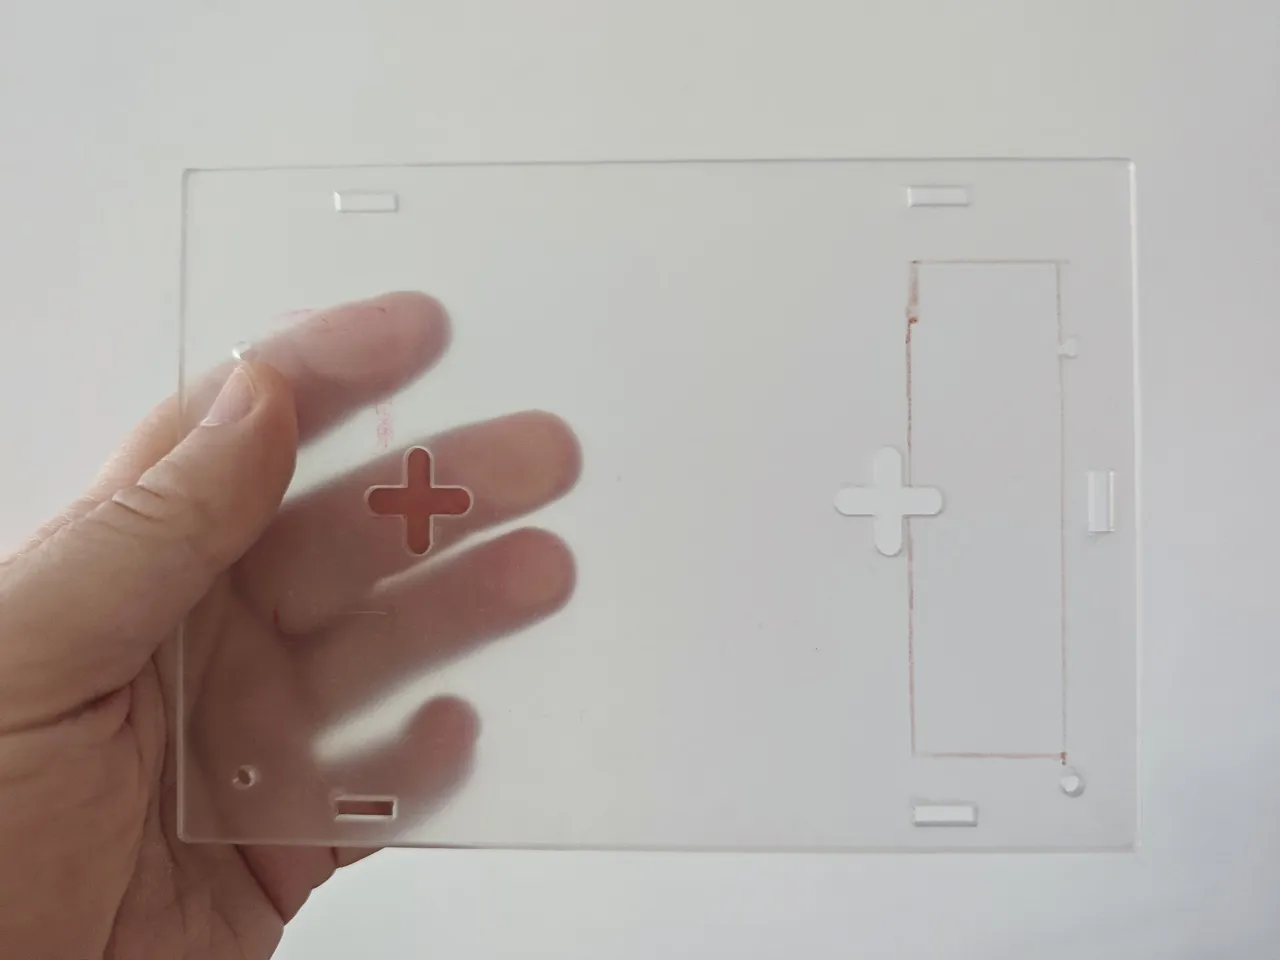
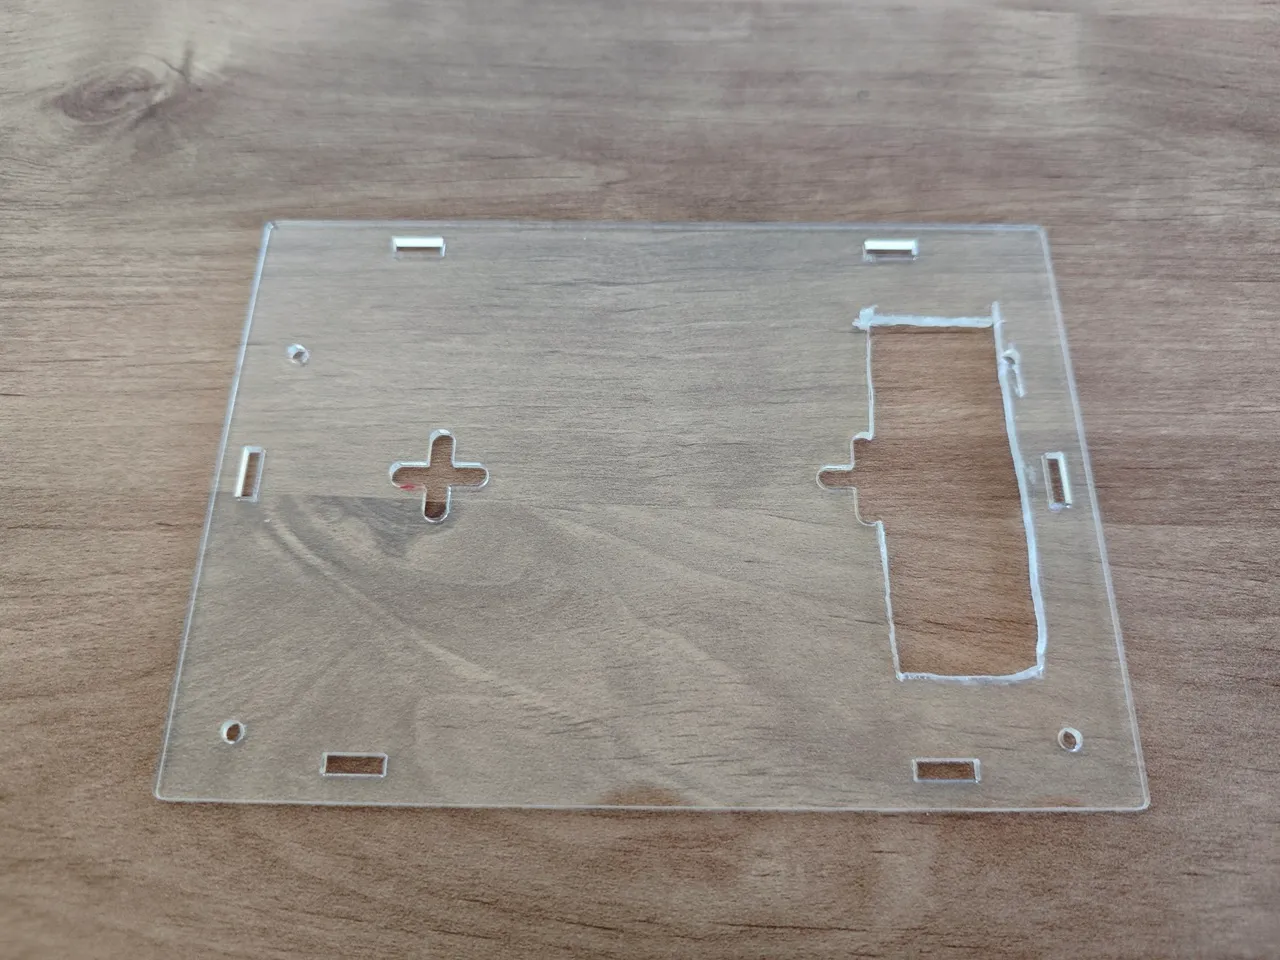
Modifying the case
First, we must make some modifications to the acrylic plastic case to ensure a proper fit for the M.2 NVMe SATA. This entails cutting a rectangular opening in the case base, allowing easy access to the SATA connectors from the bottom. As for the SATA cable, we have selected connectors with a convenient 90-degree left bend. At the opposite end, we have chosen straight SATA connectors that will seamlessly connect to our NAS rack.
cutting a rectangular opening in the lower case plate

Connecting other items:
- Connecting 5-port M.2 NVMe to SATA 3.0 converter to SATA NAS rack ports via cable.
- Connecting the NAS Rack to PSU Board Power cables using Molex connectors.
- Connecting a 12V-2A power adaptor to our PSU Board.
- Attaching four hex nuts to the case to serve as legs.
The end result.


Good Job
Thanks
That’s the most in-depth review I’ve seen of the BPI-R4. However, the benchmark and Wi-Fi testing sections are noticeably missing. Any reason why?
Thanks. Probably at that time I didn’t have the extra patience to wait until they fixed the bugs/problems. Hopefully a few months have passed and it should be fine now.