
FriendlyElec OpenWrt Router Review, Features, Software support
FriendlyElec OpenWrt Router Gateway Solution
One of the main highlights of FriendlyElec products is their FriendlyWrt software support. Friendlier is a modified Linux distribution based on the popular Open source OpenWrt framework that was originally designed as a Linux distribution for routers, but it also supports a wide selection of embedded devices. It literally offers tons of useful features with them you can build an advanced gateway to secure your local network and filter traffic to prevent malicious hacking attacks.
The platform Opkg Package Manager is very flexible and contains a massive depository with more than 3500 software packages you can configure according to your specific needs. According to FriendlyElec’s official website, most of the Nano PC & NanoPi board series support FriendlyWrt.
If you need to secure a small home network, or even secure yourself when while traveling with a laptop and connecting to external networks that are not very trustworthy you can consider buying a cheap small-size factor SBC that should be more than enough to operate as a mini gateway protection device. FriendlyElec company also offers a few board models such as the NanoPi R1S and NanoPi R1 with dual ethernet ports that are ideal if you need to use the device as a small router unit. Having said that, For a more detailed introduction to OpenWrt capabilities and features please refer to the OpenWrt official website
FriendlyElec Small Form-factor SBCs
Product Photo | Model | Hardware | Dimension | Buy Links |
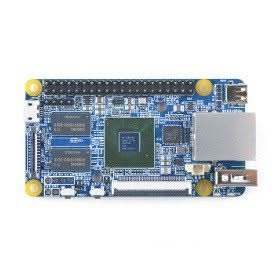 | NanoPi Fire3-LTS | Samsung S5P6818 | 75 x 40mm | |
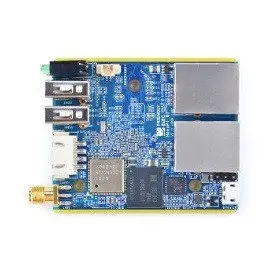 | NanoPi R1 | Allwinner H3 | 50.5 x 60mm | |
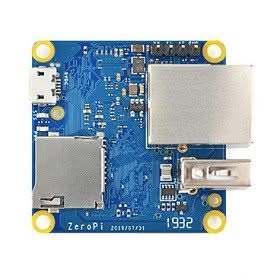 | ZeroPi | Allwinner H3 | 40 x 40 mm | |
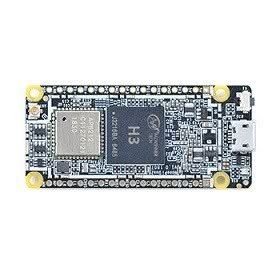 | NanoPi Duo2 | Allwinner H3 | 55 x 25.4mm | |
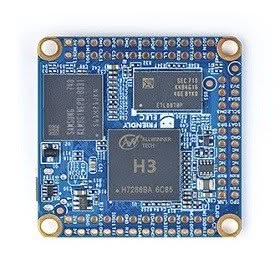 | NanoPi NEO Core-LTS | Allwinner H3 | 40 x 40 mm |
OpenWrt [FriendlyWrt] Capabilities
- Use the SSH Server for SSH Tunneling: OpenWrt includes an SSH server so you can access its terminal. If you expose the SSH server to the Internet (be sure to secure it with key-based authentication instead of a weak password), you can access it remotely and use SSH tunneling to forward your traffic over the encrypted connection.
- Install a BitTorrent Client: With some sort of network-attached storage or a router with an integrated USB port and an attached USB storage device, you could use your router itself as a BitTorrent client.
- Run Server Software: OpenWrt’s software repositories contain packages that allow it to function as a web server, IRC server, BitTorrent tracker, and more. You’re probably already using a router, so why not have that same router function as a server? For starters, routers require much less power than computers.
- Perform Traffic-Shaping and QoS: OpenWrt allows you to perform traffic-shaping and quality of service on the packets traveling through your router, prioritizing certain types of traffic. You could even prioritize traffic going to specific computers, de-prioritizing traffic going to other computers.
- Create a Guest Network: OpenWrt’s wiki contains instructions for setting up a special wireless network for guests, one that’s separate from your main network. (You can even throttle the guest network’s speed.) b
- Capture and Analyze Network Traffic: You can use Tcpdump to log all the packets traveling through your router to a network share and open the file with a tool like Wireshark to analyze your network traffic.
Different Configurations
Home Configuration
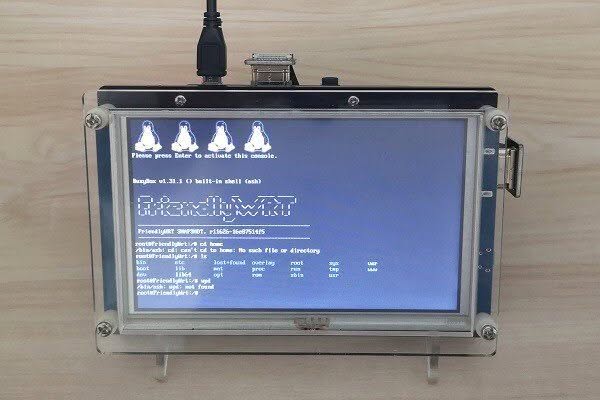
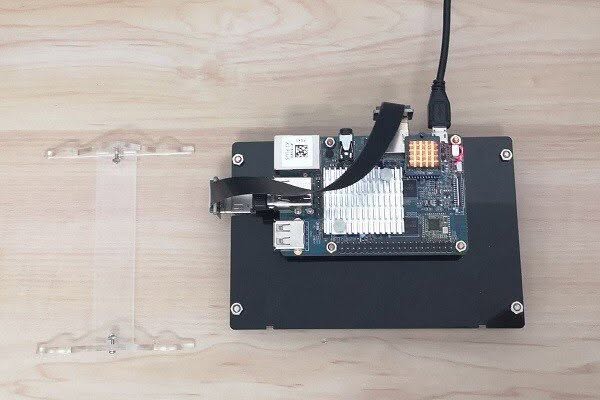
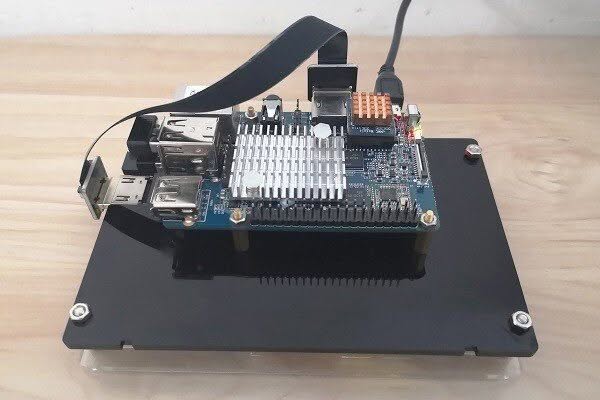
My personal preference for home domestic usage. In this configuration, I mounted a NanoPi K1 Plus on the back of a 5-inch display. As for the wiring concerned, I used a short flat type HDMI cable between the board and the display, HDMI interface, For the power supply a simple 5V – 2A should be enough. The advantage of this setting is that you don’t need to connect to an external large monitor unit.
Nano Pi K1 Plus | Mounted on a 5-Inch Display
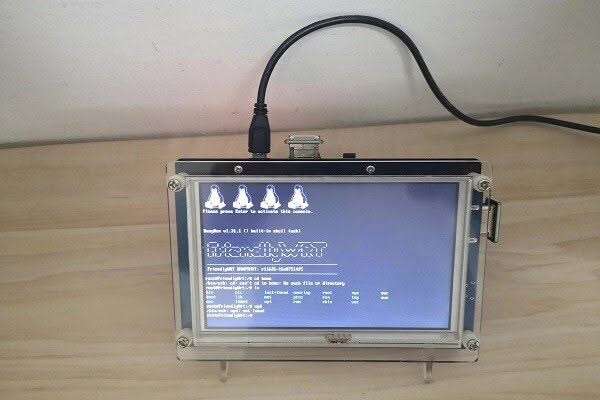 NanoPi K1 Plus 1
Portable Configuration
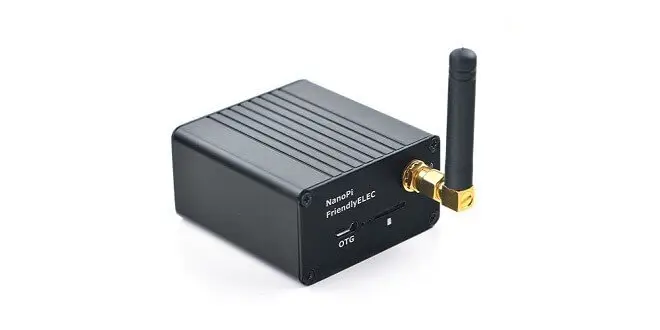
This configuration is my preference for portable usage. Based on the NEO/NEO2/NanoPi R1 boards, If you have a laptop and travel a lot this is the best solution because the unit is very compact in size with a firm metal case with dimensions of 62×52 mm. A small box that can easily be carried in a small business bag. To power the unit you can use any 5V 2A power adaptor with a Micro-USB cable that is commonly used for mobile phones. Keep in mind that some NEO boards don’t have any HDMI output ports, but you can still manage all FriendlyWrt software settings via SSH connection including your computer’s web browser.
NanoPi NEO Plus2
First-time operation
Step # 1: Burning the Image file
In this step, you need to pick the correct image file and download it according to your board model name. You will see a list of image types on FriendlyElec cloud space containing the following type of images:
Examples 1:
“nanopi-neo-core2_eflasher_friendlywrt_4.14_arm64_20191230.img”
Please note that all image files with the “eflasher” prefix/suffix are designed for boards with onboard eMMC chips. If you bought a board without an eMMC you should pick the right one with “sd” from booting from a Micro-SD Card.
Examples 2:
“nanopi-neo-core2_sd_friendlywrt_4.14_arm64_20191230.img”
Step # 2: Extracting & Burning the Image file
After you download the right image you will need to extract the image from the zip file and use the “Win32 Disk Imager” Tool to burn the image. This step is done for both options, for boards with and without the eMMC chip.
Step # 3: Burning the Image to the eMMC
If you have a board with an eMMC chip you will get a simple installation GUI with just one click of the mouse, you can burn all system files and shut down/reboot the system after the process is finished. If you don’t have a board with eMMC FriendlyWrt will load all system files directly from the Micro-SD Card and boot into terminal mode and ask you to set a secure password.
Step # 4: Connecting the Board to a Network
If you choose to connect the board through a wired ethernet connection you will need to check your static IP address assigned by your network DHCP. To find out your IP address you can use the Ifconfig command by executing the following command:
ifconfig eth0
If all goes as expected, you should be displayed with the following output information about your ethernet device (eth0).
Example:
[root@FriendlyWrt:/# ifconfig eth0

eth0      Link encap:Ethernet  HWaddr 00:0B:CD:1C:18:5A
          inet addr:192.168.1.109 Bcast:172.16.25.63  Mask:255.255.255.224
          inet6 addr: fe80::20b:cdff:fe1c:185a/64 Scope:Link
          UP BROADCAST RUNNING MULTICAST  MTU:1500  Metric:1
          RX packets:2345583 errors:0 dropped:0 overruns:0 frame:0
          TX packets:2221421 errors:0 dropped:0 overruns:0 carrier:0
          collisions:0 txqueuelen:1000
          RX bytes:293912265 (280.2 MiB)  TX bytes:1044100408 (995.7 MiB)
          Interrupt:185 Memory:f7fe0000-f7ff0000
The IP address is -> 192.168.1.109
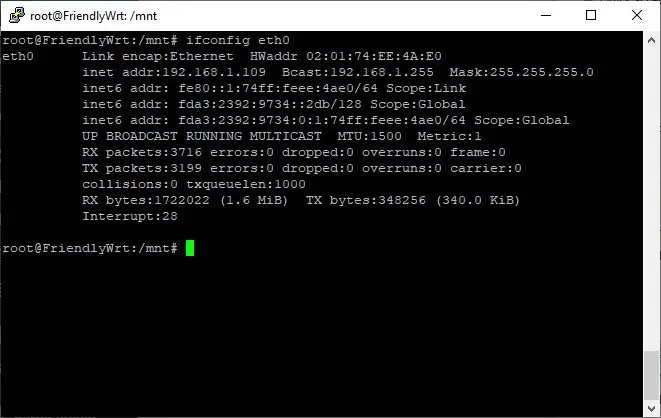
Once you have it, you can open any web browser by entering the following address: 192.168.1.109 and access all FirendlyWrt settings, and log inside with your root username.
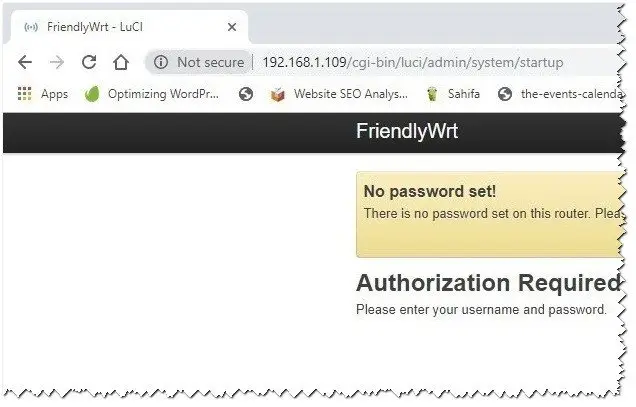
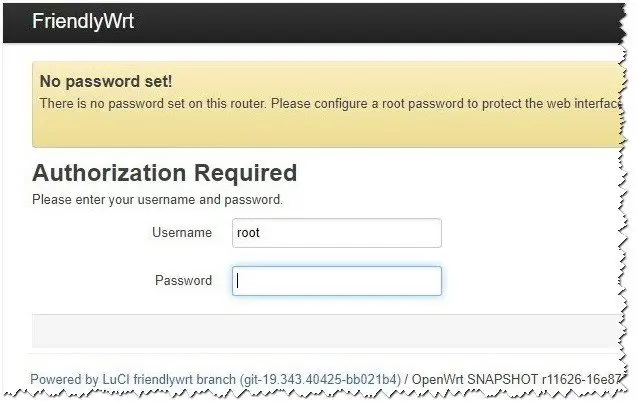
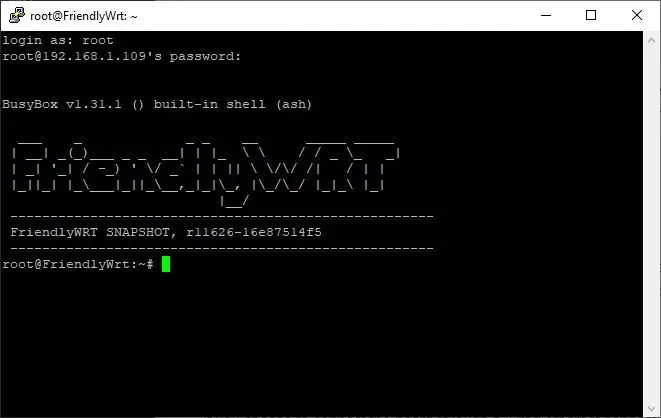
In the first login, you will be asked to set your main password. this password would be used for logging through the browser and also will be your default SSH password. Once you set a good password you can install PuTTY and ssh from the windows environment directly to your board.
Connecting External Storage Devices
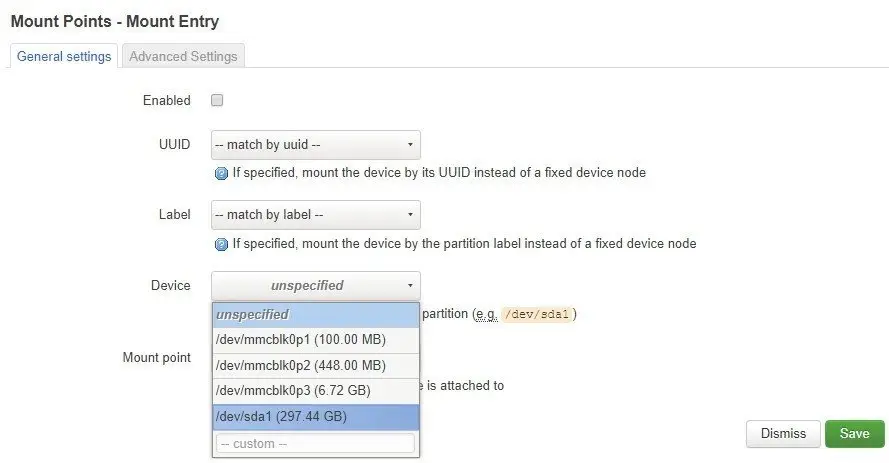
A nice useful feature most users would most likely enjoy is the option to mount external storage devices and manage them under FriendlyWrt GUI. This option is available under System -> Mount points. But first thing first, you need “Mount Points” settings and spot your drive amongst a list of recognized media storage devices. If you attach an external hard drive it would be recognized as /dev/sdaX where X specifies the device number according to the order and the number of mounted devices.
Step #1: Setting Mount Point Entry (System -> Mount points)
- Adding the storage device.
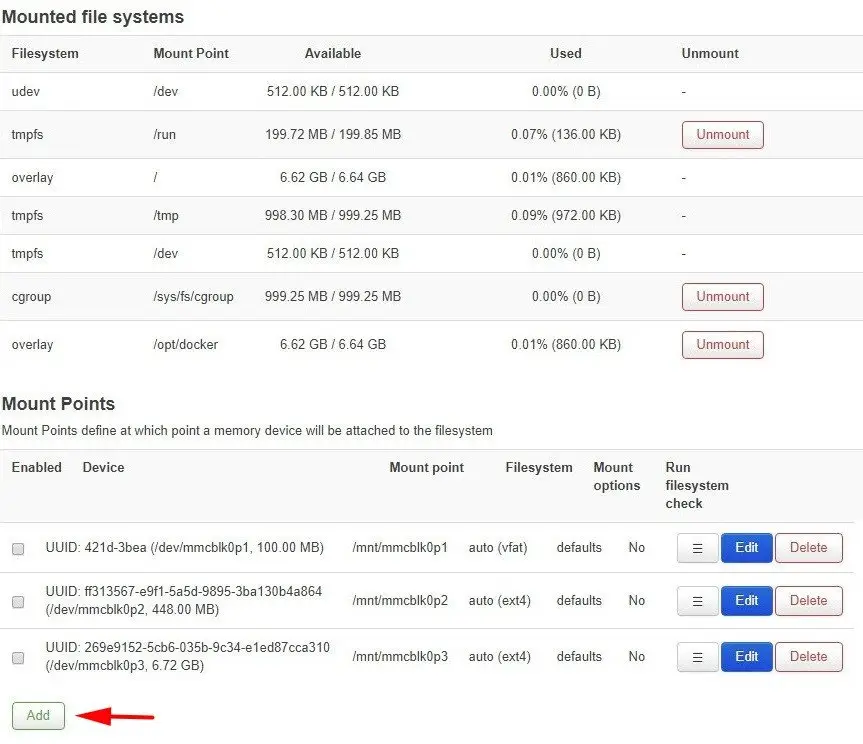
Selecting /dev/sda1 device under the “Device” option.
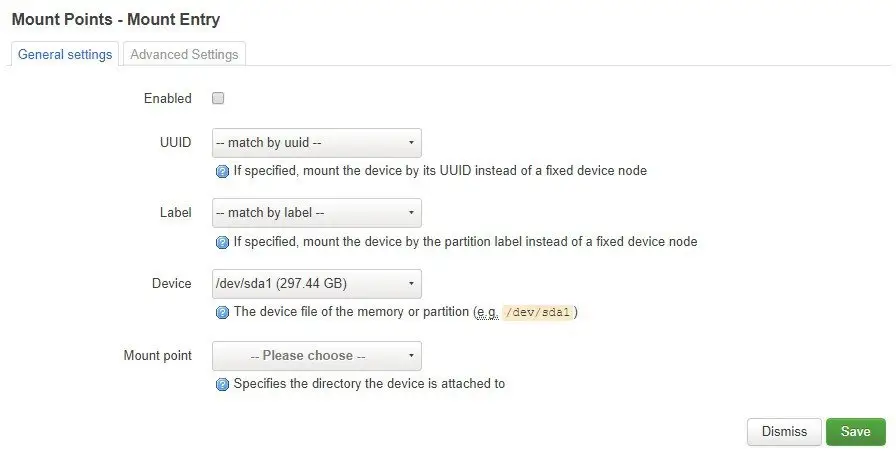
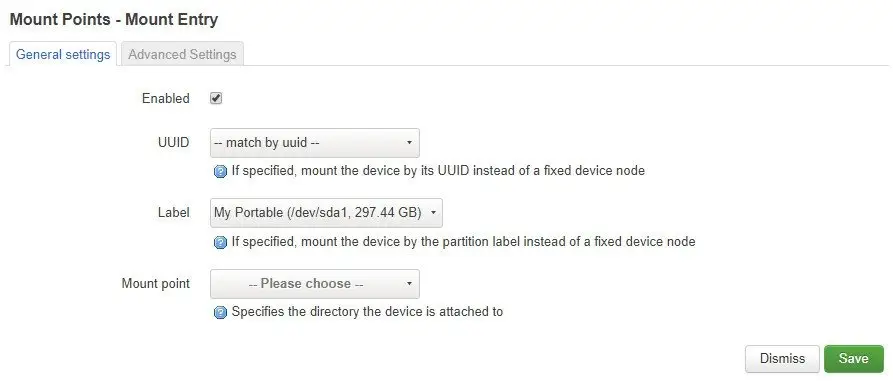
Mounting the hard drive based on the device label name.
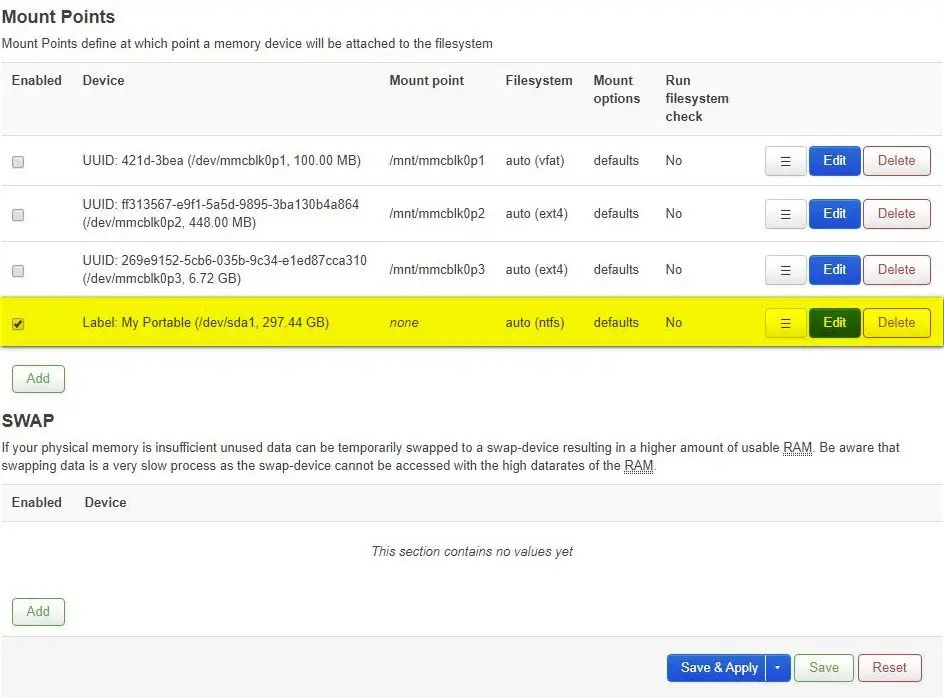
The final result after the hard drive device is mounted:
Step #2: Share the drive on your local network
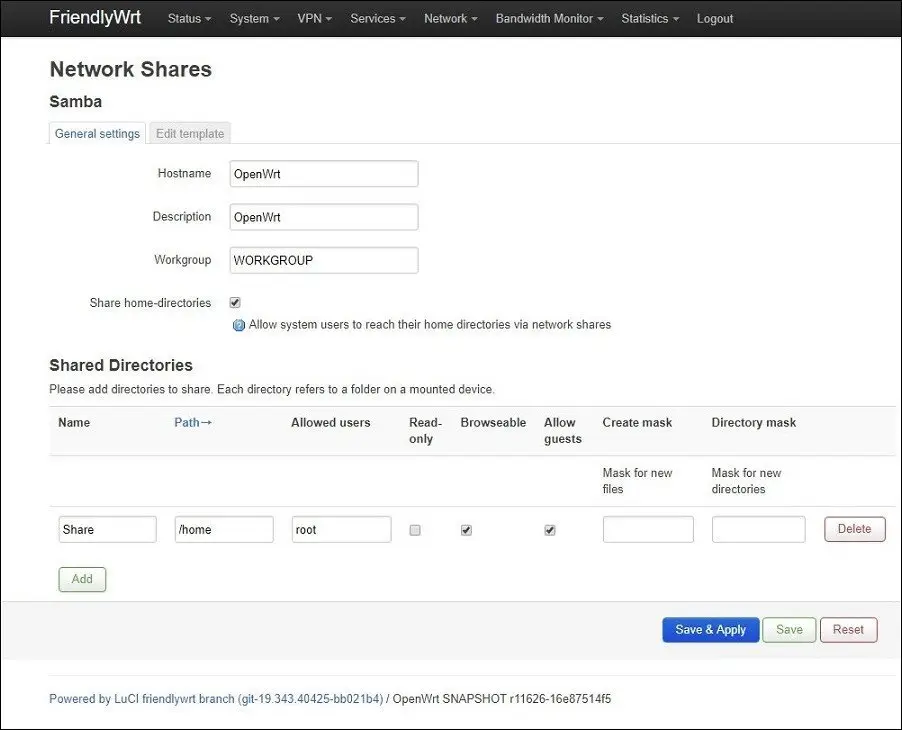
Samba service is installed by default, so you just need to set your Hostname, Description, and Workgroup. Just below you can set preferred share names, storage device mount mounting point path, username, and home directories you want to share.
Services -> Network Shares settings.
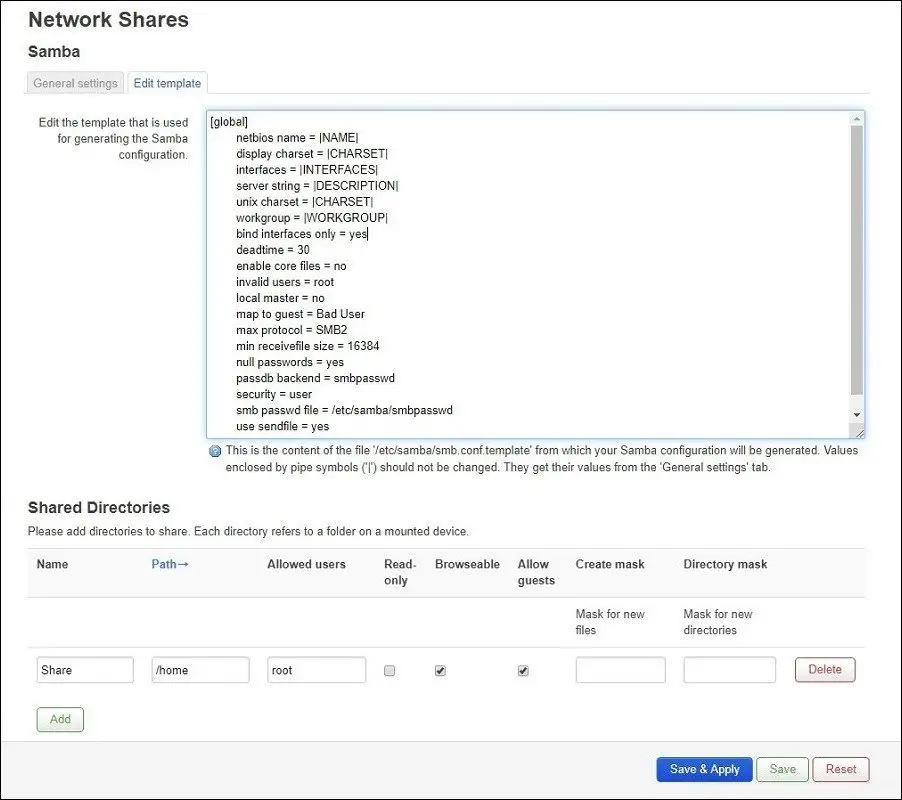
Additional Samba settings:
do you know how to update mer el for this NanoPi_R1. I need bluetooth doesn’t work for me without kmod-bluetooth and its need latest kerbel
I don’t have the NanoPi R1, so I can’t test it. You can email the support team and ask them if there is a solution or ask them to compile a new image with the latest kernel. It’s worth trying..
Or the other alternative is buying a Rockchip board. They usually have better software support.