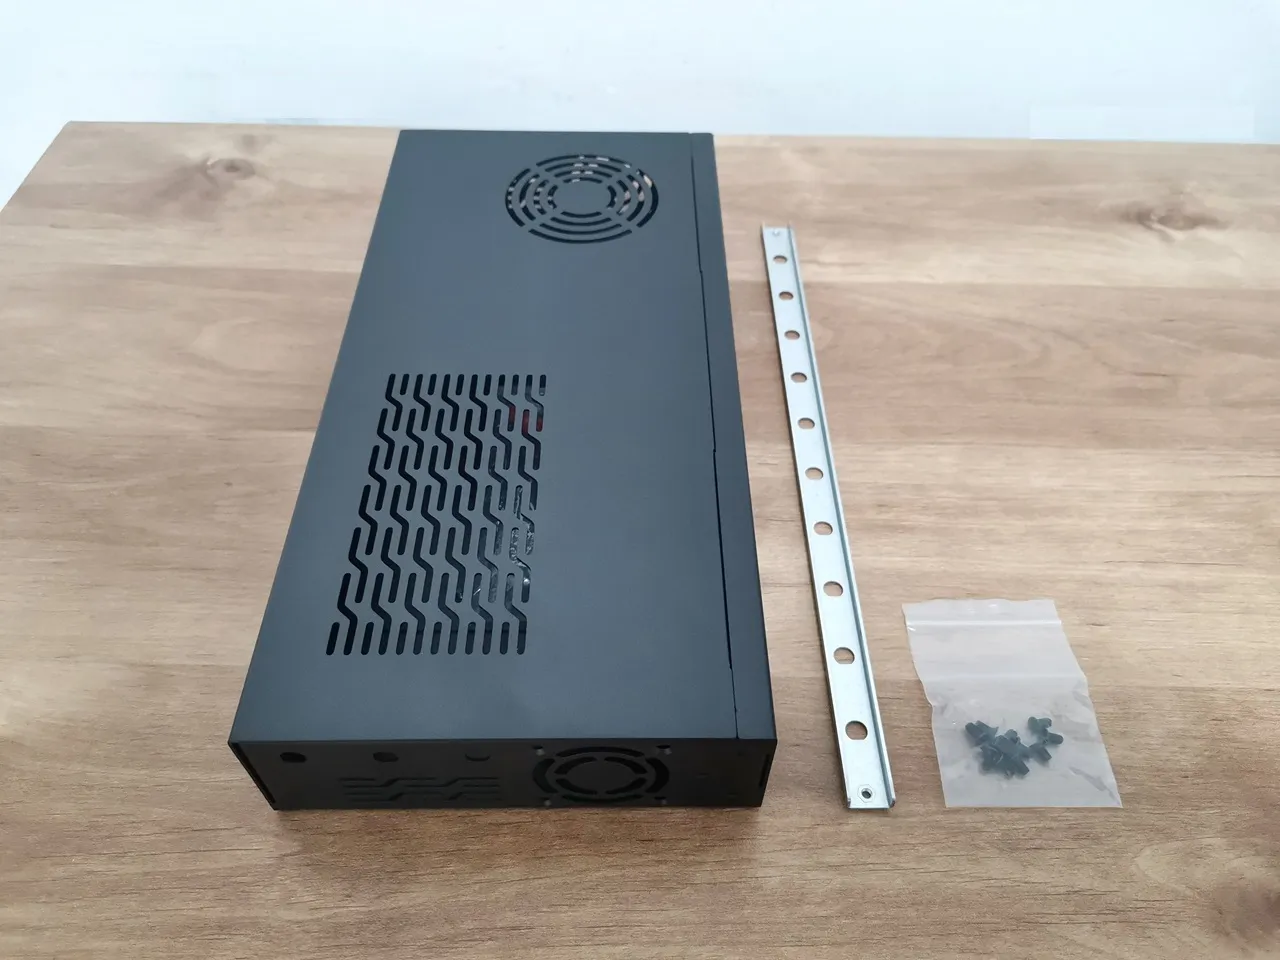
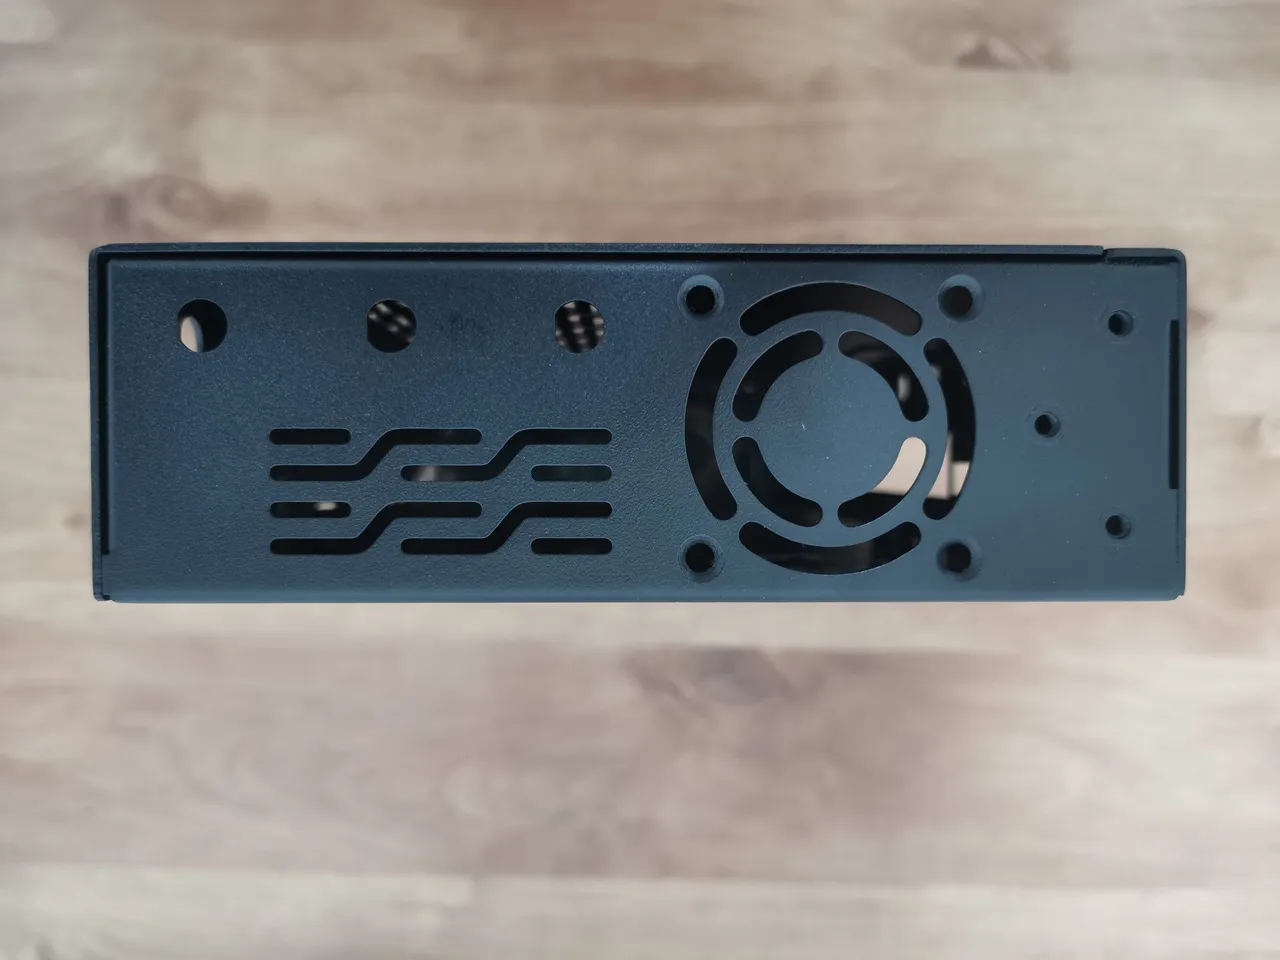
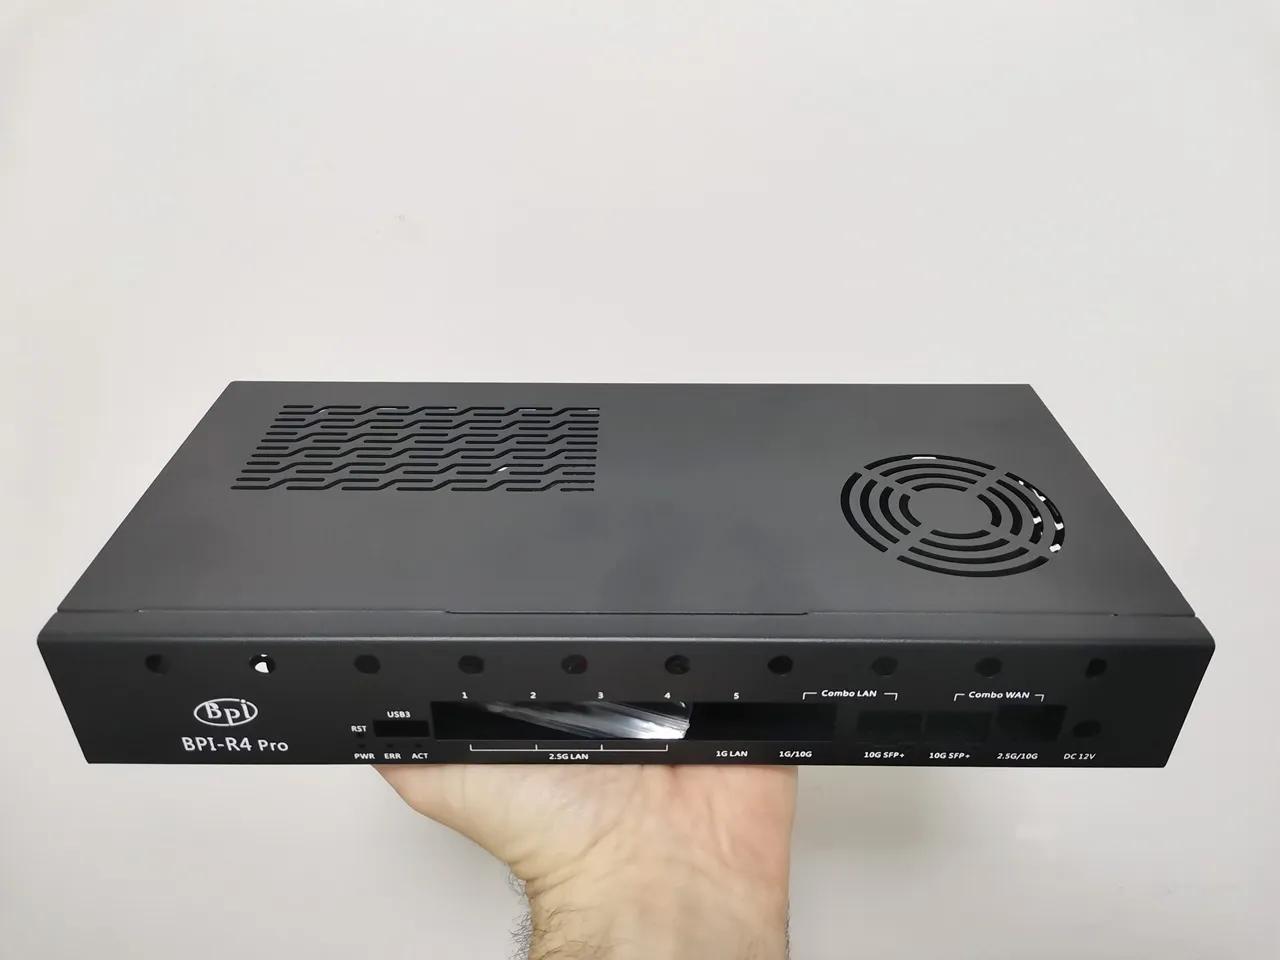
Table of Contents
The Metal Case
This time, Banana Pi designed a well-made case for the board with plenty of venting holes, including space for two side 40mm fans, plus an extra one for blowing hot air out of the case. Depending on the best cooling situation, you can experiment and also reverse the direction of the 40mm fan’s airflow to bring air into the case.
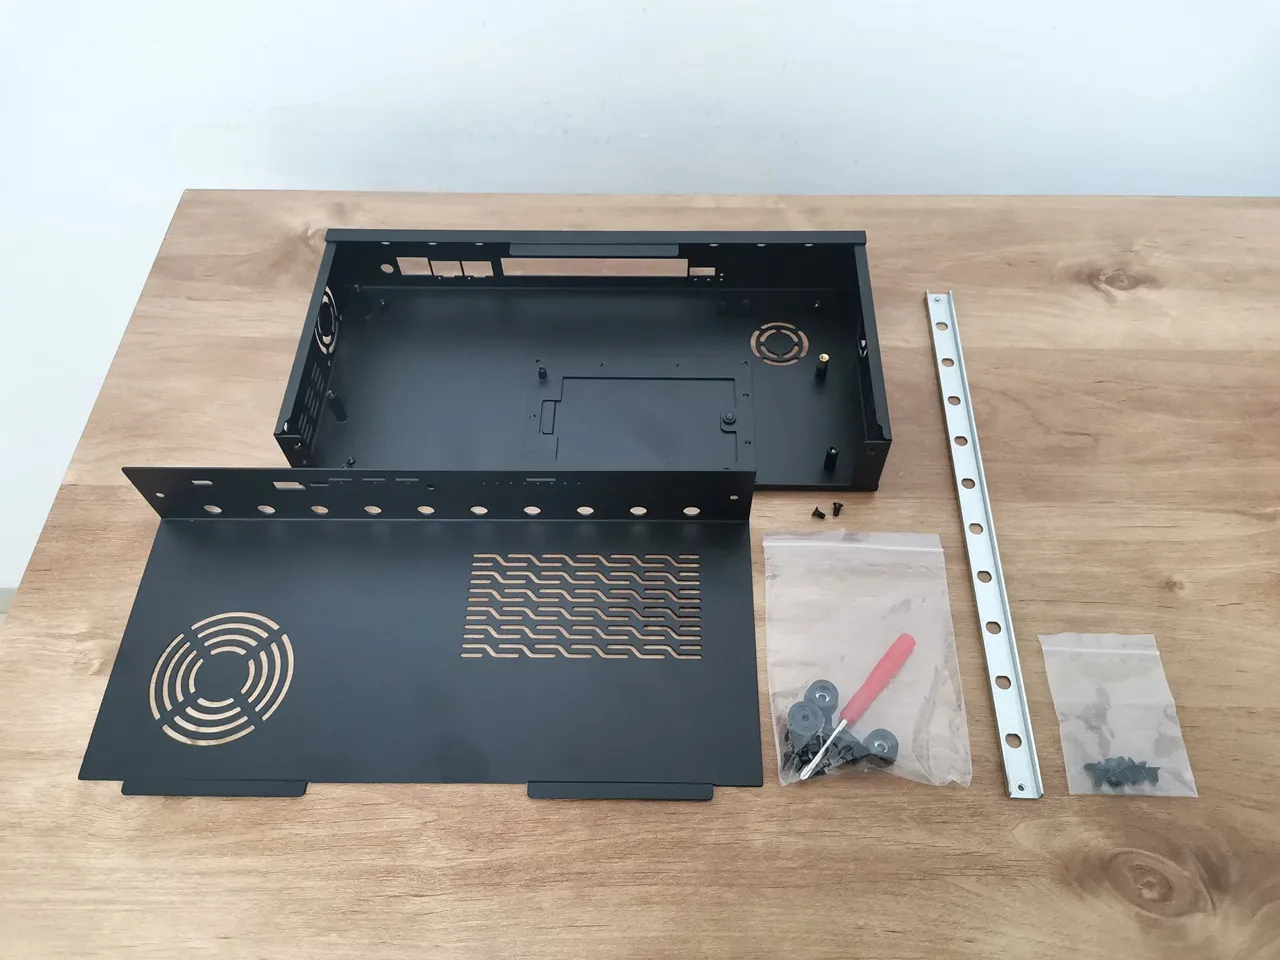
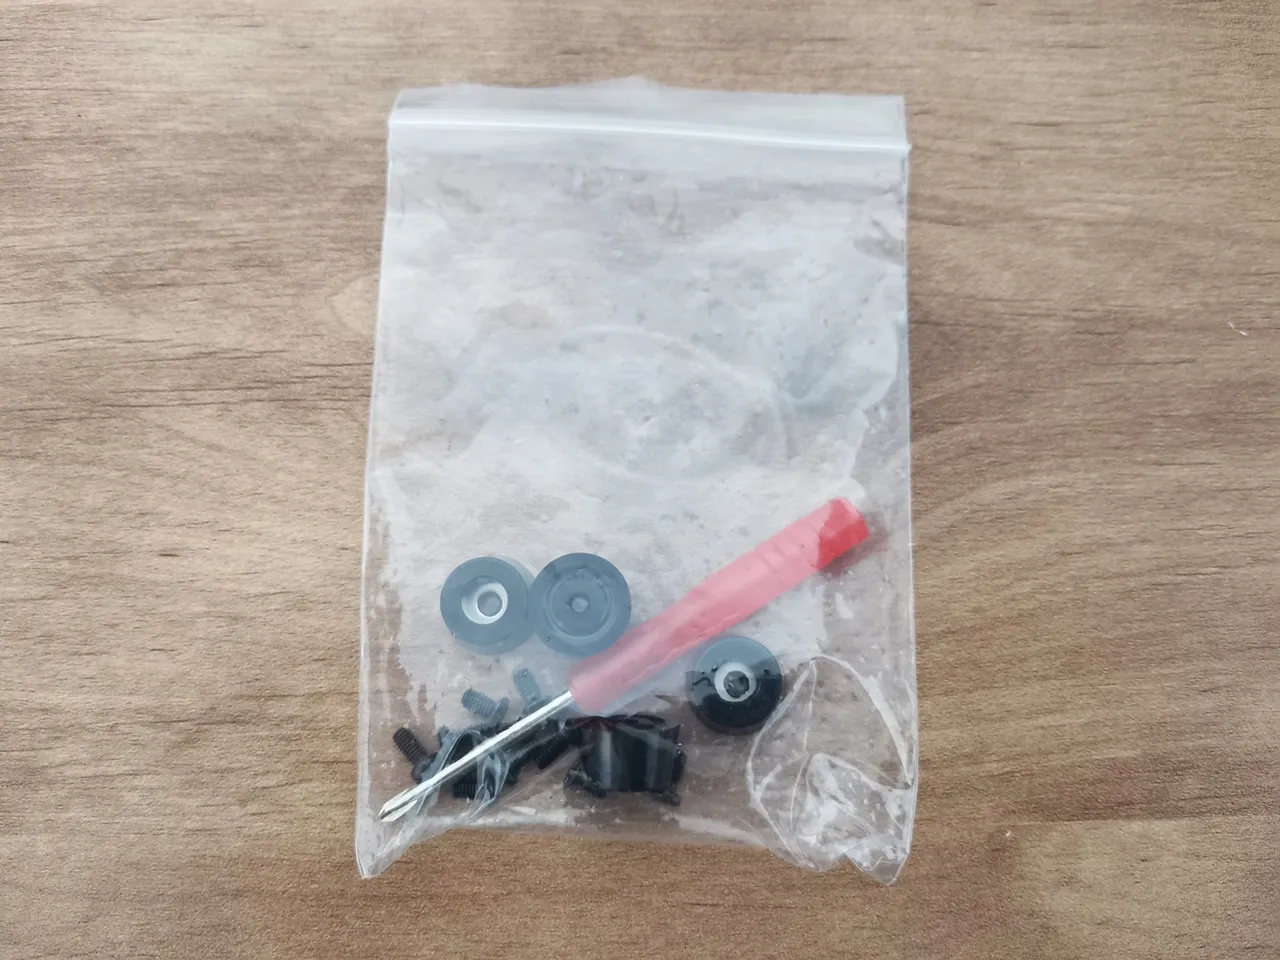
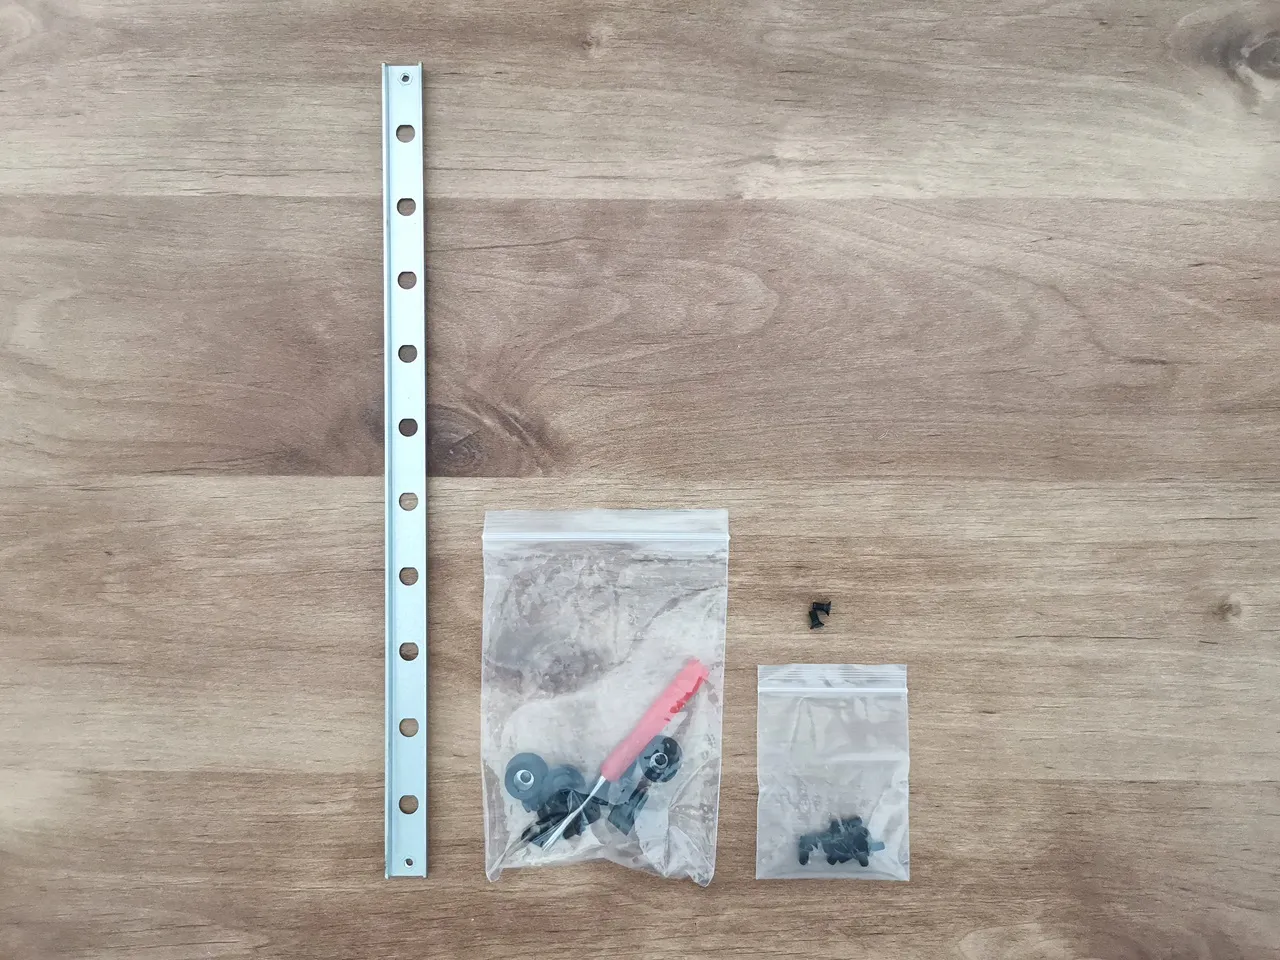
The components of the case
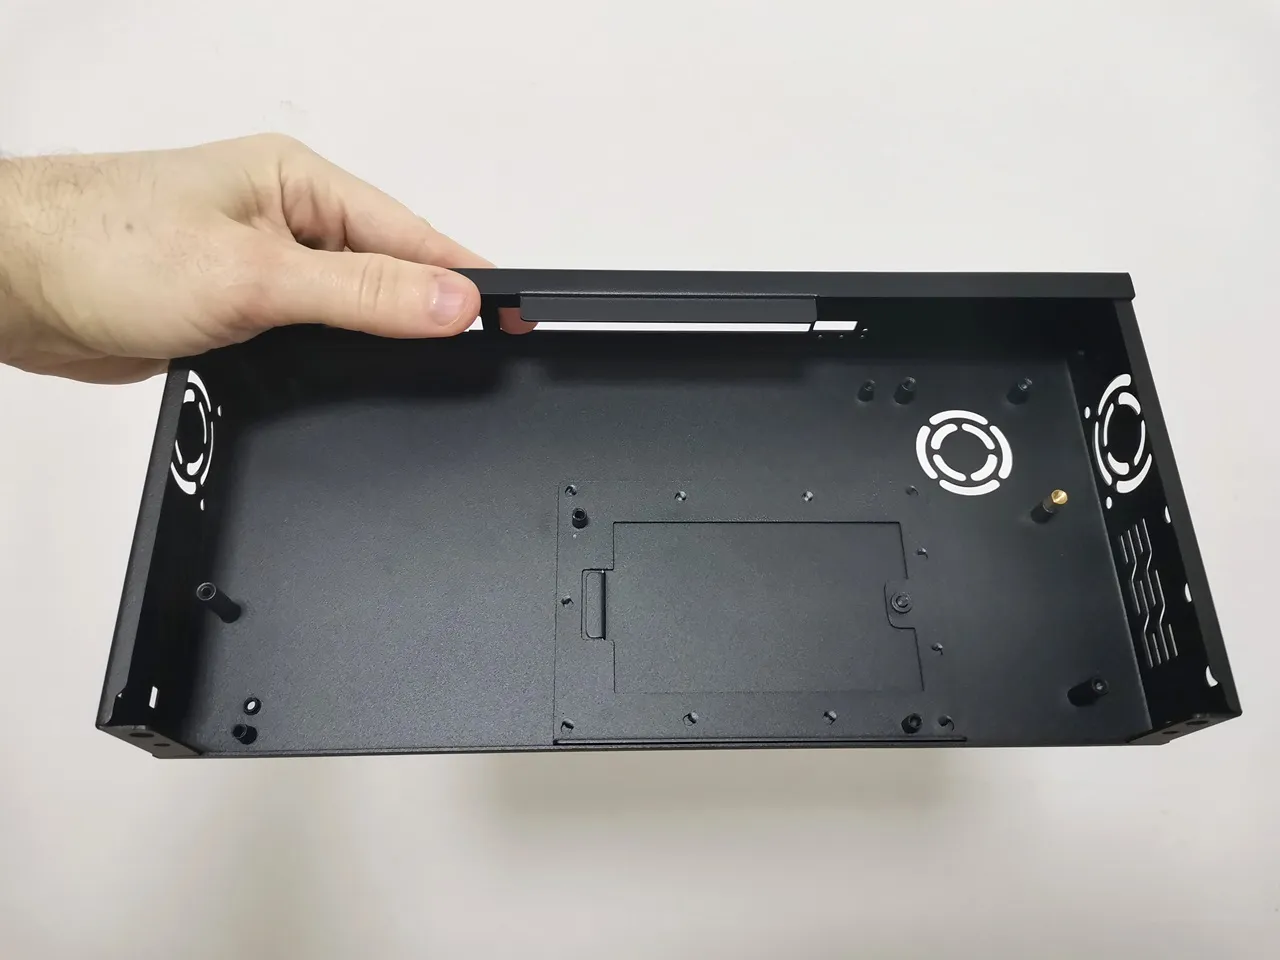
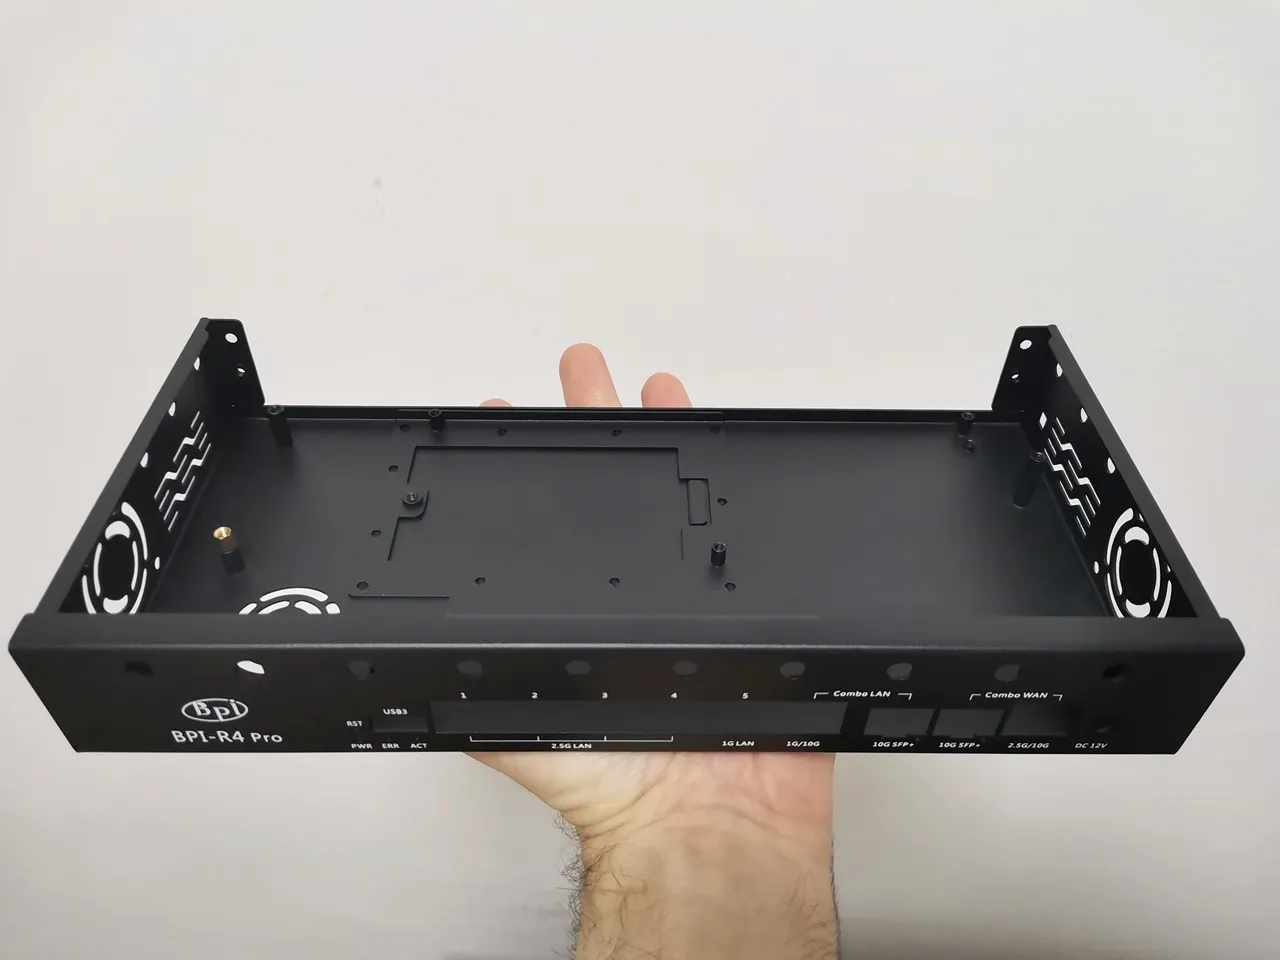
It’s made up of two sheet metal parts: the main cover, which protects the front panel and the top of the case, and the base, where the R4 Pro is secured with four Phillips-type screws. Compared to previous R4 case designs, this new version is a big upgrade and makes it much easier to access and open the case when needed. As mentioned, there are plenty of venting holes and slots, making this item a must-have if you’re planning to buy the R4 Pro board.
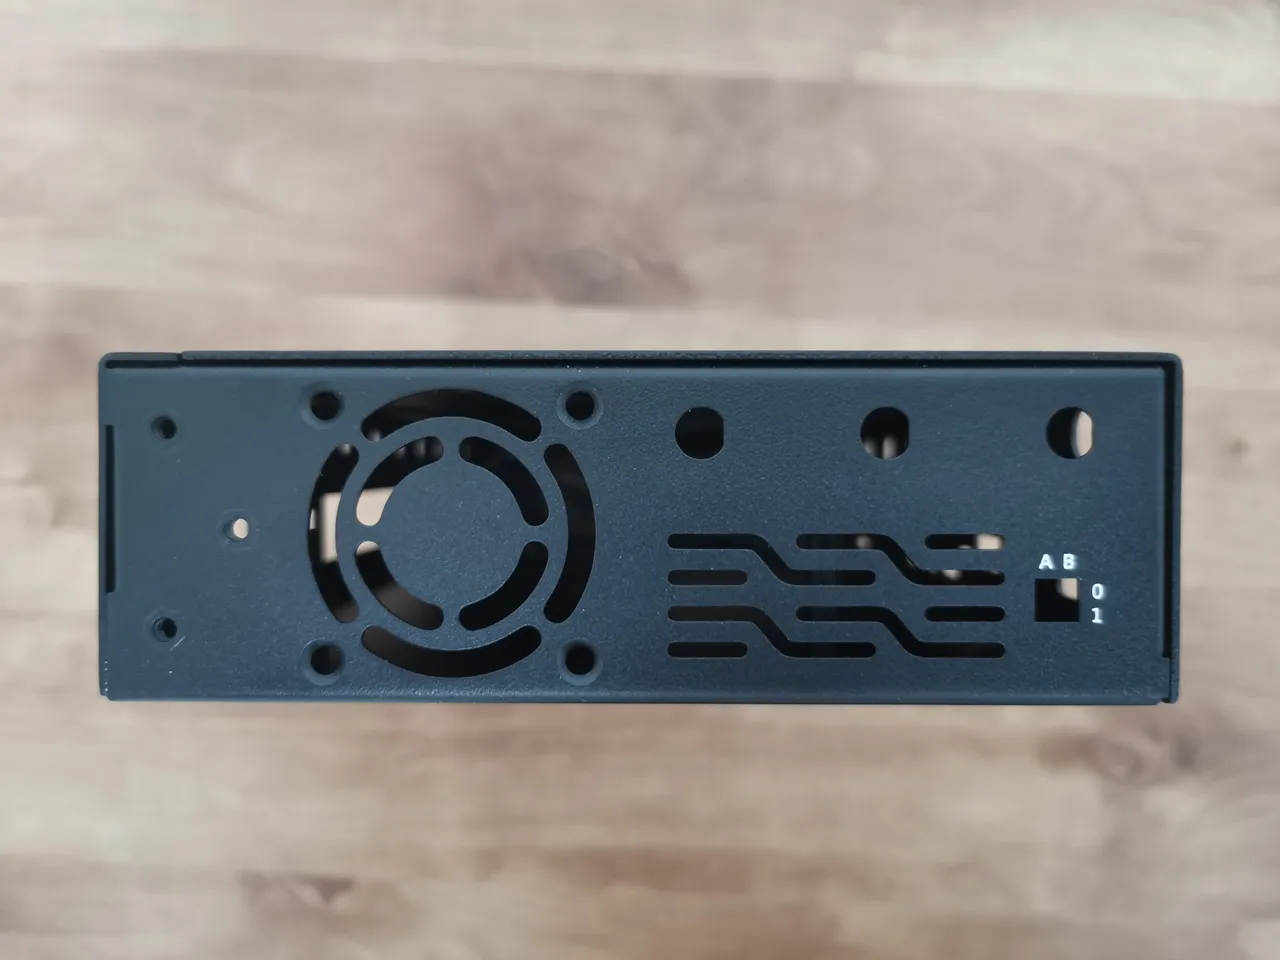
A full view of the metal case


There’s also a major upgrade if you plan on using NVMe SSDs!
The Banana Pi team designed a small compartment at the bottom of the case, allowing quick and easy access to NVMe SSDs so they can be swapped out whenever needed without reopening the case.
Accessing the NVMe slots from the bottom of the case.


Installation experience
It was a bit tricky, but we got it sorted—the holes on the back for the Wi-Fi antennas intentionally don’t have cutouts for the antenna nuts. Instead, the company provided a metal rail with the necessary cutouts that attaches to the base of the case with two screws. This design approach allows users to freely open the cover while the antenna nuts remain assembled on the metal rail.
Assembling the main components of the case

Overall, the case design is great, but there’s one small yet important drawback: it lacks holes for mounting a top 60 mm cooling fan. If you want to add one, you’ll need to drill four holes in the cover or use strong adhesive to attach the fan directly.
Installing the side-mounted fans
The BPI-R4Pro comes with two fan connectors designed for 4-wire PWM-controlled fans, just like those on standard PC motherboards. Powered by a 12V supply, the fan was easy to install, making the whole setup quick and effortless.
As another setup option, you can add a 5020-blower fan mounted at the bottom of the case to pull air in from the outside. Just keep in mind that to make this work, you’ll need to use only one side fan, since there are only onboard two fan sockets available in total. A simple workaround that might work well is using a cable splitter, so it’s definitely worth a try.
Installing the 4010 side fans


It is already on presale.
Yes, I know, thank you.
Hi, the main problem about the BPI R4 is its BE14 Wifi NIC (6 antennas and many shielding/noise problems).
In your pictures, we can clearly see the new BE19 NIC with 14 antennas: did you test it? Is it going to be released to the public this year? Thank you!
HI. Not yet, but from what I’ve heard, it should officially be released in a few weeks.
Thank you so much! Will you make a new post when the BE19 will be out? Did you have the R4 Pro for testing or these are just info from the company?
Not yet, but I’ll probably test the R4 Pro and the Wi-Fi expansion board and review them once both are ready and available.
For now, it’s just general news info.