
Putting all the items together
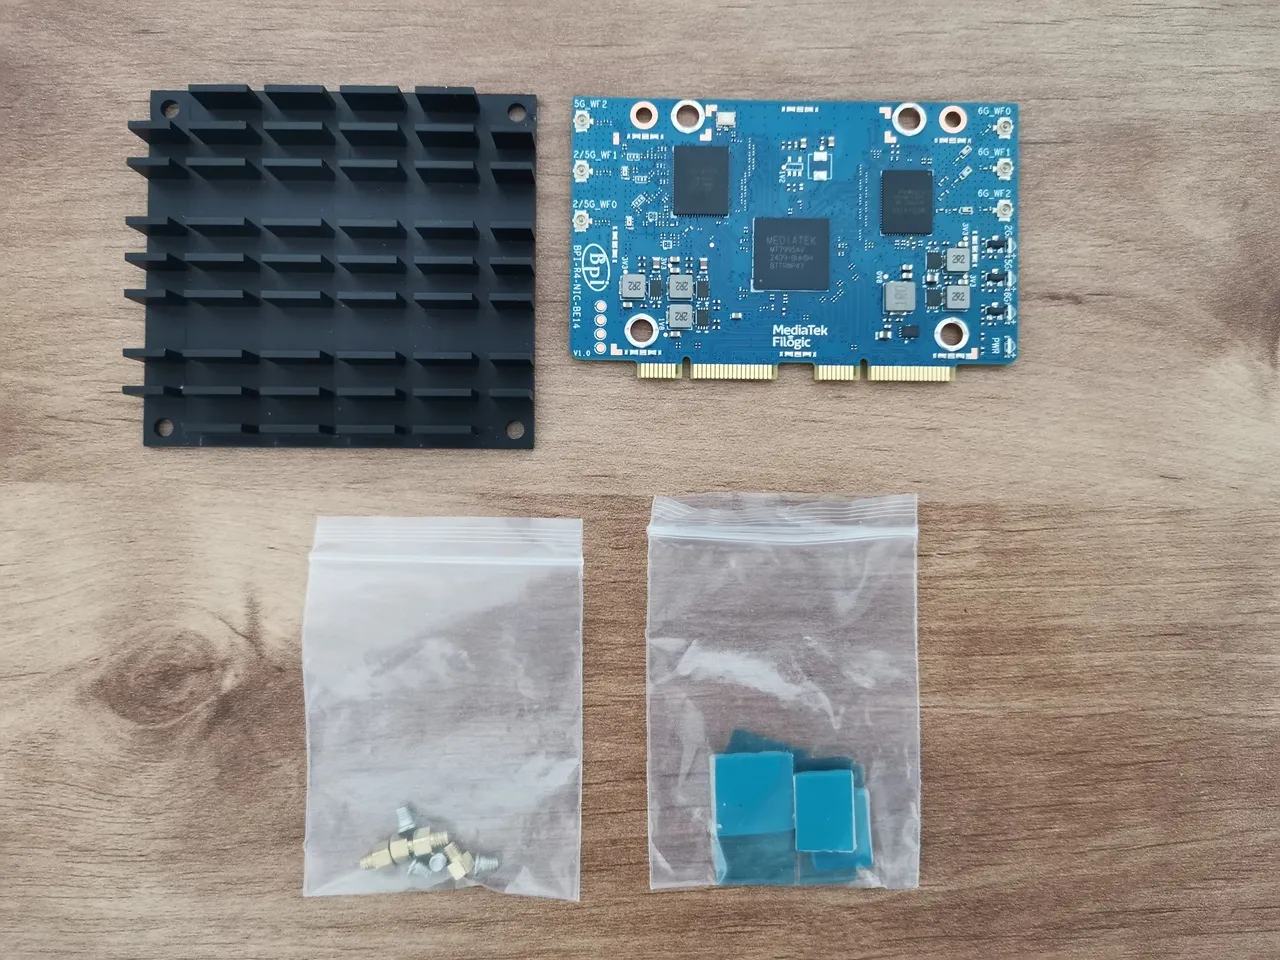
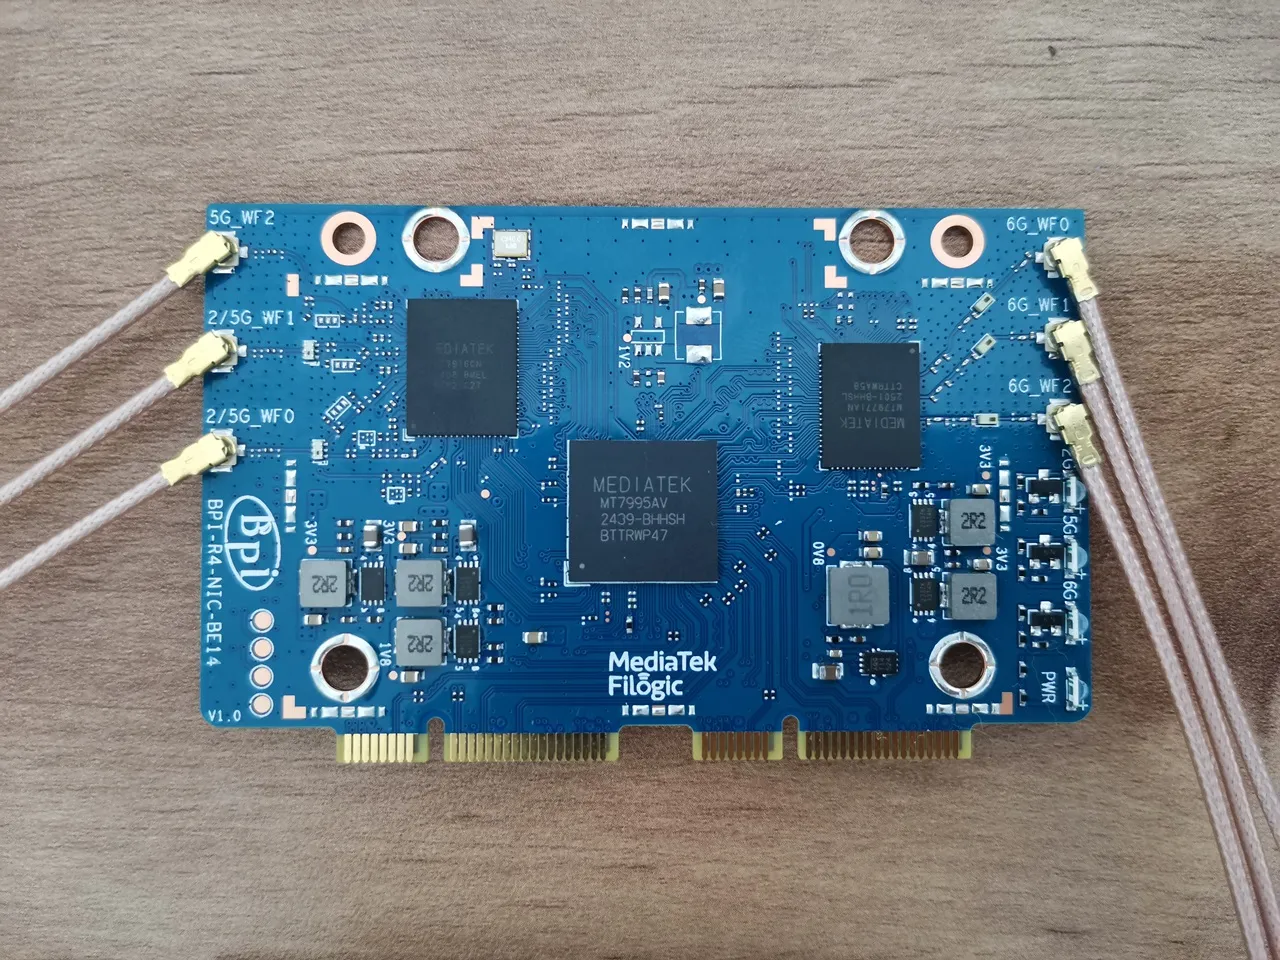
Installing the NIC WiFi 7 Module (BE14)
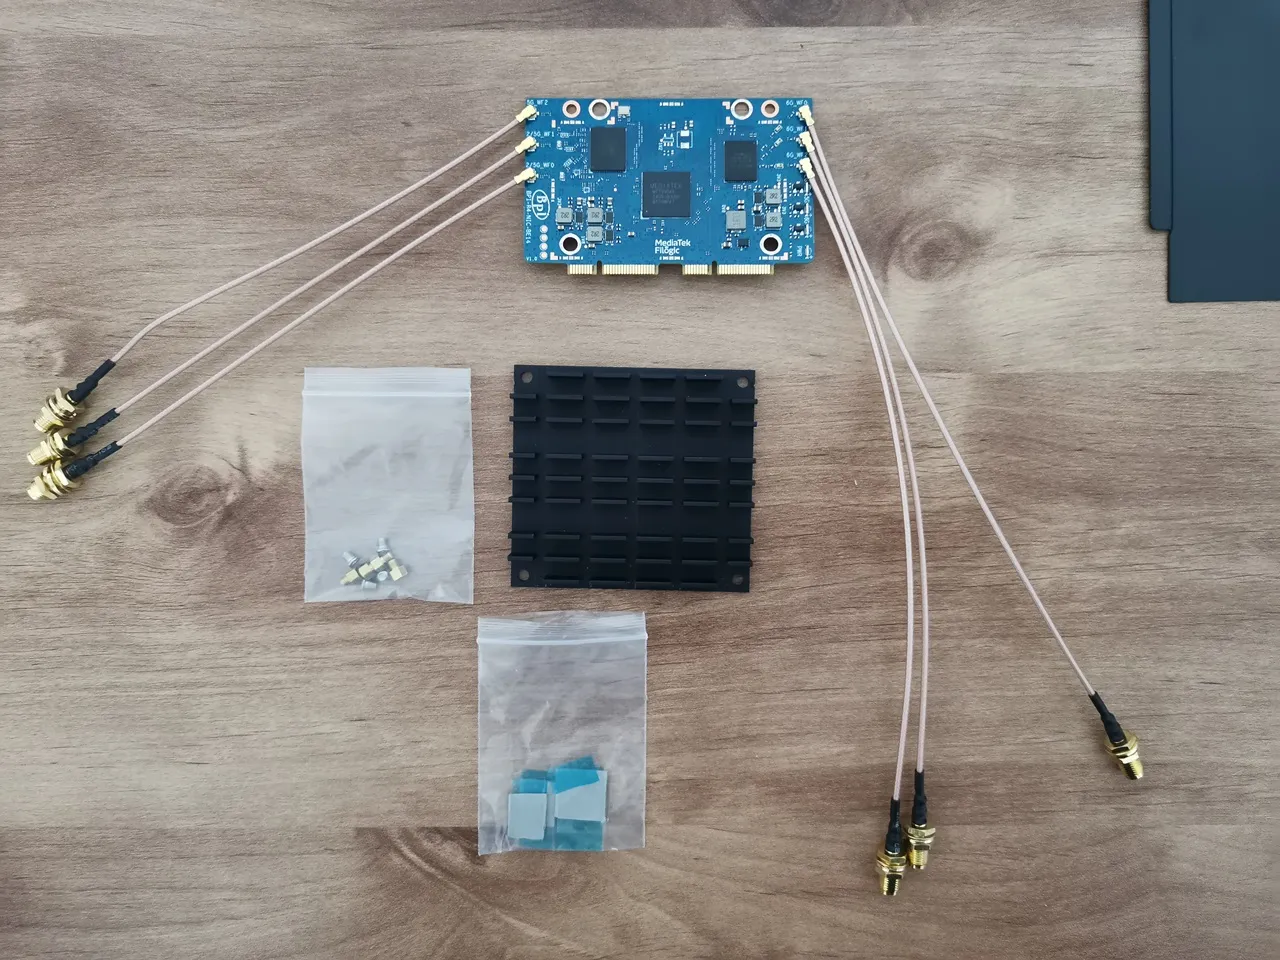
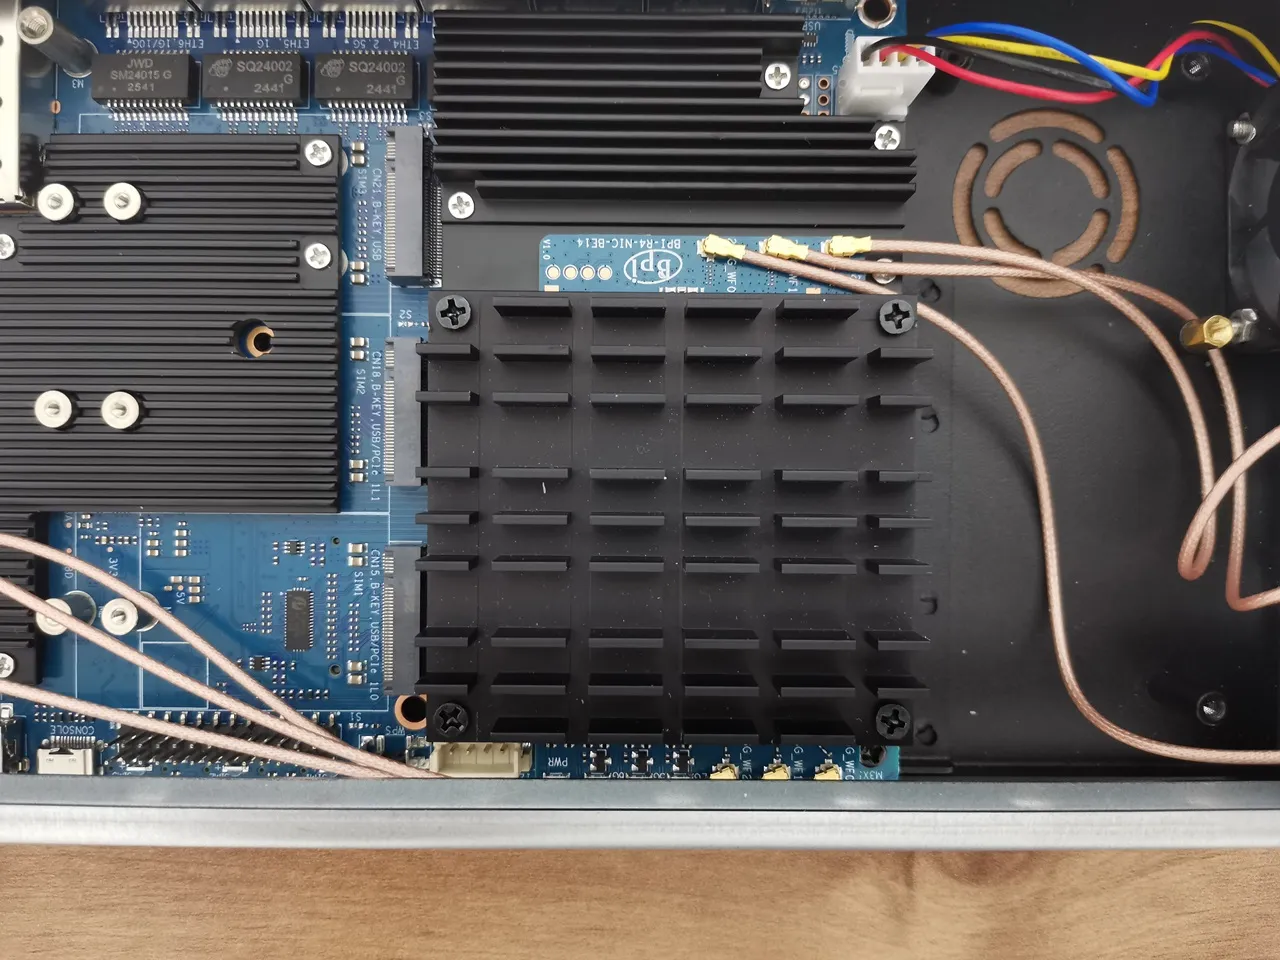
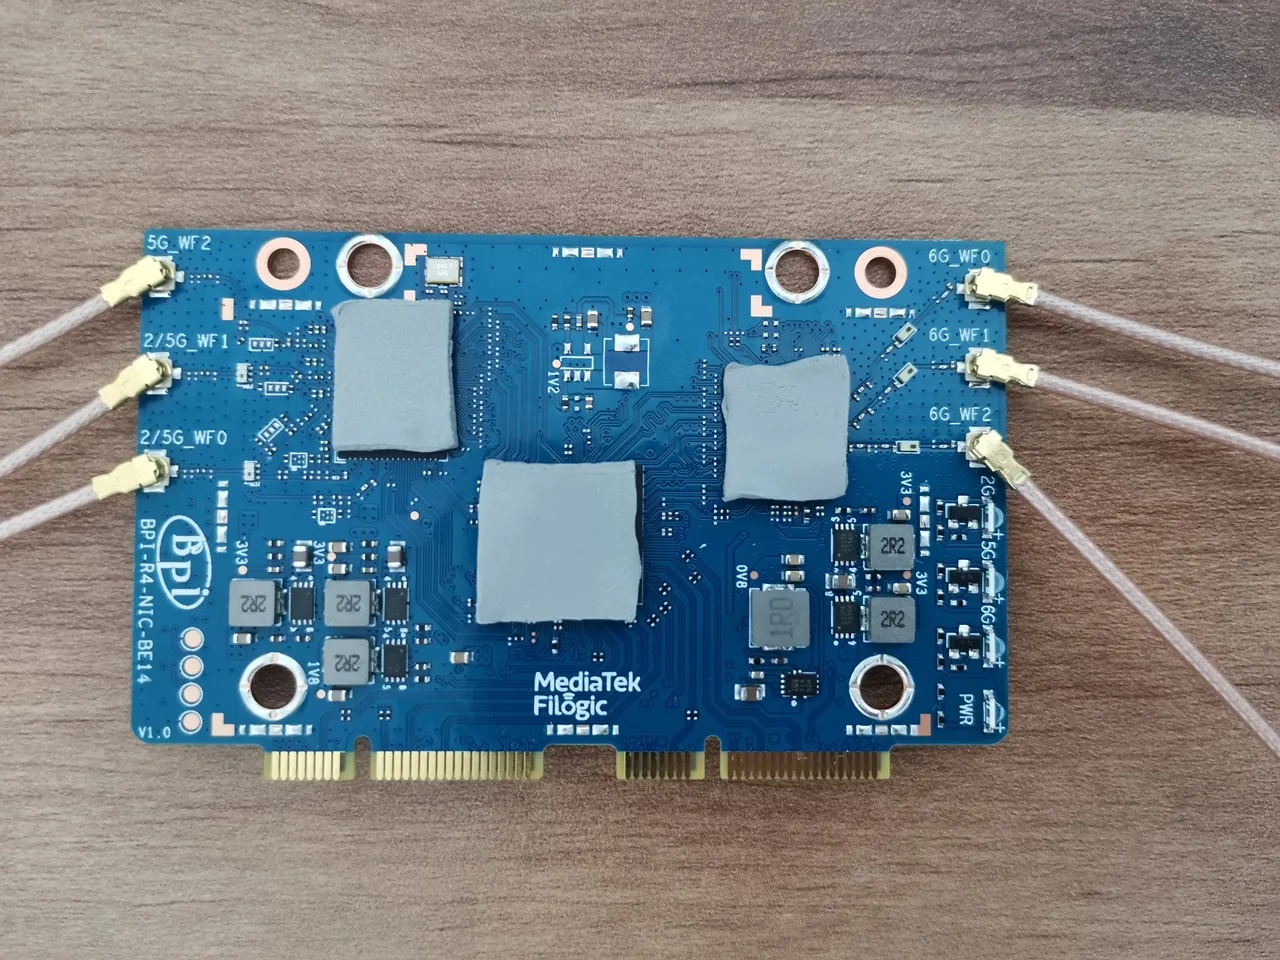
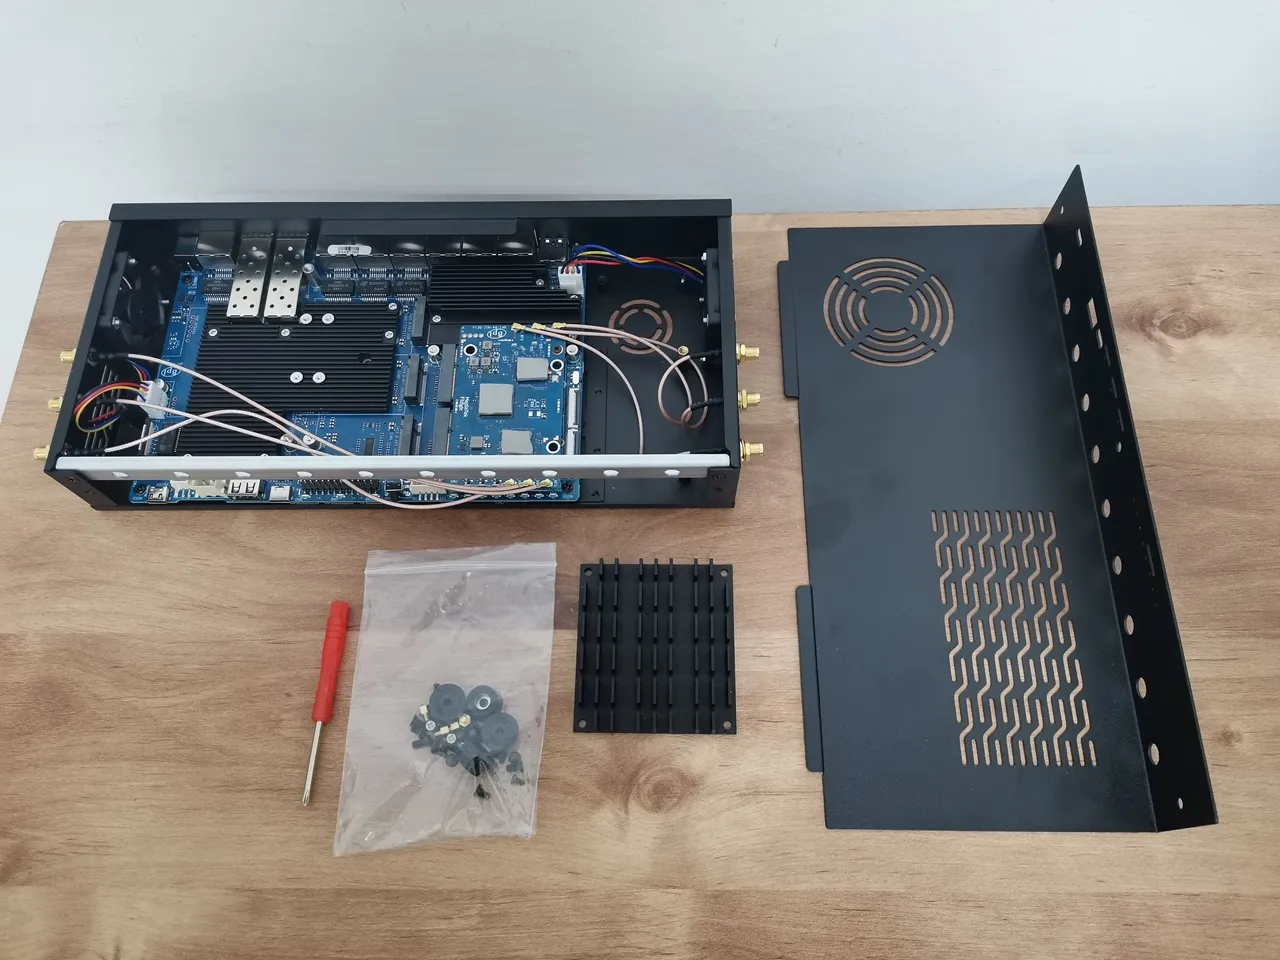
After assembling the R4 Pro board, the installation was pretty straightforward. The E14 NIC kit comes with three conductive thermal pads to place on the chips. To attach the passive heat sink for the NIC, we used the provided nuts and secured it with four Phillips-type screws. Lastly, you’ll need to switch the voltage switch on from off state, so the NIC receives the required 12V power.
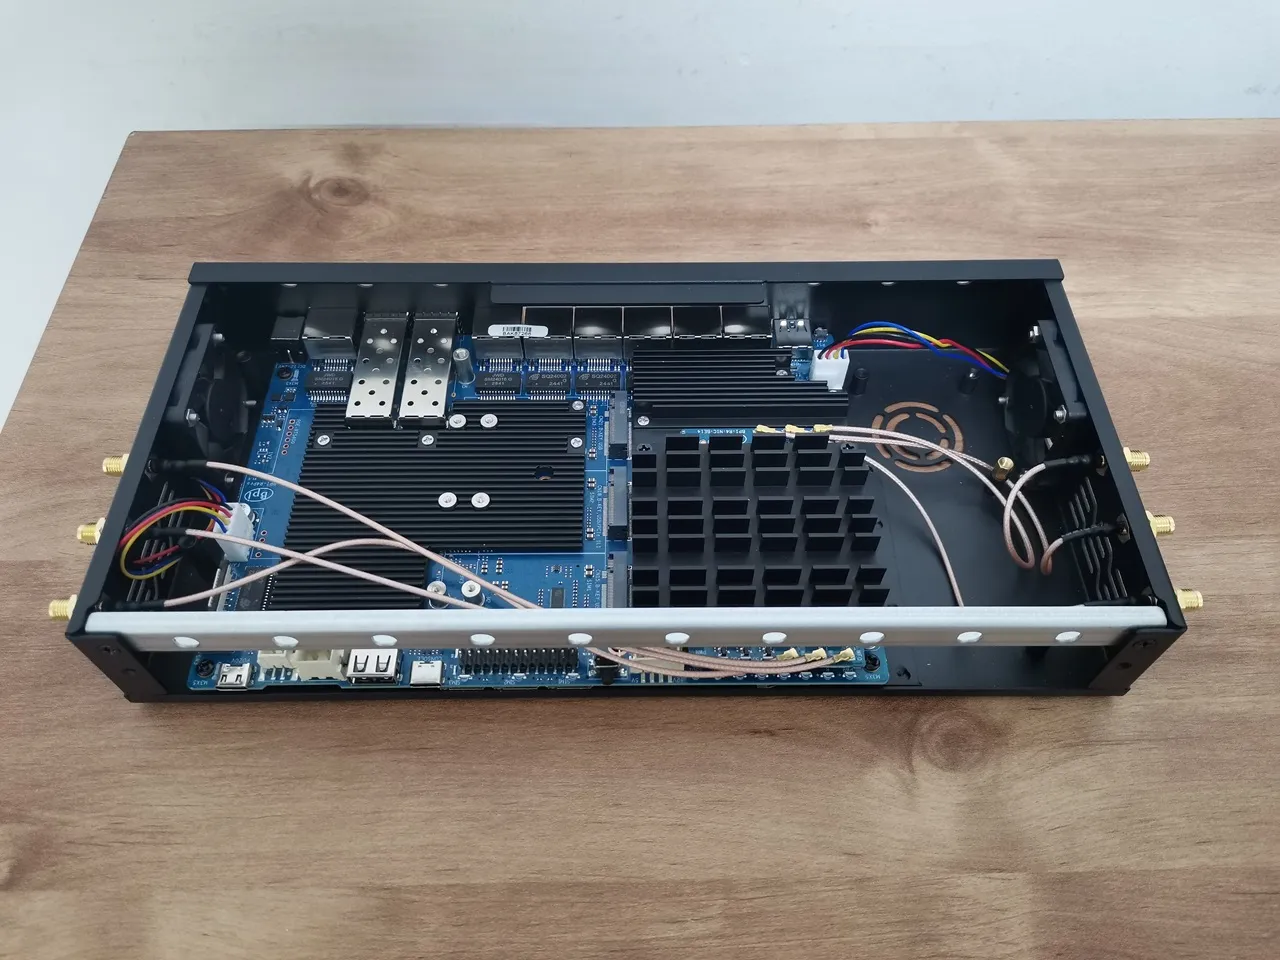
Cooling the NIC module properly is very crucial. From past experience installing it on the R4 board, it tends to get really hot. According to the Banana Pi documentation, there’s also a heatsink version with a built-in fan, which could be a great option for more intensive use. That said, everything fit together perfectly as expected.
Installing the BE14 NIC Wi-Fi module
Upgrading to future WiFi NIC modules
Design-wise, the R4 Pro Case is intentionally elongated to 80mm (wide), allowing it to accommodate future NIC modules like the expected BE1900, which is built for enterprise-level performance applications.
Casual users and professionals alike will be able to upgrade to this board once it’s available. From our experience, the BE14 performs just as well in home and office environment setups.
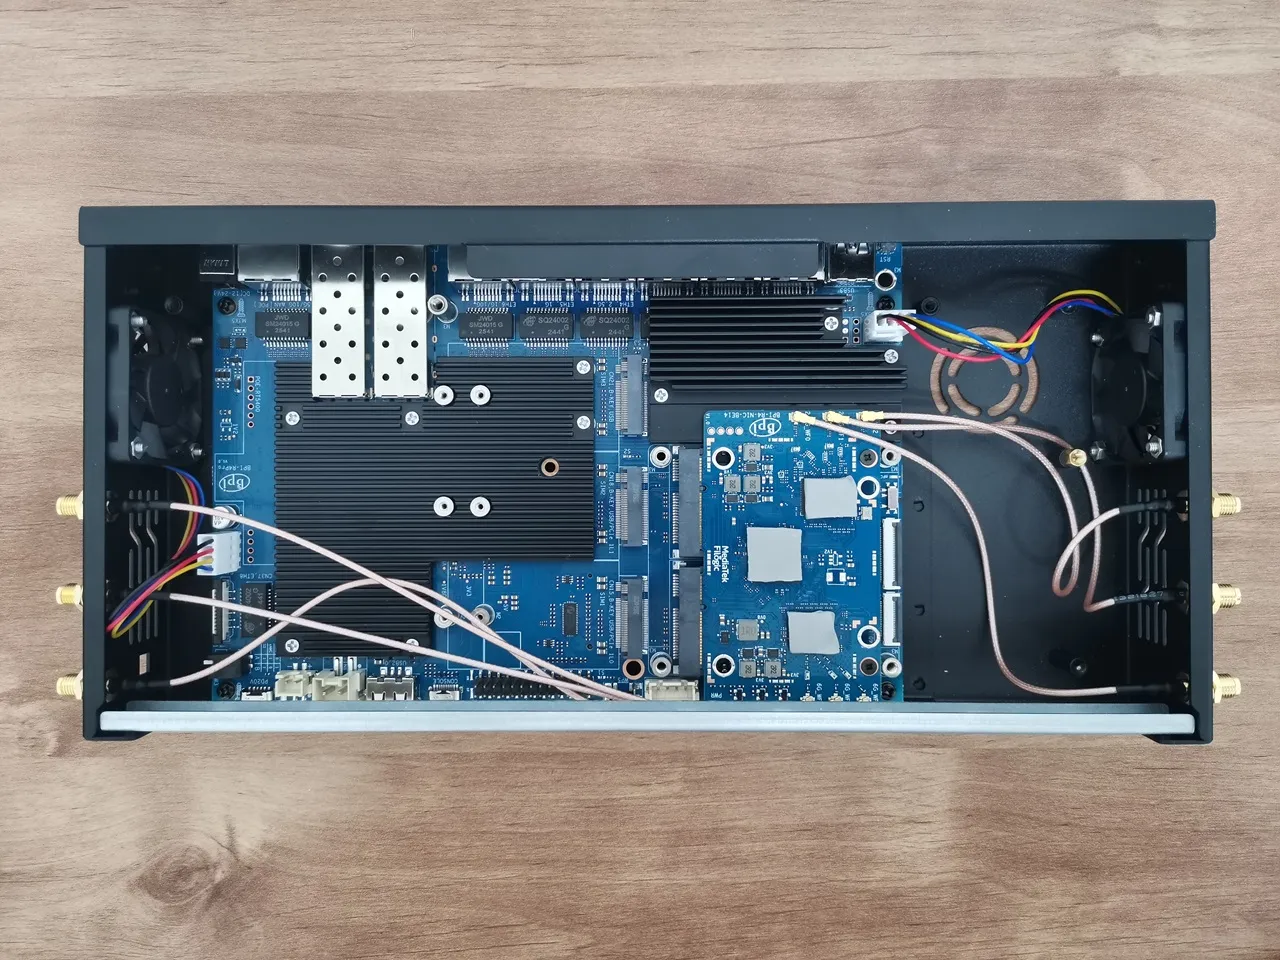
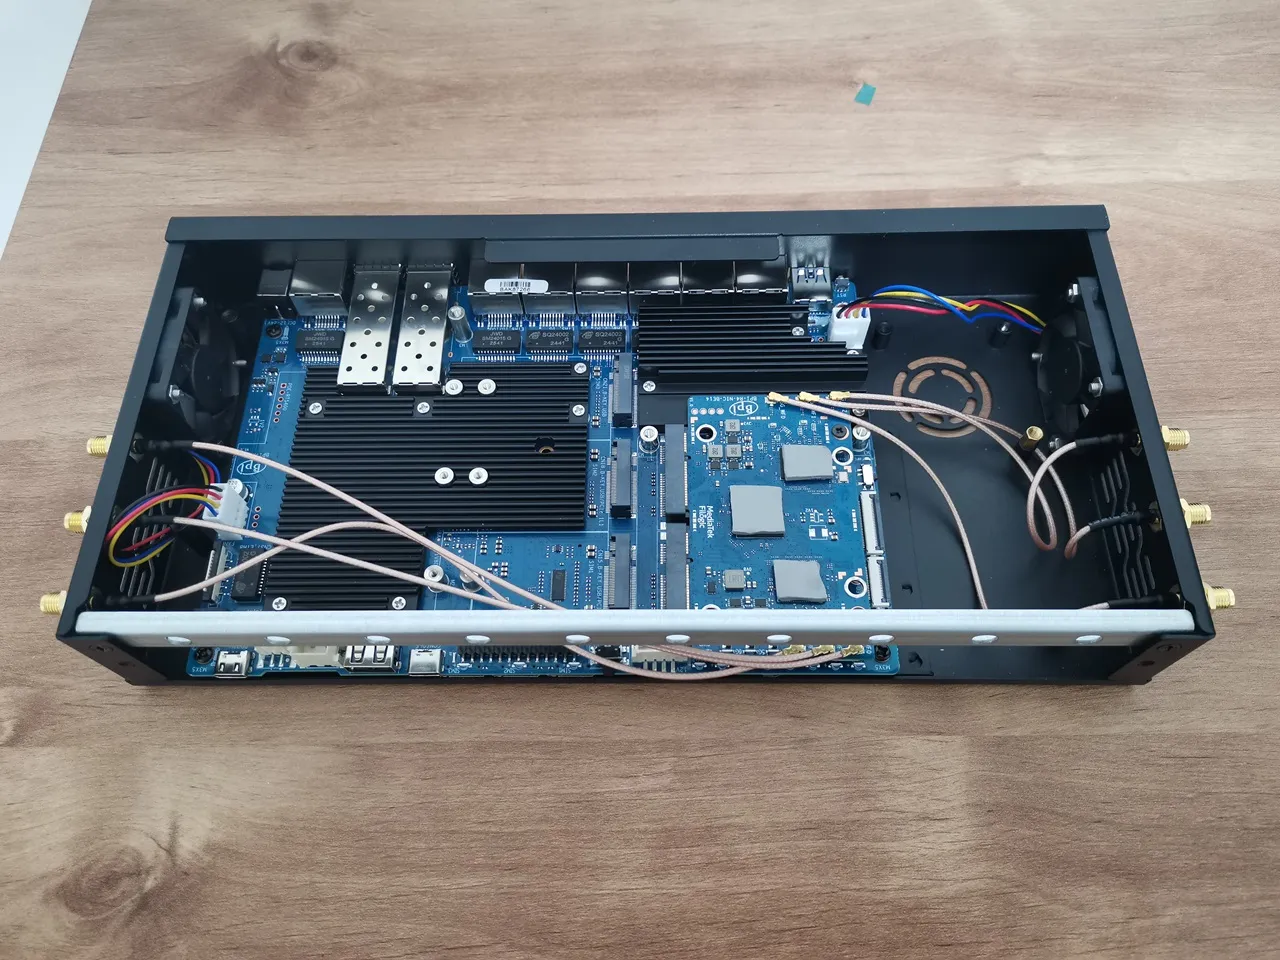
Arrangement of Wi-Fi antenna cabling
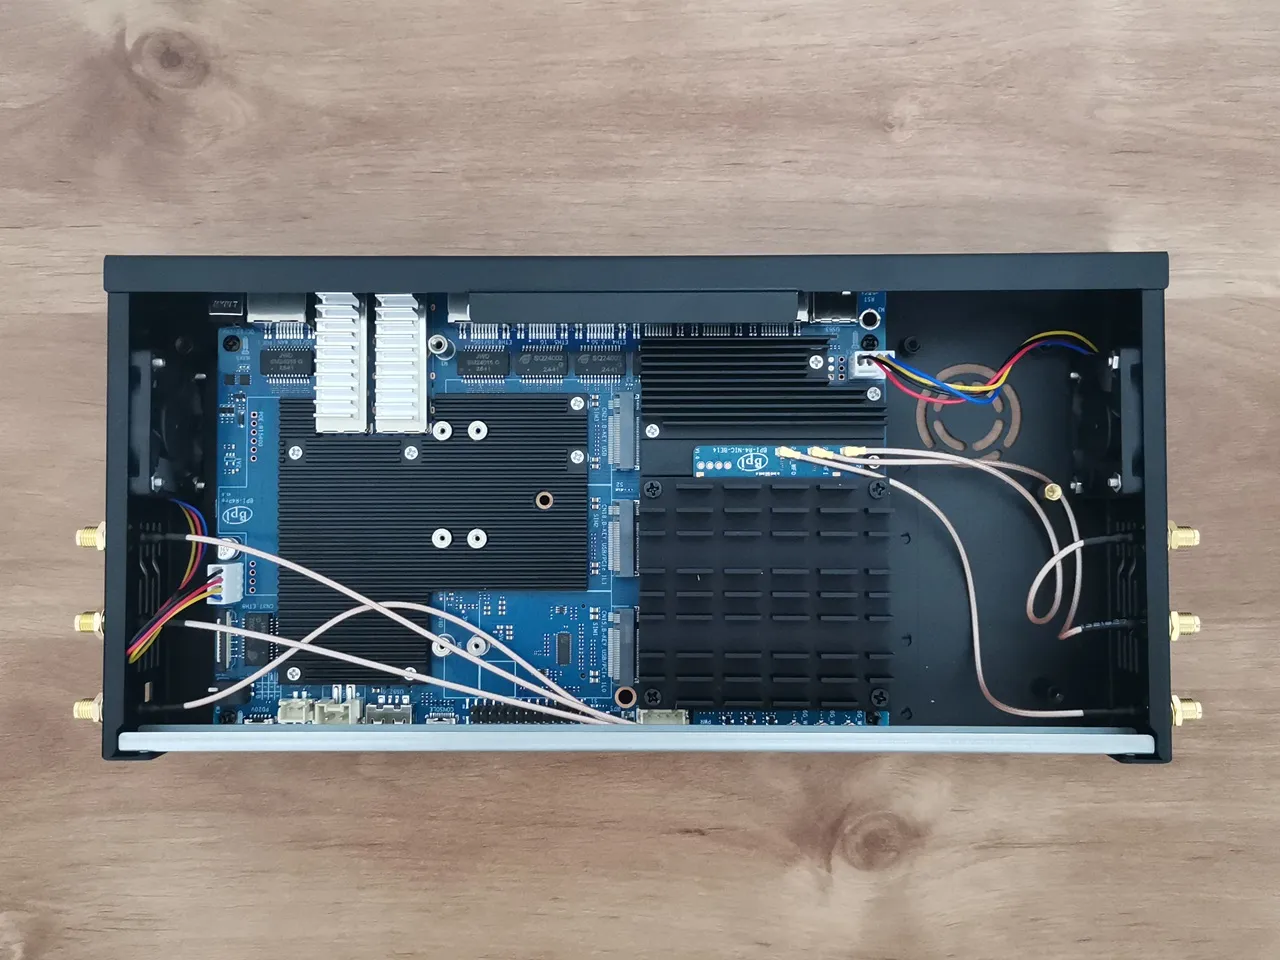
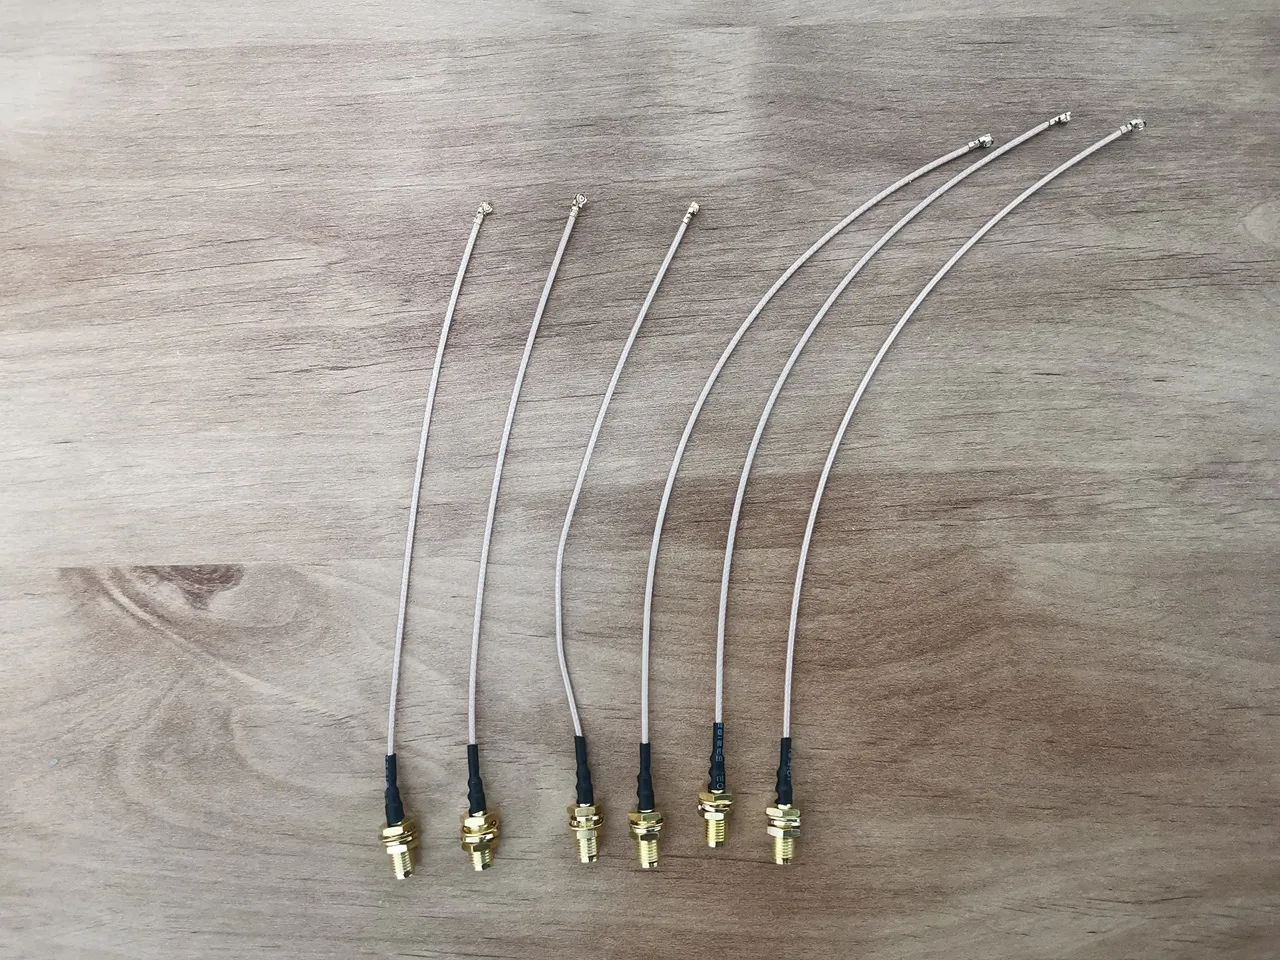
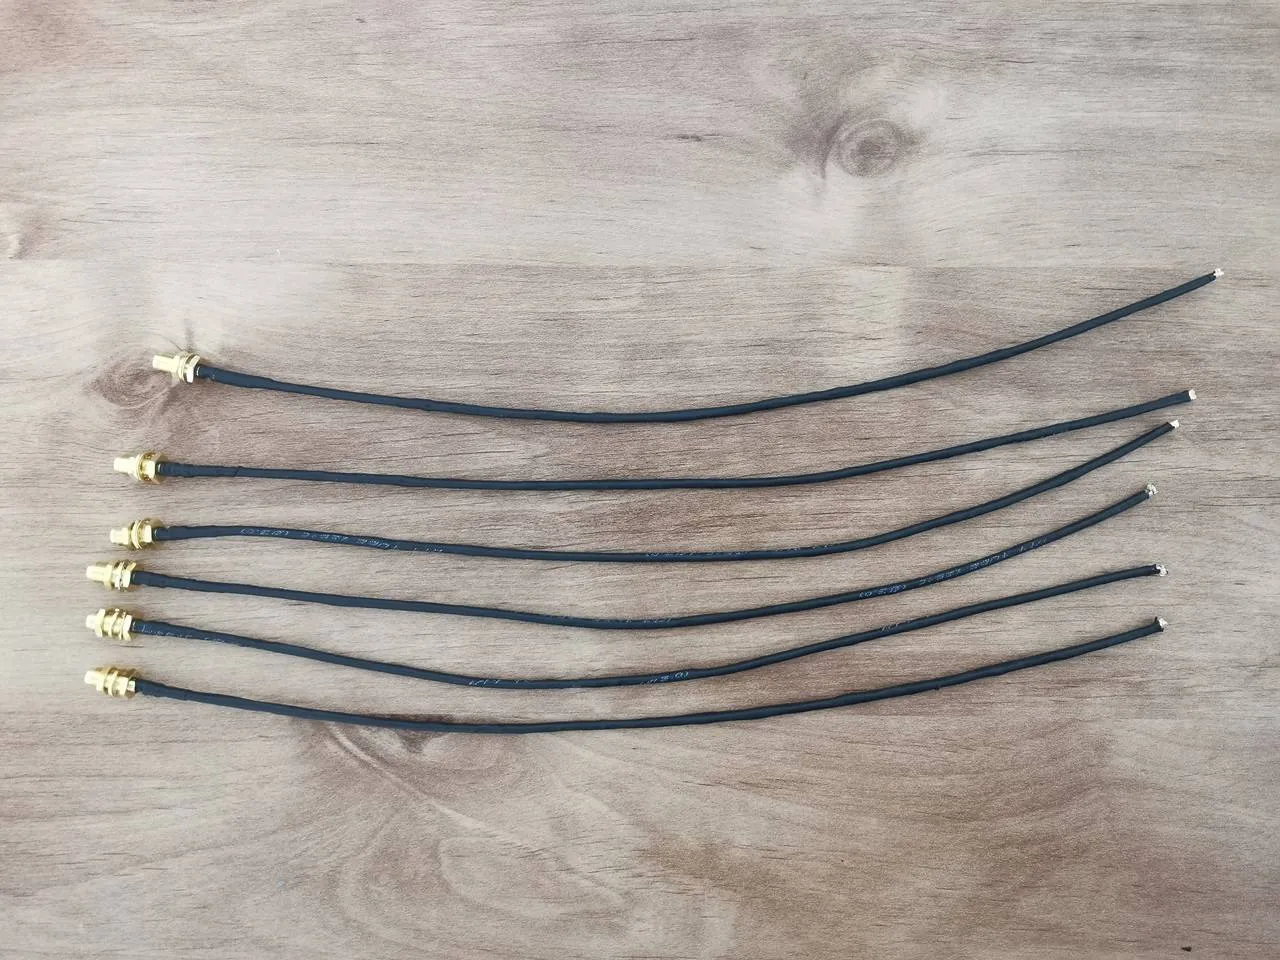
In our setup, we used three antenna holes on each side of the case, for a total of six. The case has 26 antenna holes altogether, with ten in the front and ten in the back, so wiring length isn’t really a concern. If you plan to use the side holes like we did for the BE14 NIC Module card, we initially tried shorter wires as shown in the photo, but we recommend using six 25 cm wires with RP-SMA female connectors.
Alternatively, the wiring can be routed beneath the main R4 Pro board, though placing it above may help reduce electromagnetic interference. Either setup is optional or largely depends on the user’s preference and convenience.
Shielding Wi-Fi cables in the most affordable way possible (Optional)
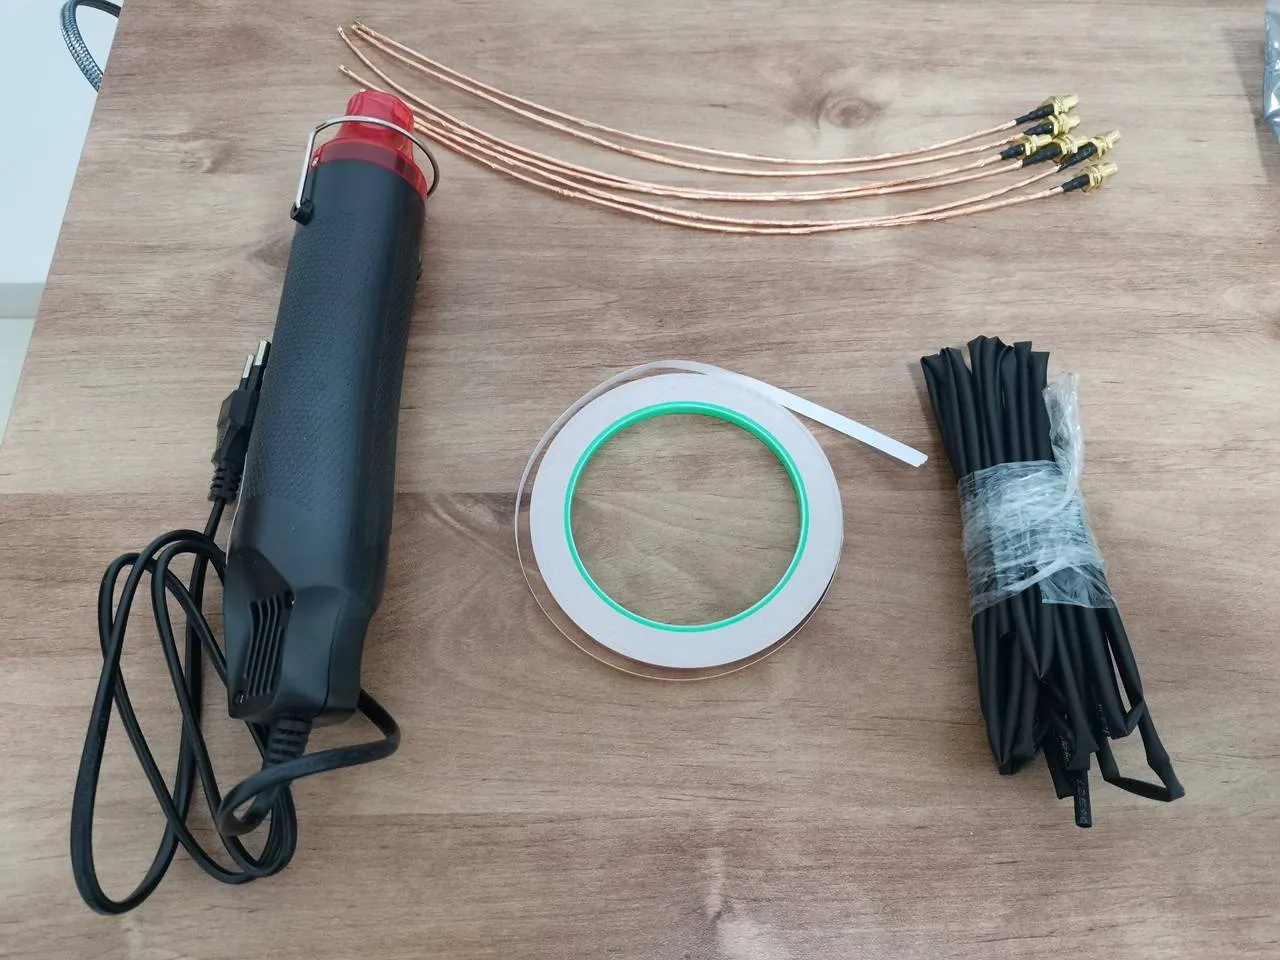
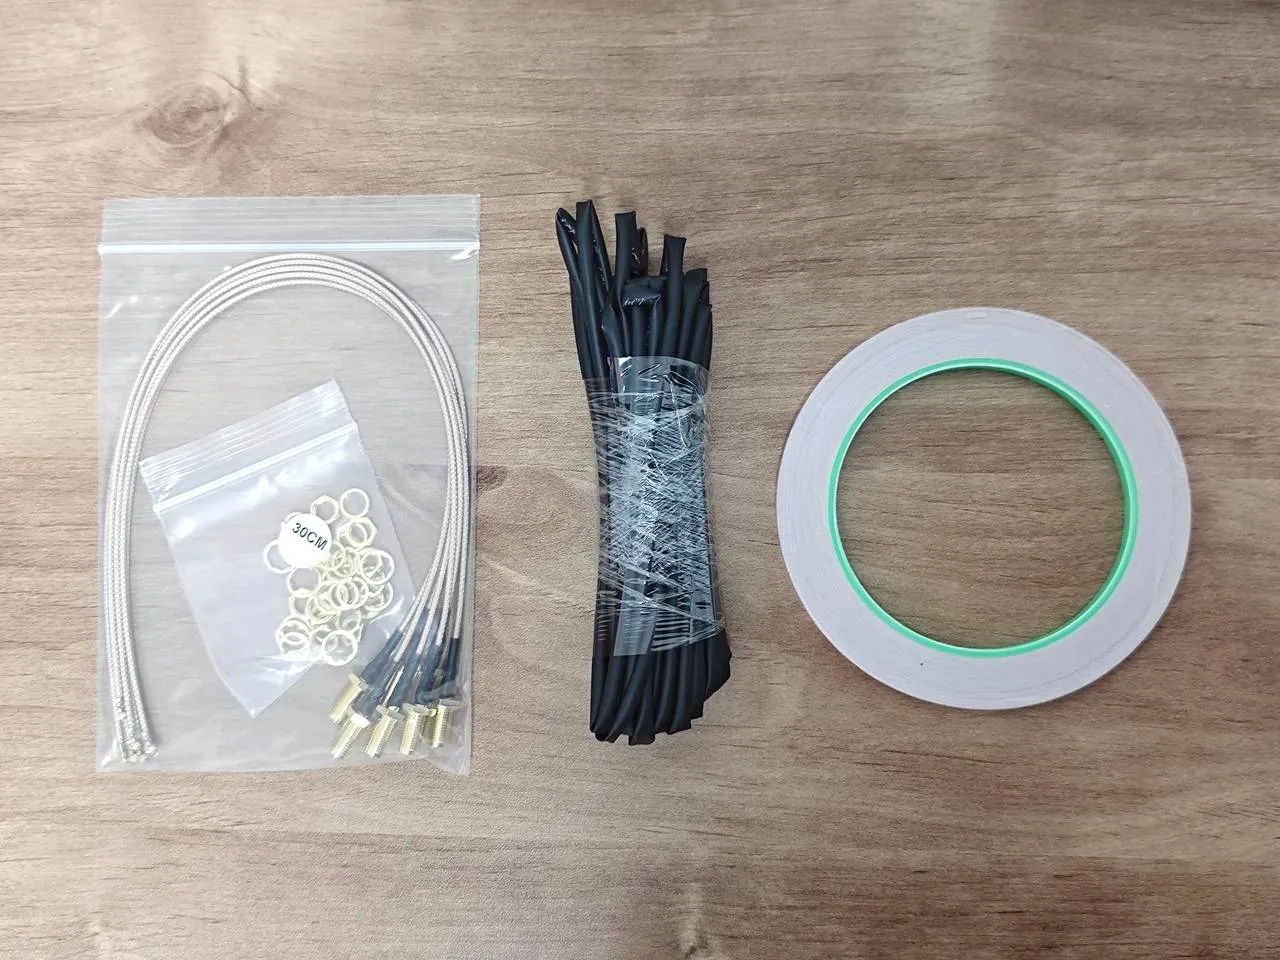
While shielding Wi-Fi antenna wires isn’t always required, it can be helpful in some cases. For this setup, we used the following items:
| It No. | Item Description | Dimensions | Notes |
|---|---|---|---|
| 1 | Heat shrink tube | 3mm (Internal Diameter) | 1 – 2m |
| 2 | Copper tape | 5mm (Wide) | 1 – 2m |
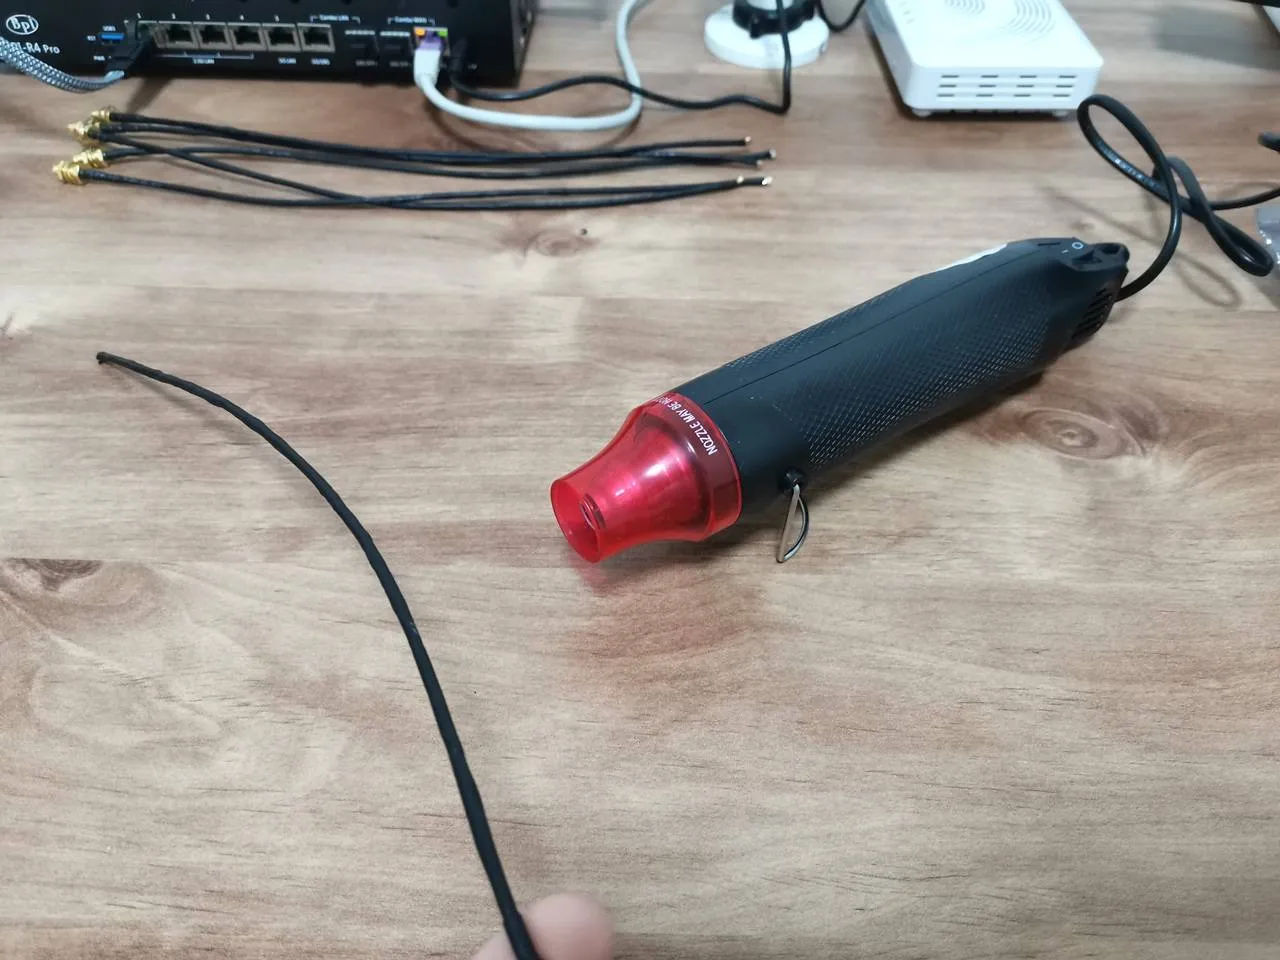
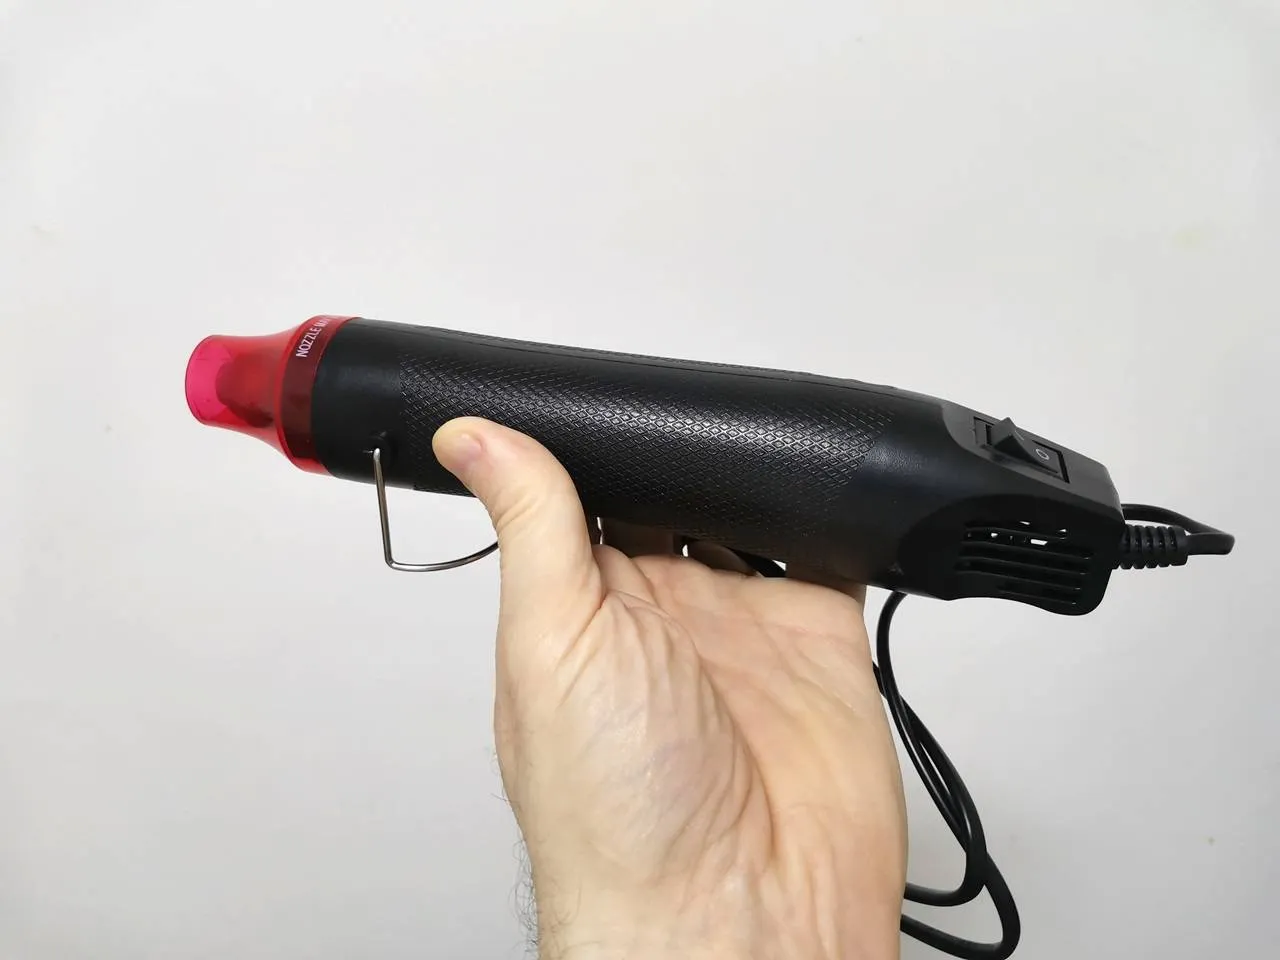
| 3 | Hot air gun | – | – |
WiFi Shielded Cable Items (Purchase Links) | ||
Description | Price | Buy Link |
Heat shrink tube | ~$1 | ; |
Copper tape | ~$1.59 | ; |
This site contains affiliate links to products. We may receive a commission for purchases made through these links. AndroidPIMP.COM will not be liable or responsible for any loss or damage caused by improper wiring/assembly of the above components. | ||
Steps:
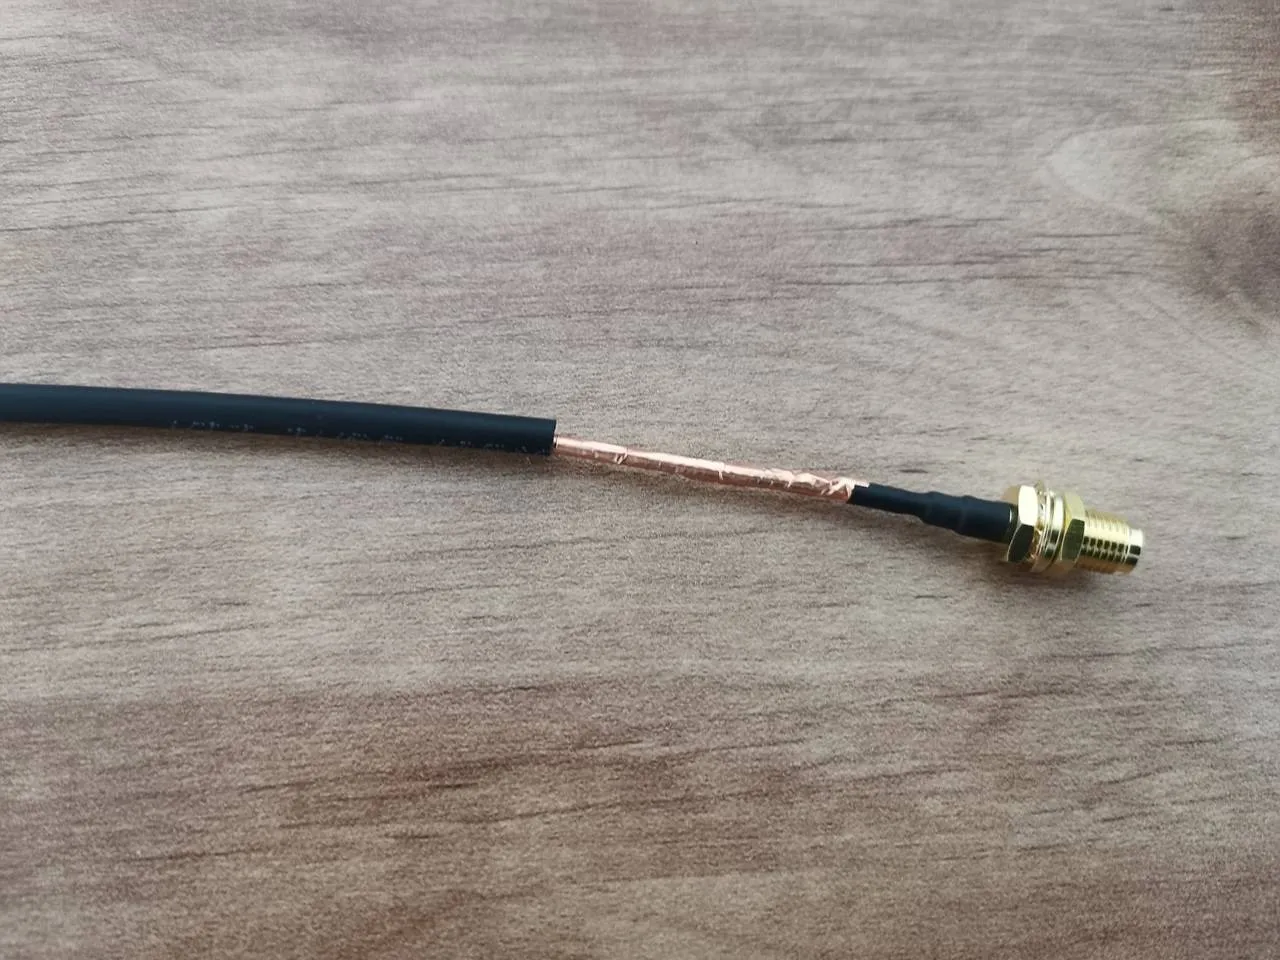
- To shield it, we started by wrapping the Wi-Fi cable antenna with copper tape.
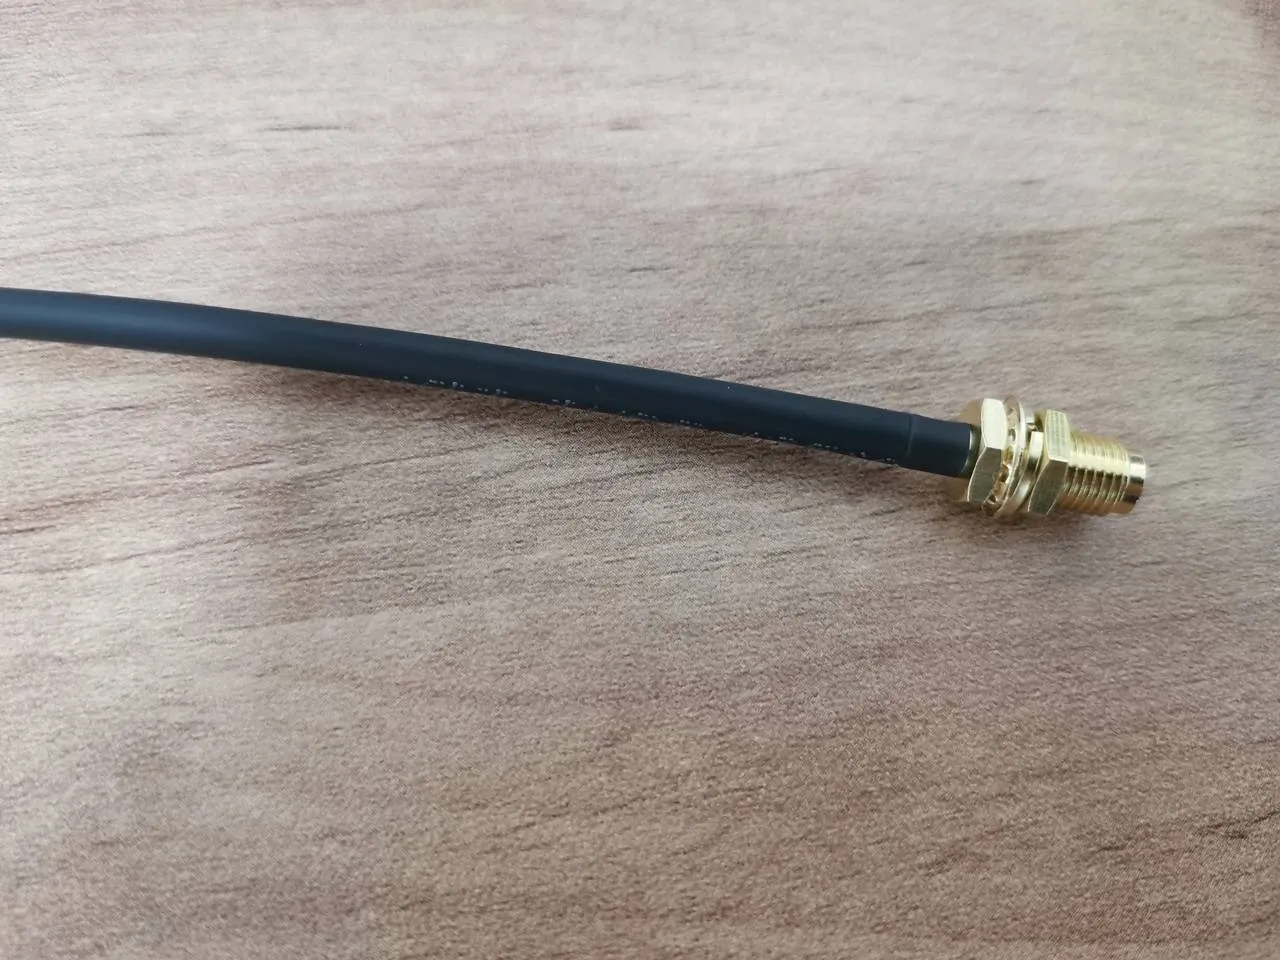
- We cut the heat shrink tube to the desired lengths.
- We thread the wires through the heat shrink tube sleeves.
- Finally, we used the hot air gun to heat the heat shrink tubes.
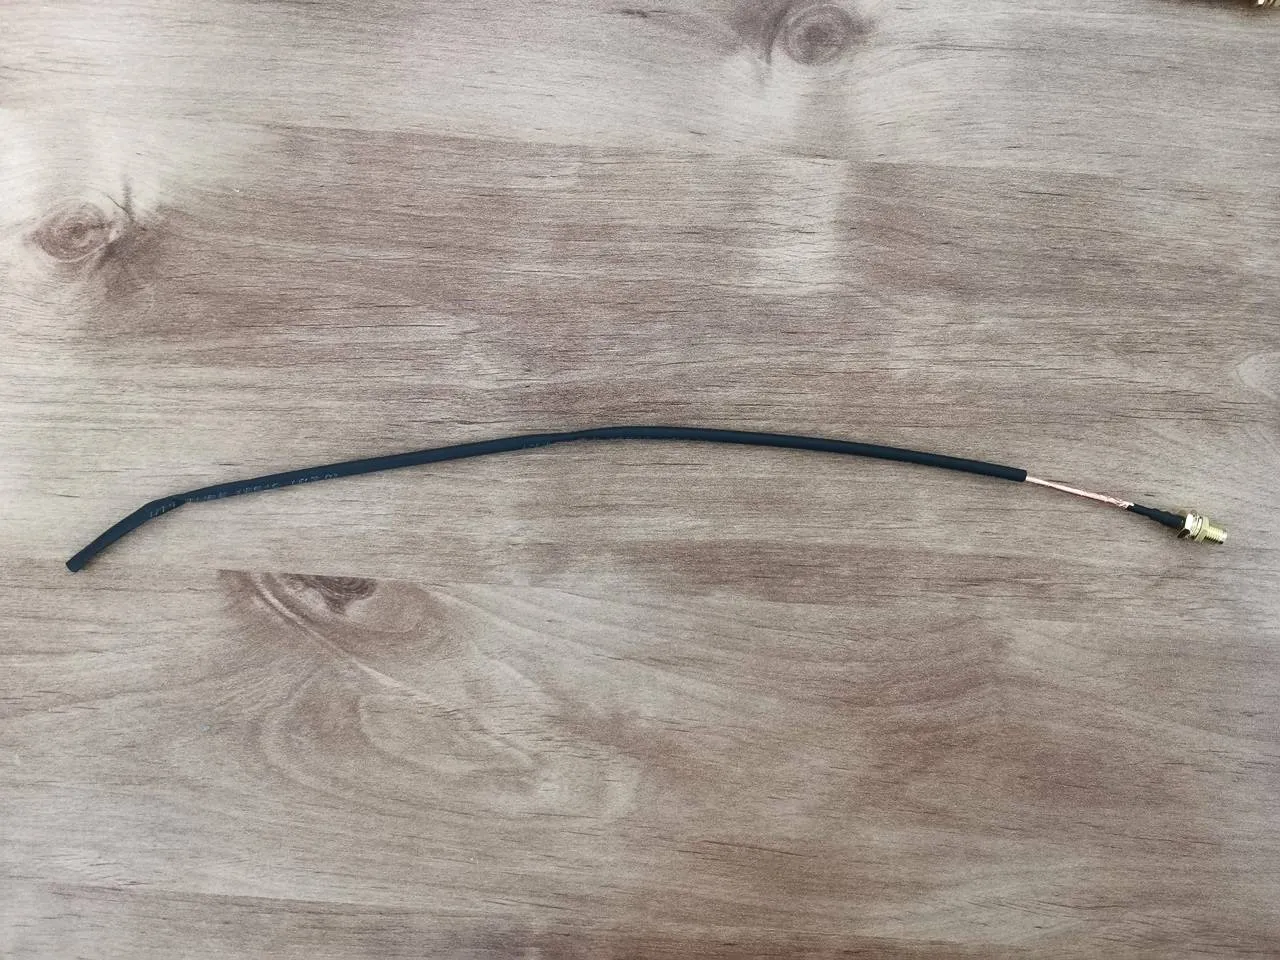
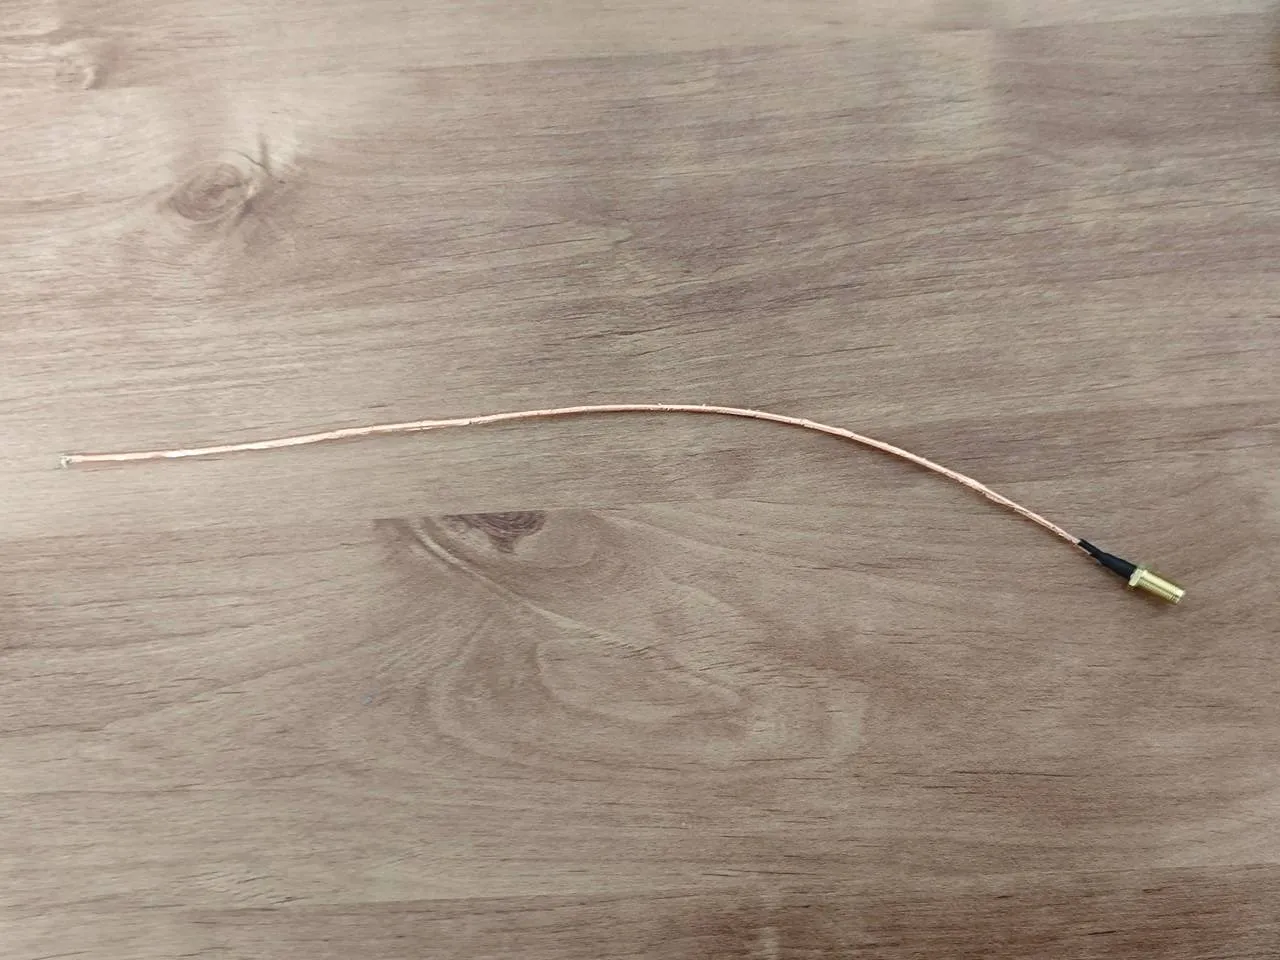
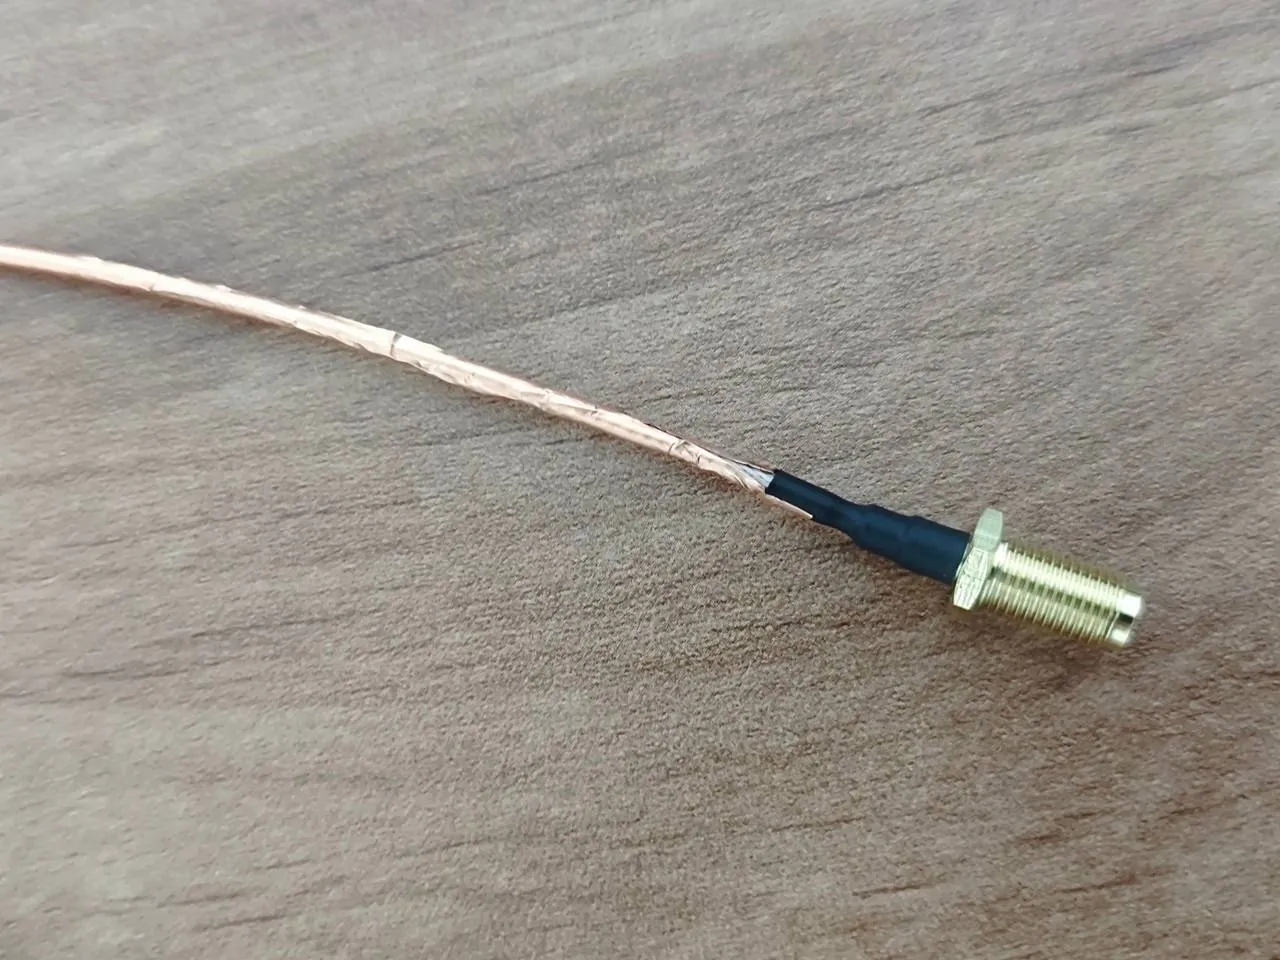
If this setup doesn’t work, try using a twisted copper coil sleeve about 2mm wide to thread the antenna wires through, then slide a heat shrink tube with a diameter of around 3–4mm over it.


It is already on presale.
Yes, I know, thank you.
Hi, the main problem about the BPI R4 is its BE14 Wifi NIC (6 antennas and many shielding/noise problems).
In your pictures, we can clearly see the new BE19 NIC with 14 antennas: did you test it? Is it going to be released to the public this year? Thank you!
HI. Not yet, but from what I’ve heard, it should officially be released in a few weeks.
Thank you so much! Will you make a new post when the BE19 will be out? Did you have the R4 Pro for testing or these are just info from the company?
Not yet, but I’ll probably test the R4 Pro and the Wi-Fi expansion board and review them once both are ready and available.
For now, it’s just general news info.