
Configuring the LoRaWAN ESP32-S3 Development Board and establishing a connection to the LoRaWAN Gateway.
Setting up the LoRaWAN ESP32-S3 is a straightforward process. Below are the detailed steps to ensure a complete and successful setup.
| Step # | Action | What You Do |
|---|---|---|
| 1 | Power the ESP32‑S3 board | Connect via USB‑C to your computer. This powers the board and enables firmware upload + serial logs. |
| 2 | Install Arduino IDE | Install Arduino IDE 1.8.x or 2.x on your computer. |
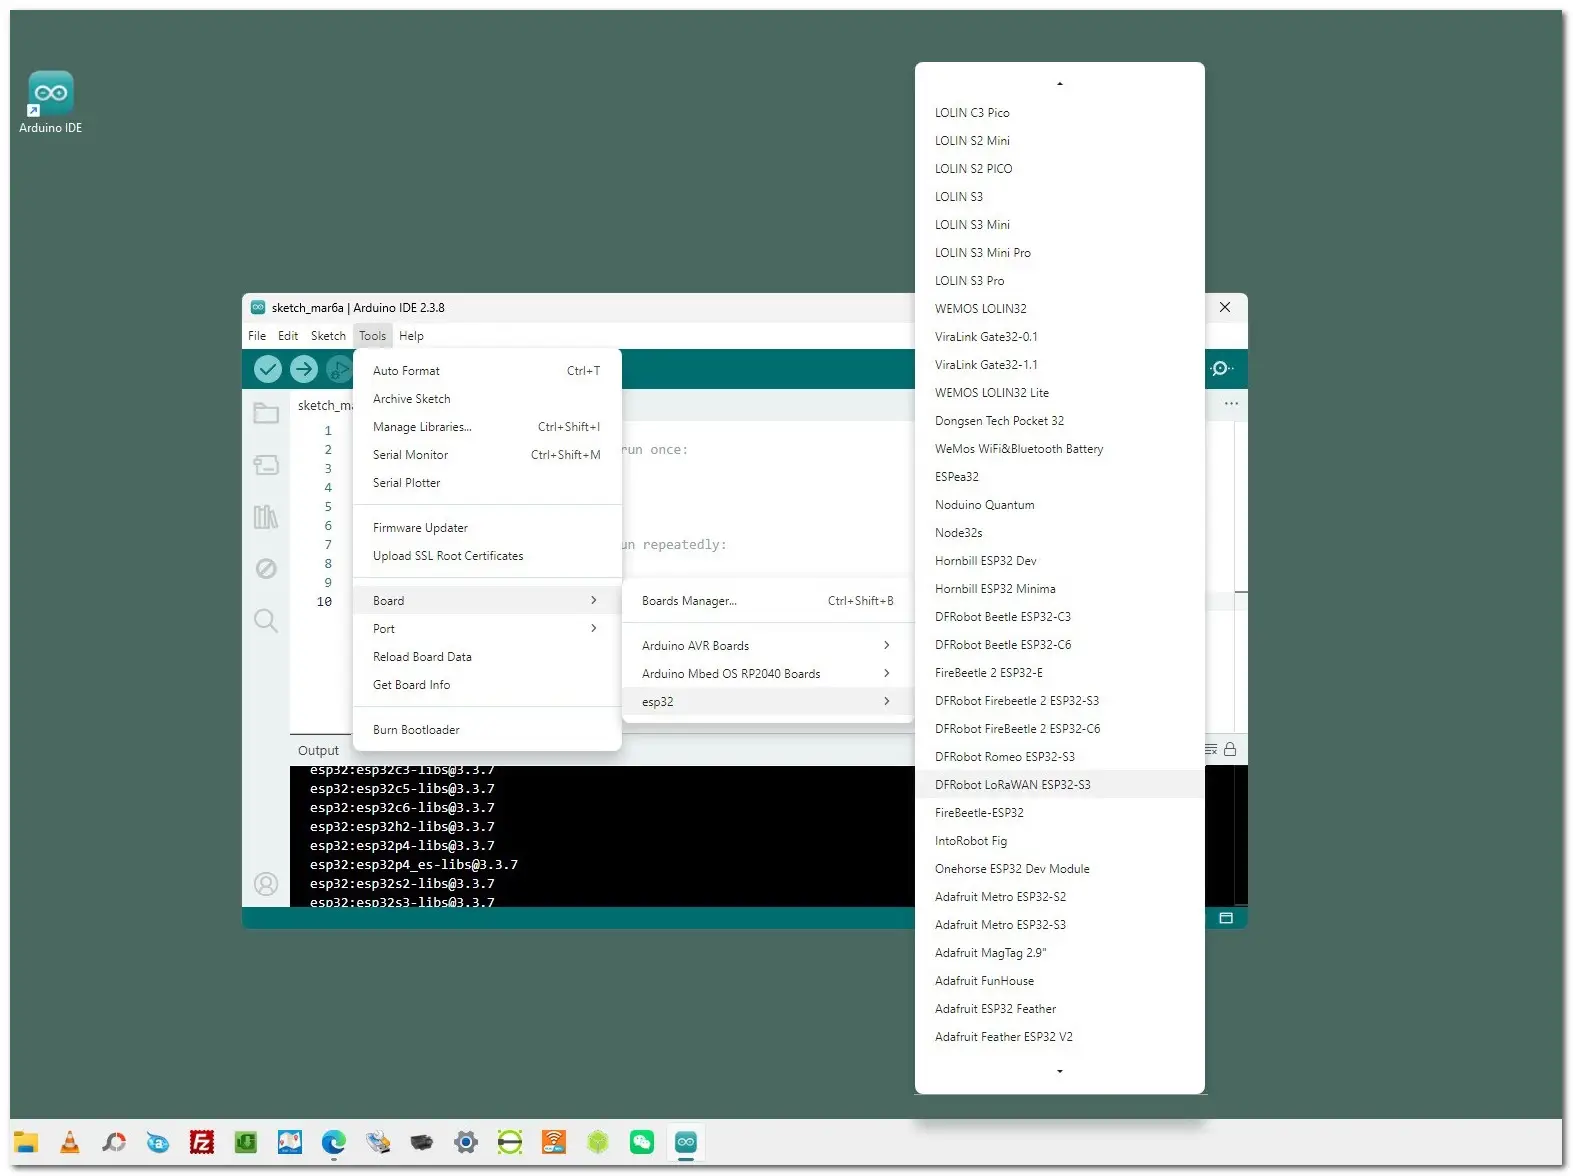
| 3 | Install ESP32 Board Support | Arduino → Tools → Board Manager → Search “ESP32” → Install “ESP32 by Espressif Systems”. |
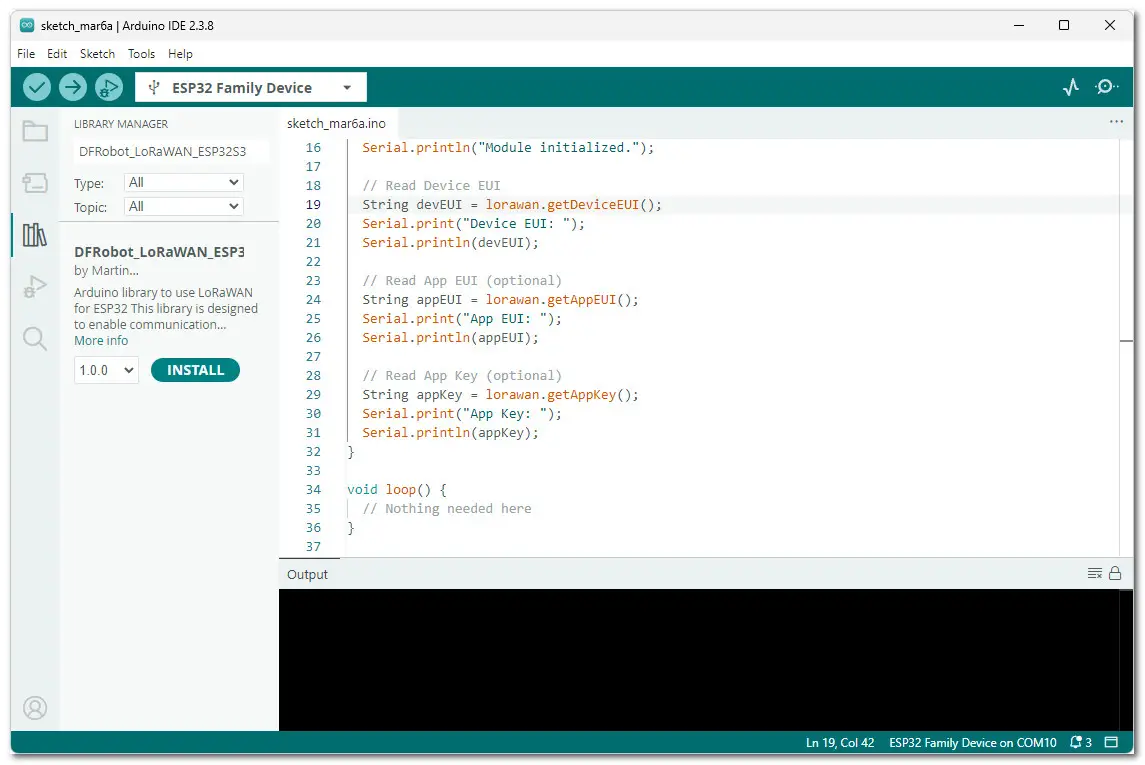
| 4 | Install DFRobot LoRaWAN Library | Arduino → Sketch → Manage Libraries → Search “DFRobot_LoRaWAN_ESP32S3” → Install. |
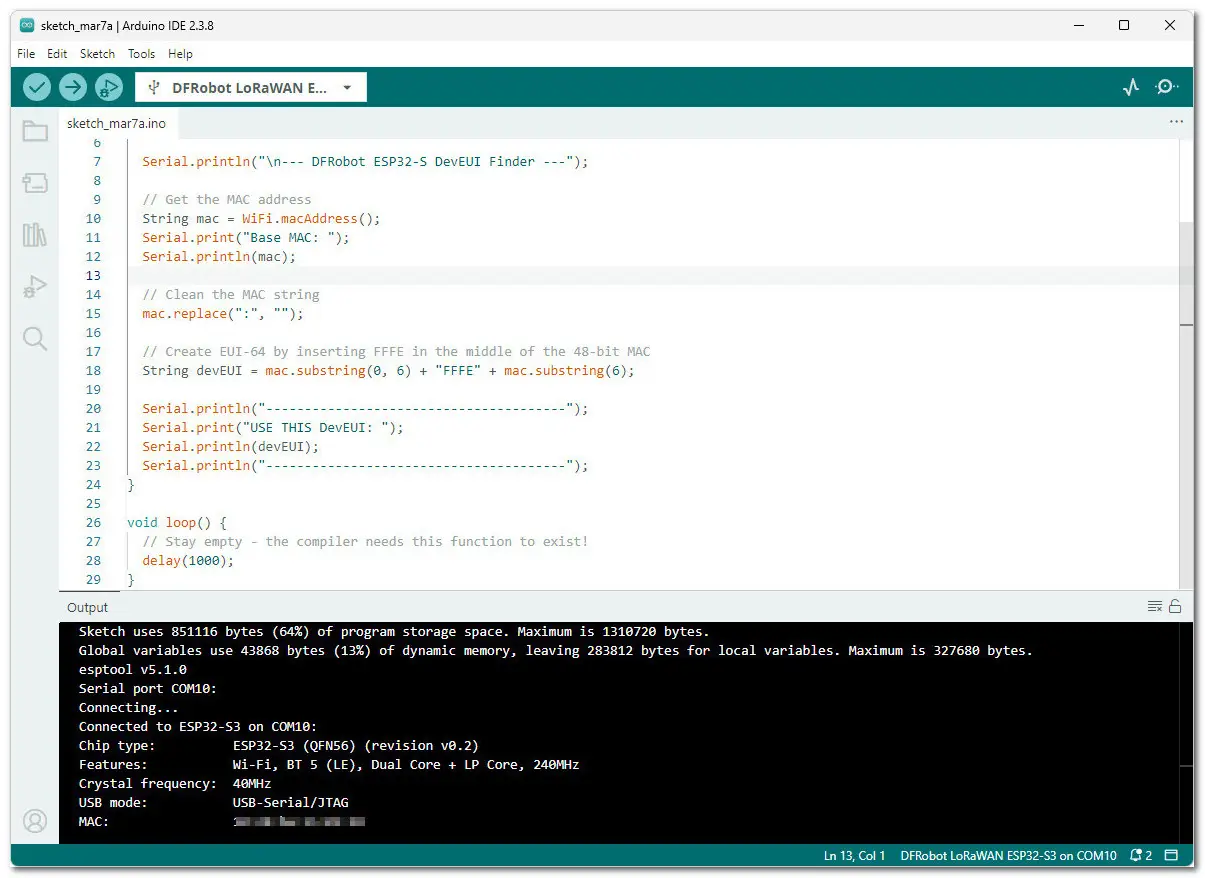
| 5 | Open Serial Monitor | Tools → Serial Monitor → Set baud to 115200. |
| 6 | Select Board Type | Tools → Board → ESP32S3 Dev Module. |
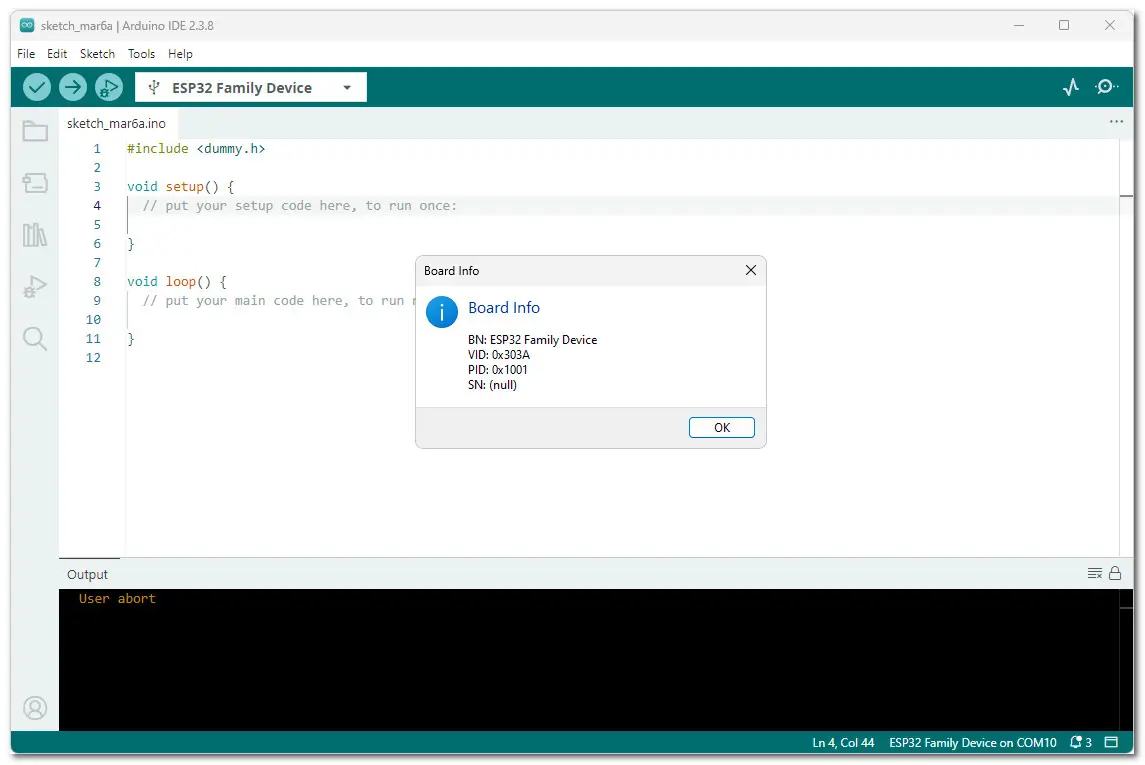
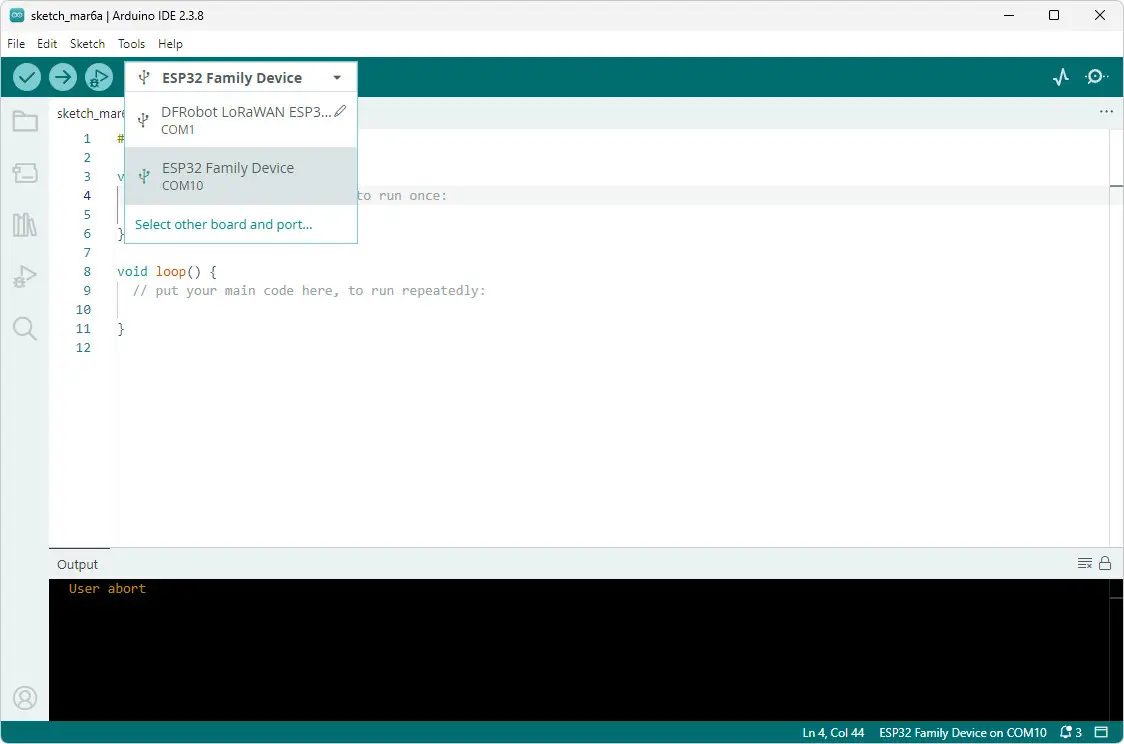
| 7 | Select COM Port | Tools → Port → Choose the port your ESP32‑S3 is connected to. |
| 8 | Open OTAA Example Sketch | File → Examples → DFRobot_LoRaWAN_ESP32S3 → OTAA. |
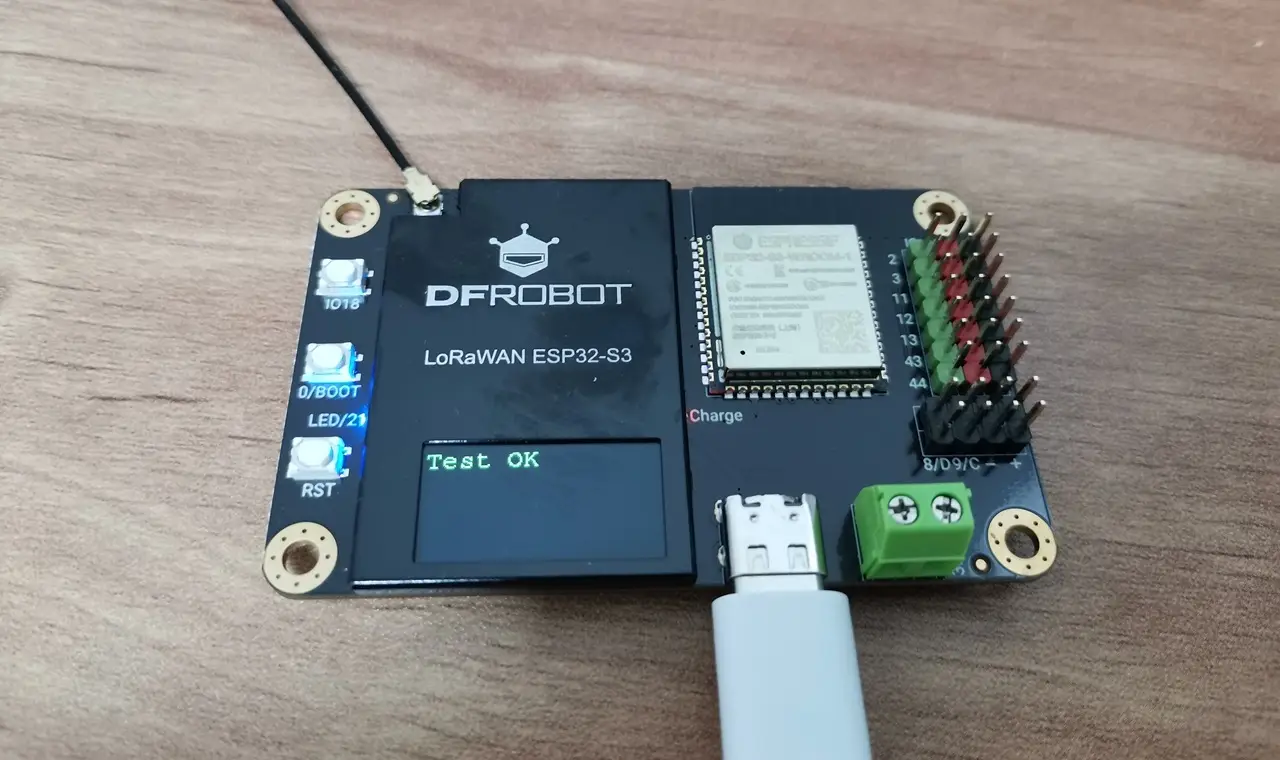
STEP 1 – STEP 8
After connecting and powering the ESP32-S3 board through USB, it’s crucial to install the DFRobot LoRaWAN Library in the Arduino IDE. To ensure a smooth connection, verify that the board recognizes a COM port and set the upload speed to 115200 baud for optimal performance.
Manually downloading the necessary libraries from GitHub repository
You can also install the board libraries manually by downloading the zip file from the DFRobot GitHub repository. Once you’ve downloaded it, open the Arduino IDE and go to Sketch > Include Library > Add. From there, simply select the compressed ZIP Library file you downloaded. It’s that simple!
Setting things up for the first time


: OpenWrt Setup & Optimal WiFi Power Guide")

