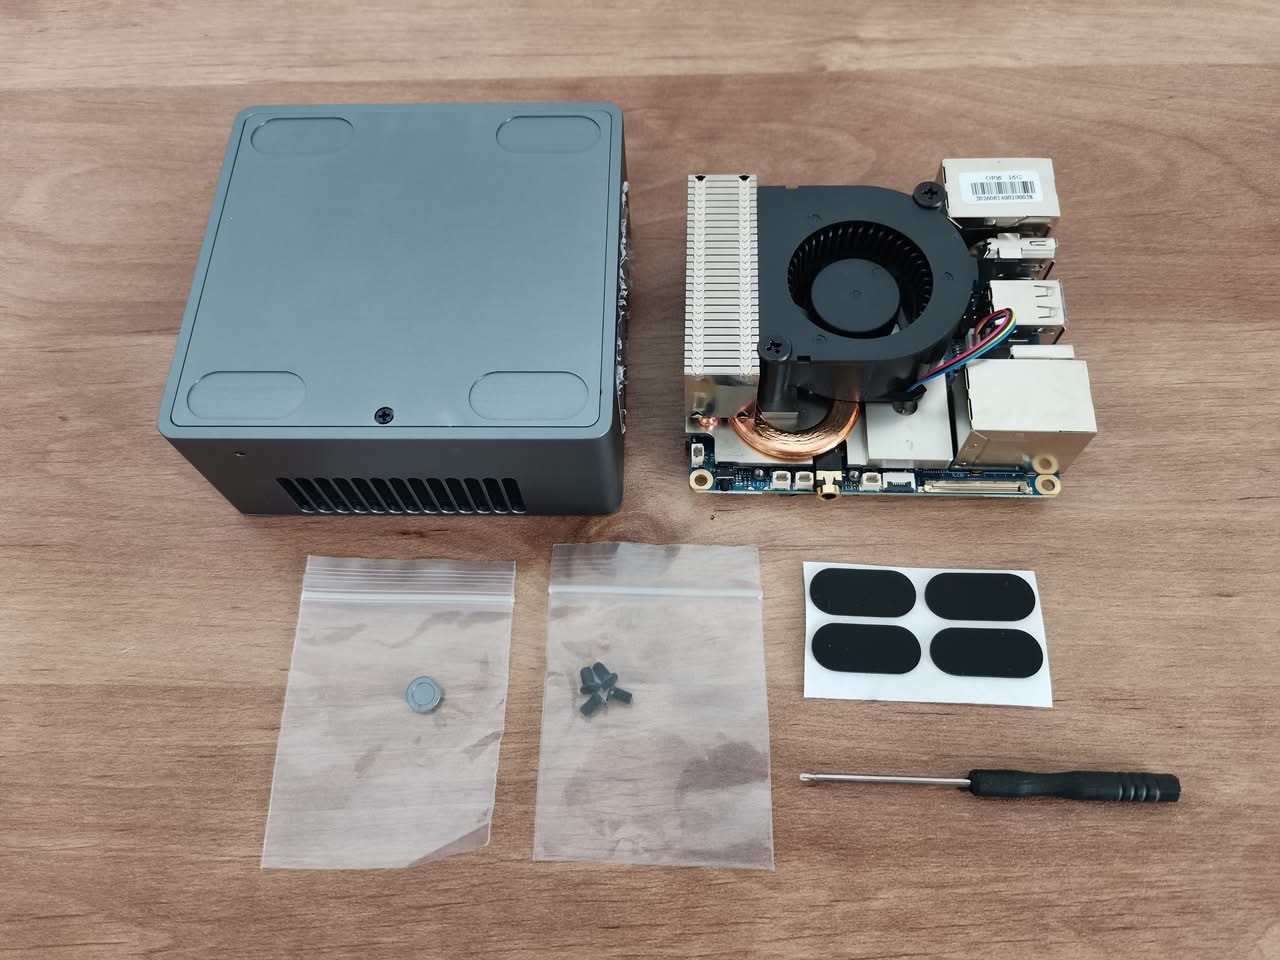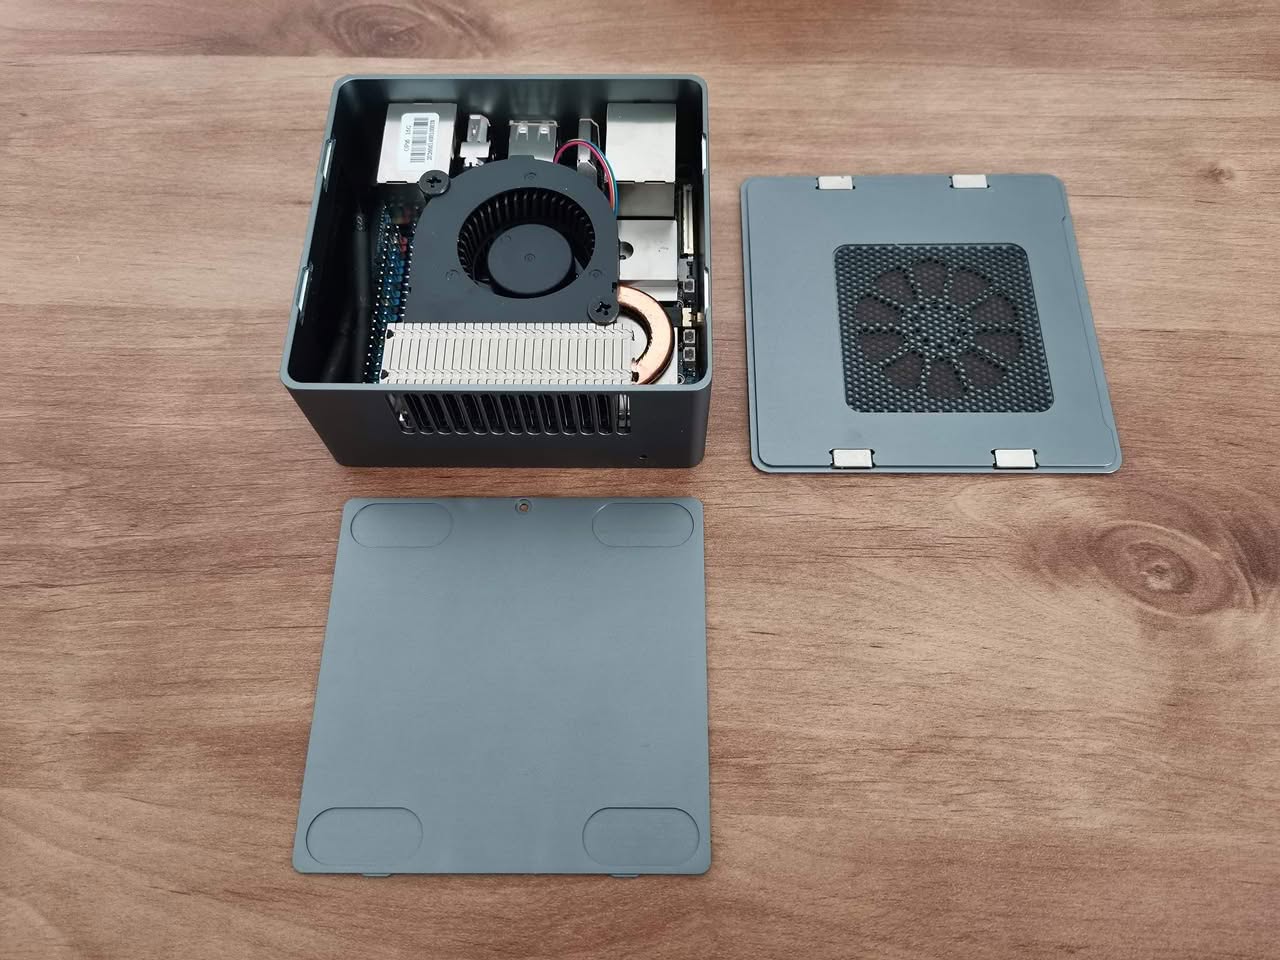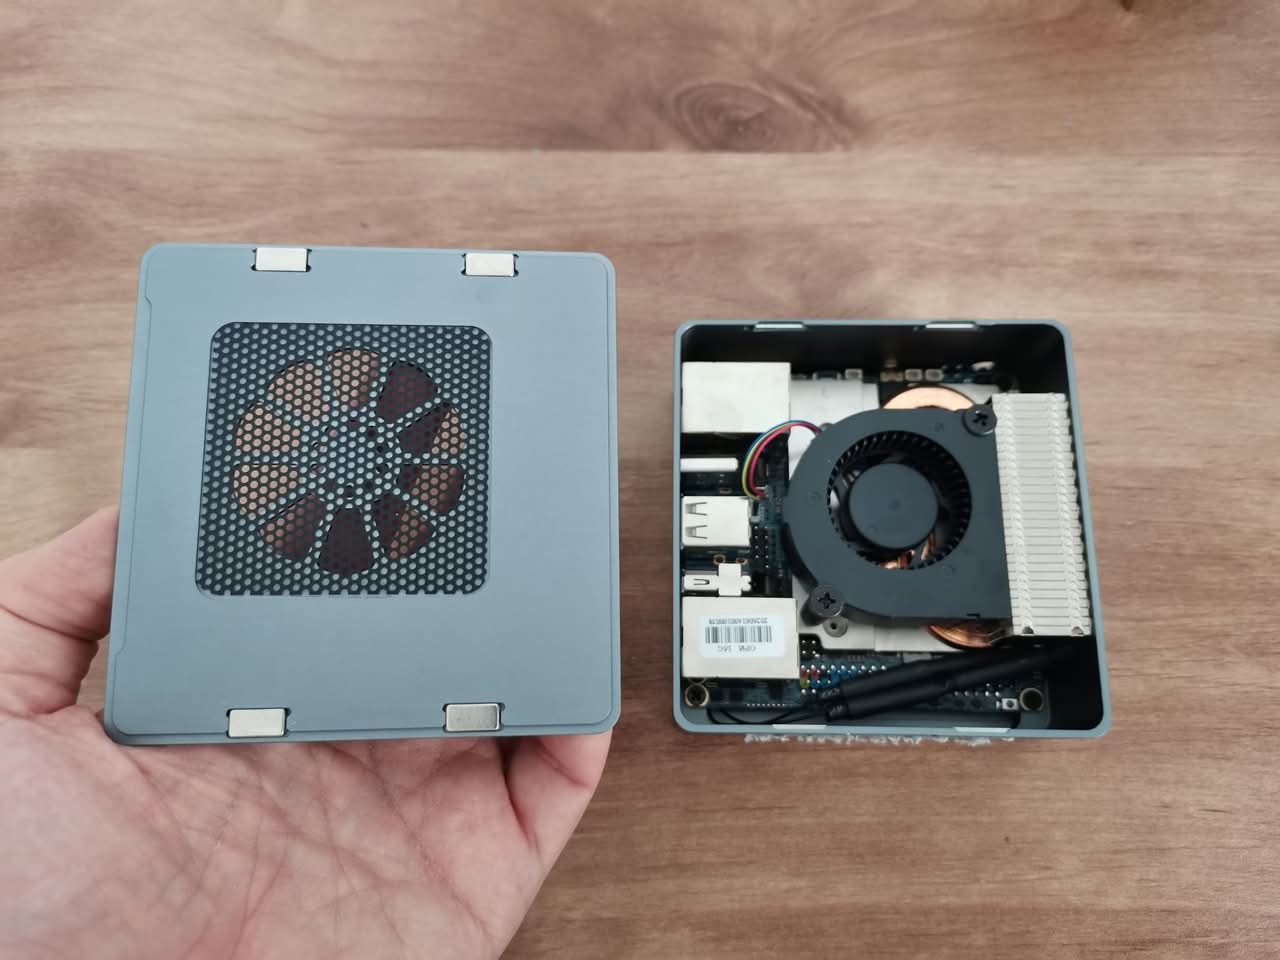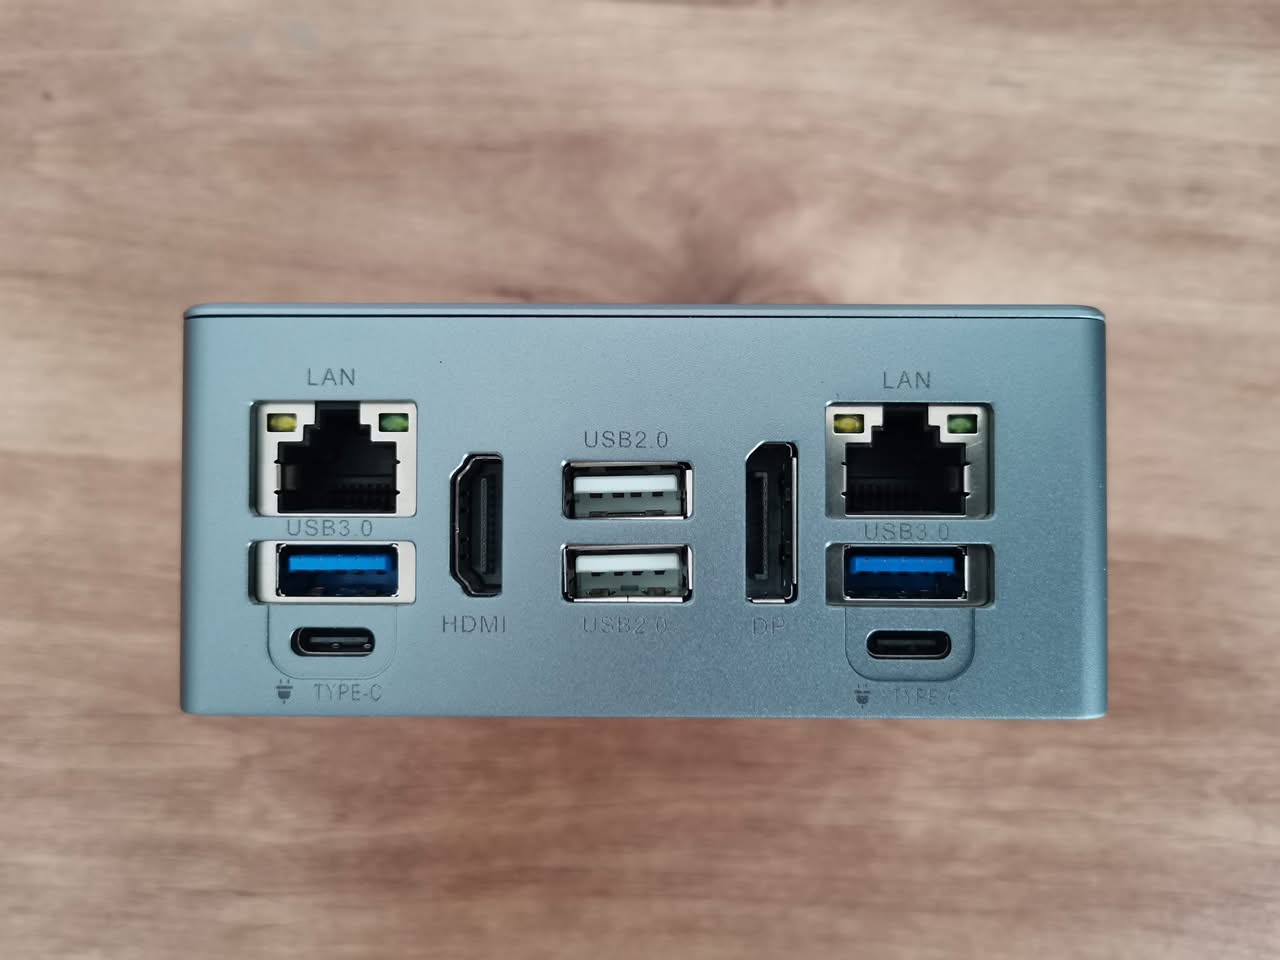
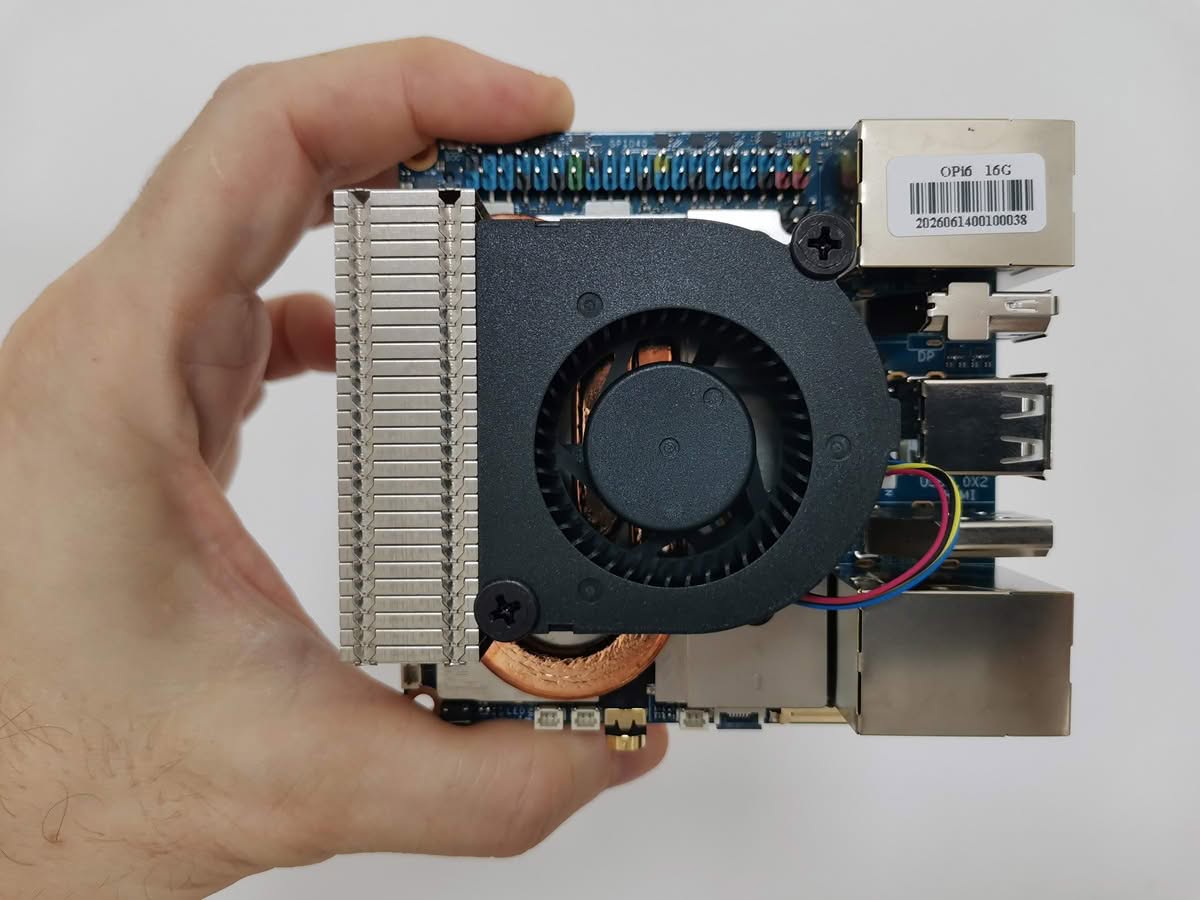
Assembling the Pi 6 board into the case
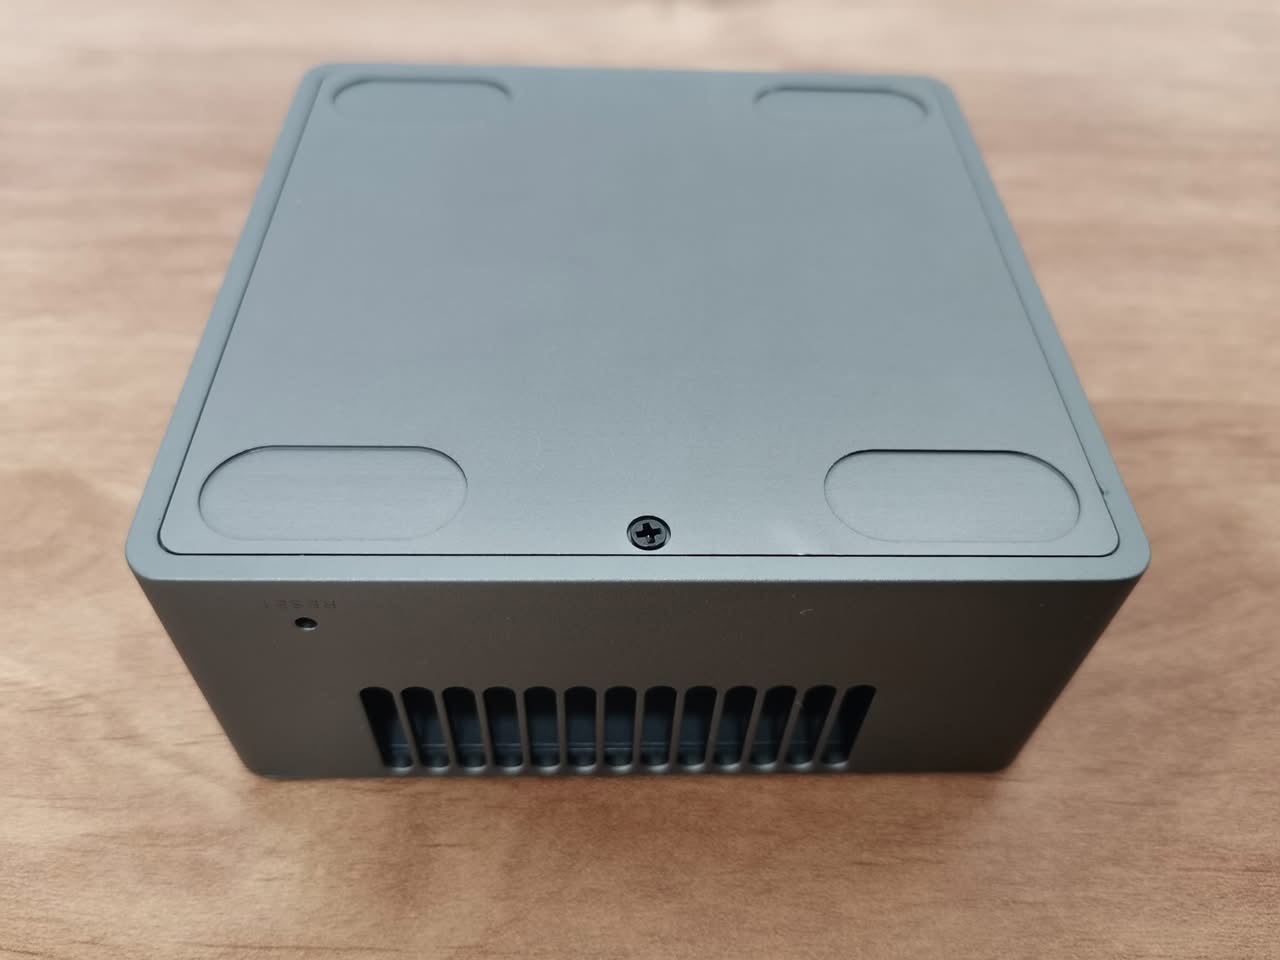
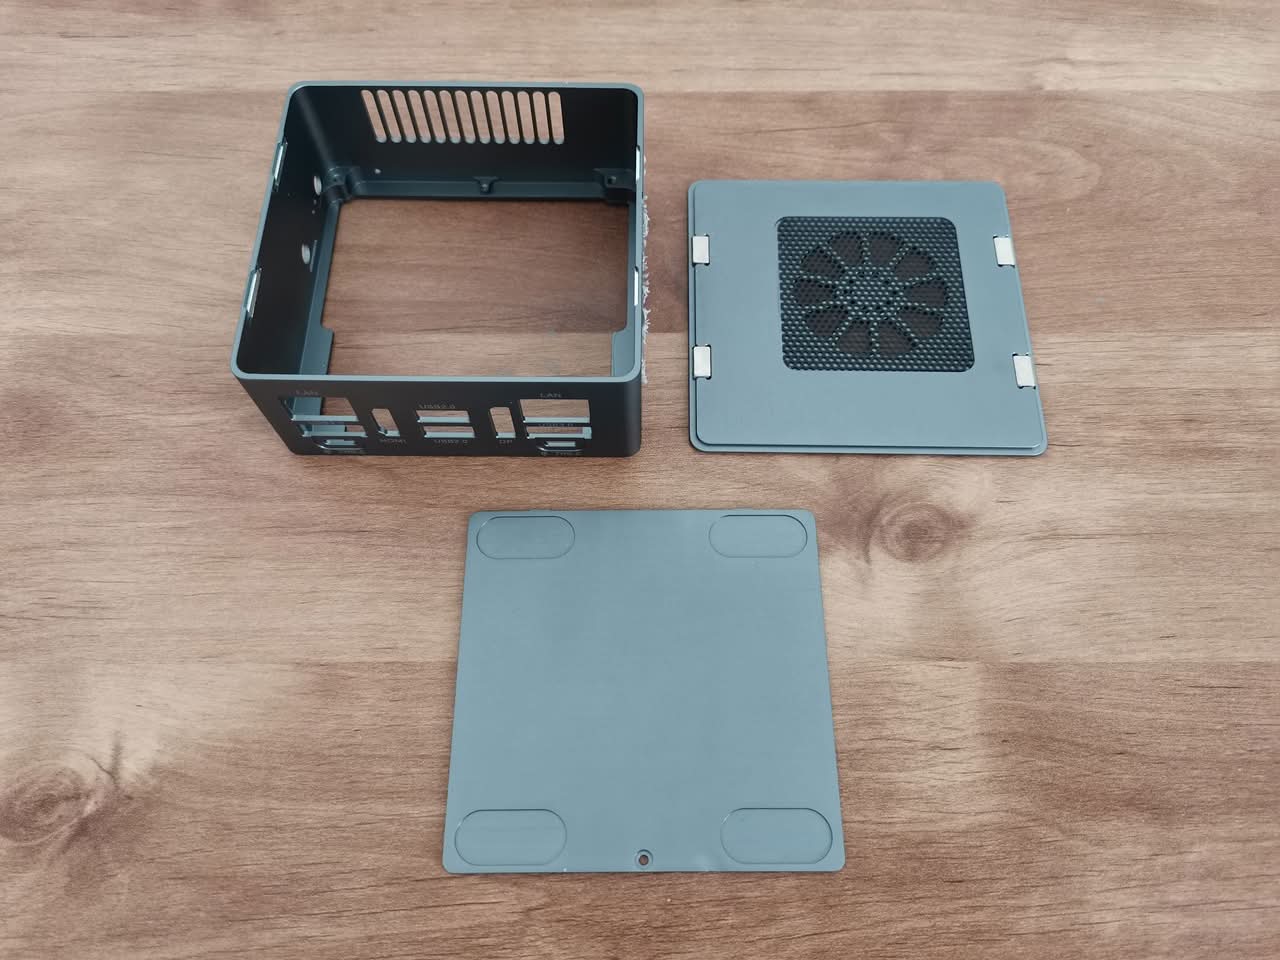
The assembly process was quite straightforward, except for the omission of the frustrating power button. As noted, the upper case can be easily removed using a pair of magnets, which made the task significantly easier. Furthermore, the bottom cover is accessible by simply removing one screw if necessary, allowing for easy access to the two NVMe slots and the M.2 Key E socket for the Wi-Fi/Bluetooth card, should you need to replace or add them when necessary.