Software Support
How do I flash the firmware to set up a new operating system?
For that, you’ll need to use the USB-C (OTG) port located on the back of the device. Here are all the steps required to flash the OS on a Windows system.
| Step | Action | Details / Commands | Purpose |
| 1 | Download toolchain | Get the official Windows fastboot/USB drivers + flashing tools | Required to communicate with the K3 board |
| 2 | Install USB drivers | Install Google USB Driver or SpacemiT provided driver | Ensures Windows detects the board |
| 3 | Download OS image | .img file (Ubuntu, Debian, Yocto, etc.) | The OS you will flash |
| 4 | Connect USBC OTG | Use the USB-C port labeled OTG/Download | This is the flashing port |
| 5 | Enter bootloader mode | Hold BOOT button → power on → release after 2s | Puts device into flashready mode |
| 6 | Verify connection | Run: fastboot devices | Confirms Windows sees the board |
| 7 | Flash bootloader | fastboot flash bootloader bootloader.bin | Updates the lowlevel loader |
| 8 | Flash system image | fastboot flash system spacemit_os.img | Writes the OS to internal storage |
| 9 | Flash vendor partition | fastboot flash vendor vendor.img | Required for drivers & hardware support |
| 10 | Flash userdata | fastboot flash userdata userdata.img | Ensures clean first boot |
| 11 | Reboot device | fastboot reboot | Starts the OS for the first time |
| 12 | Verify first boot | Check HDMI output or UART console | Confirms OS is running correctly |
Pre-installed software
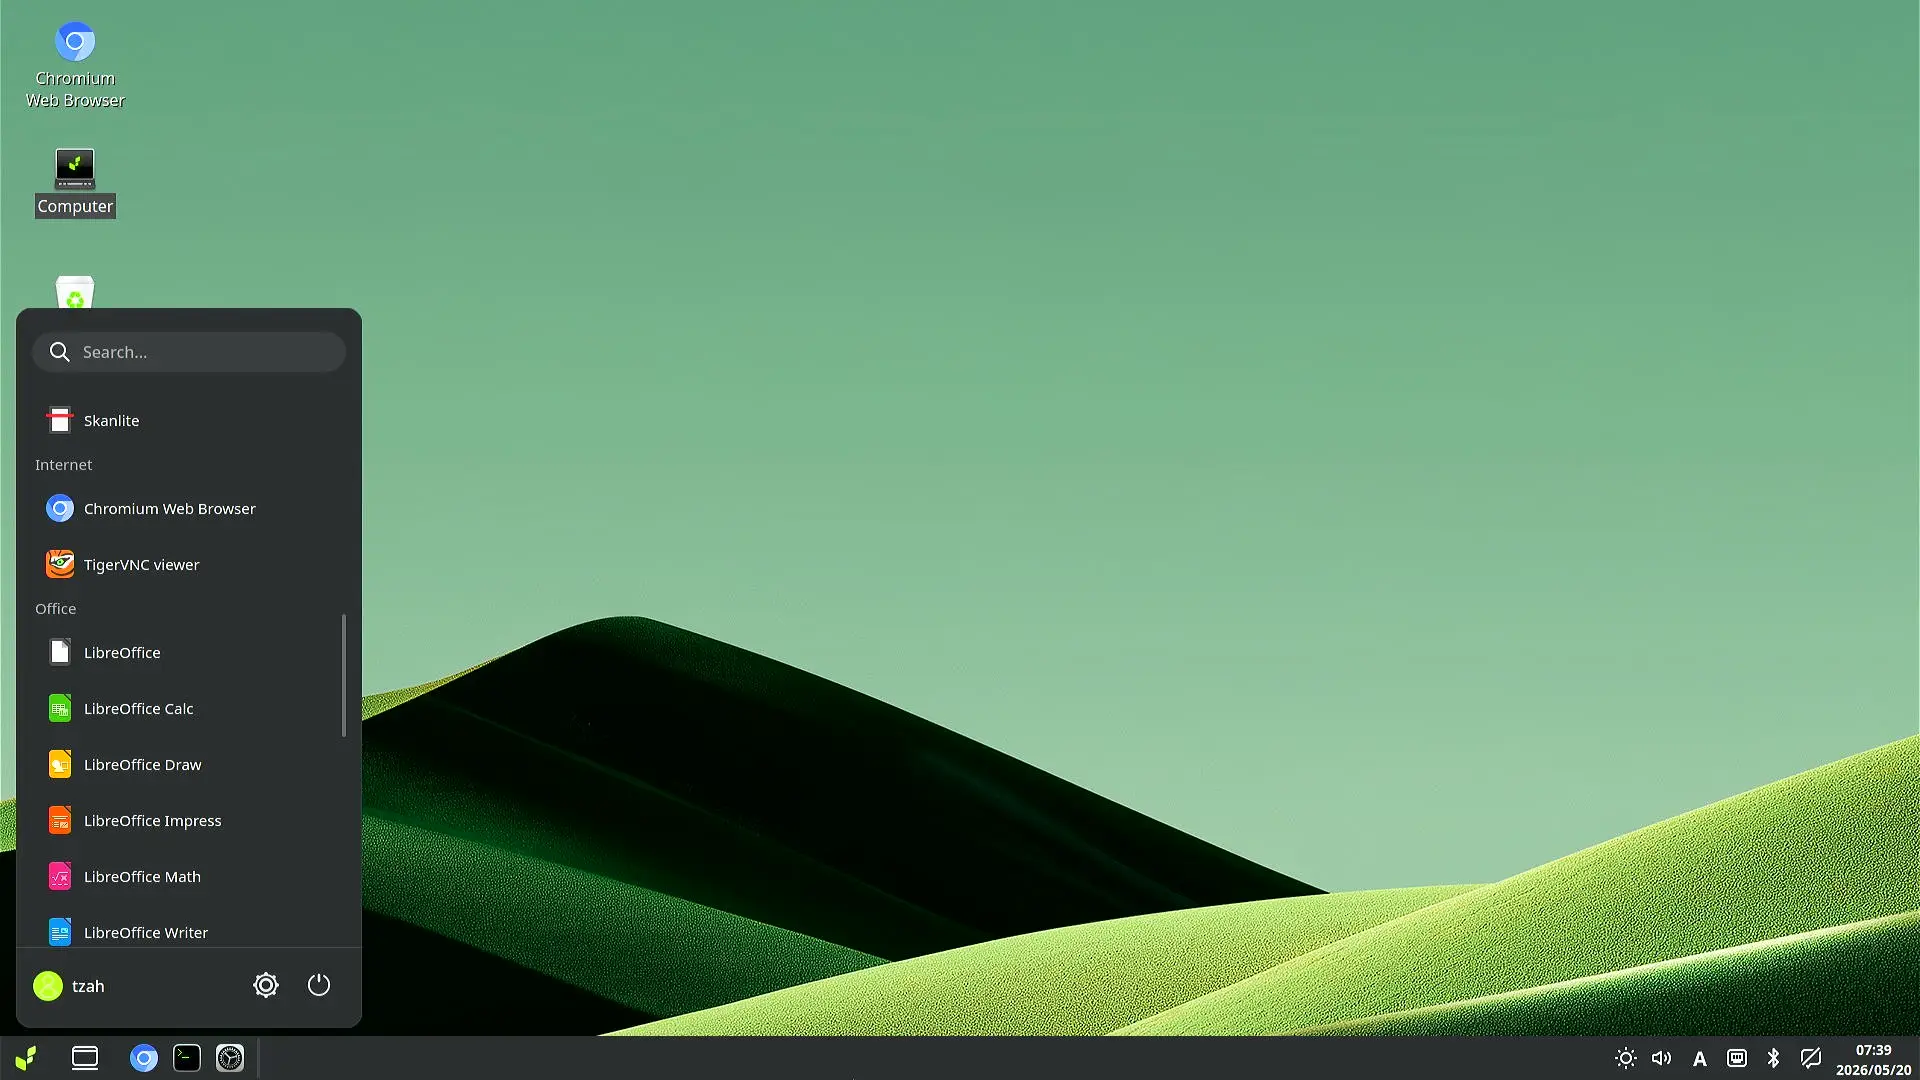
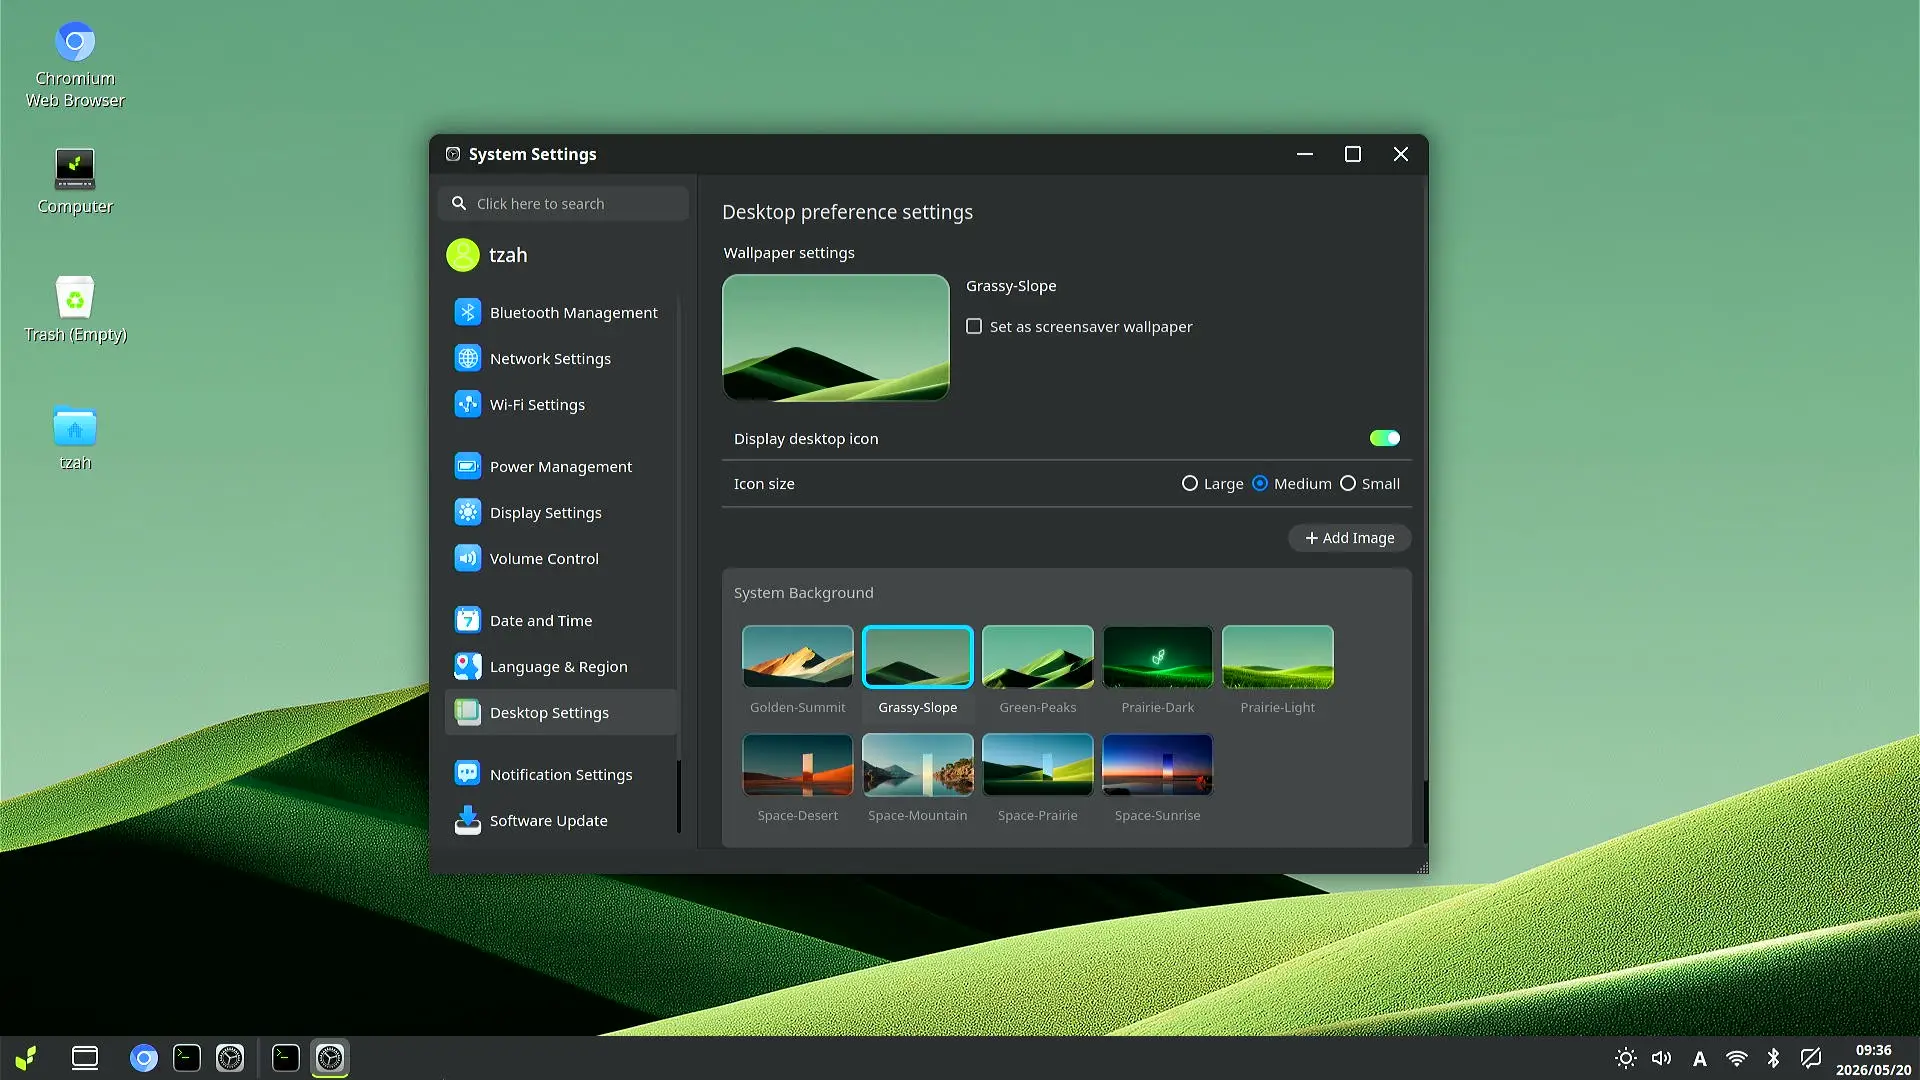
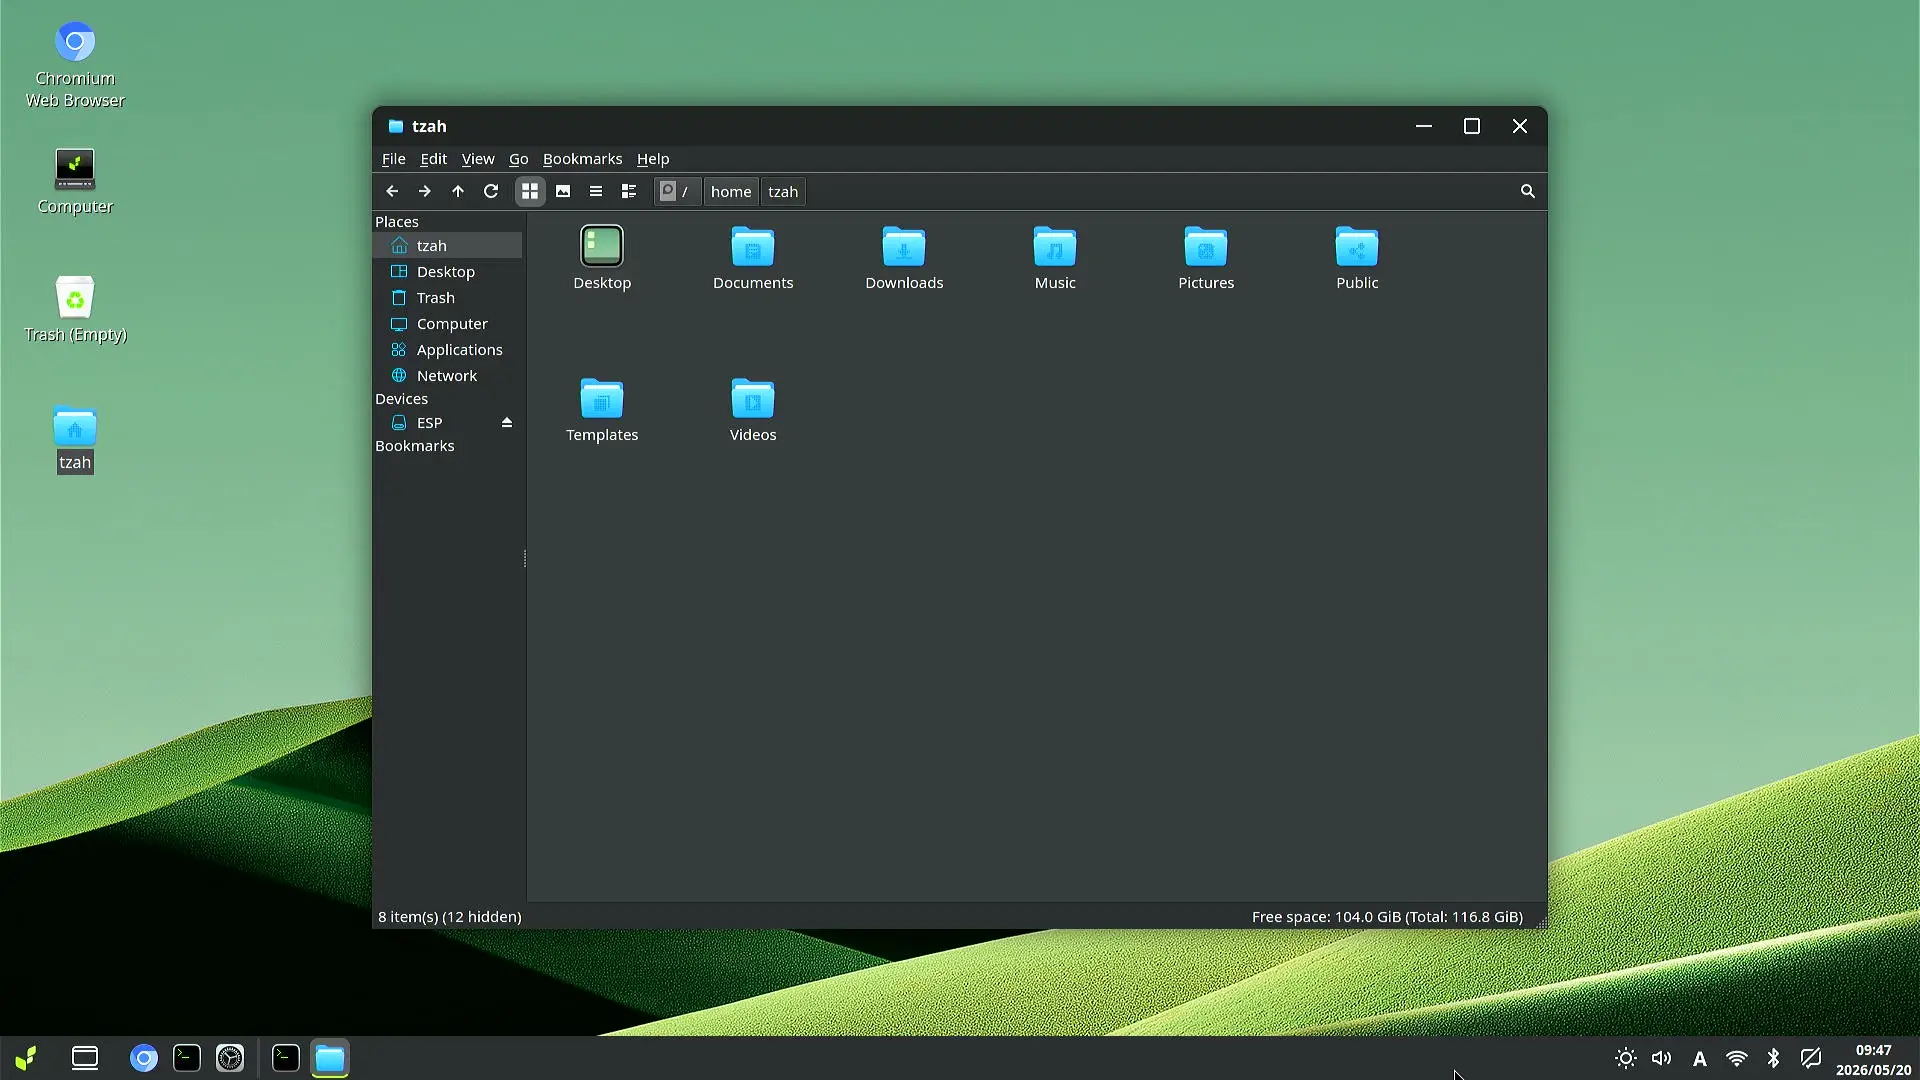
Our device came pre-installed with Bianbu OS V4.0 running under the LXQt desktop environment, a Linux-based operating system optimized for RISC-V and developed by SpacemiT. It’s available in both Desktop and NAS versions for different needs. Overall, our desktop experience was smooth, with no noticeable lag.
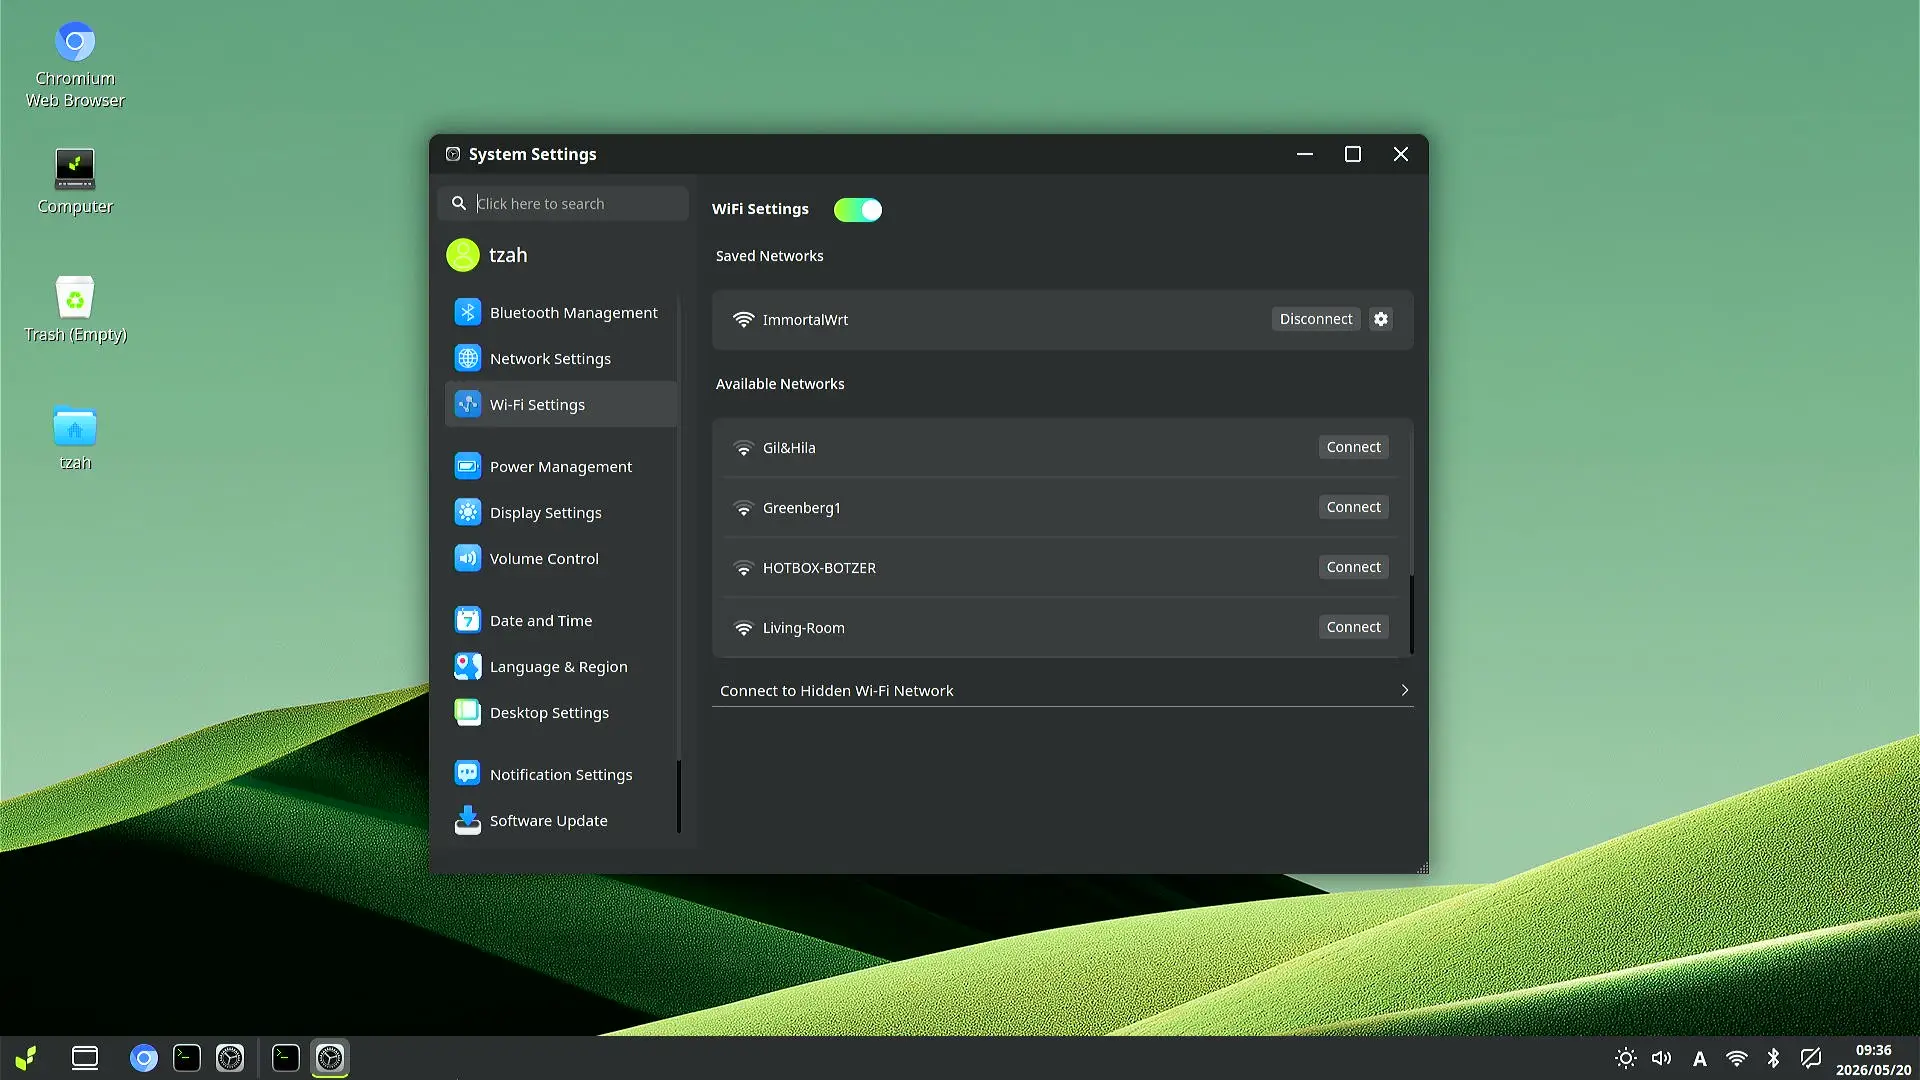
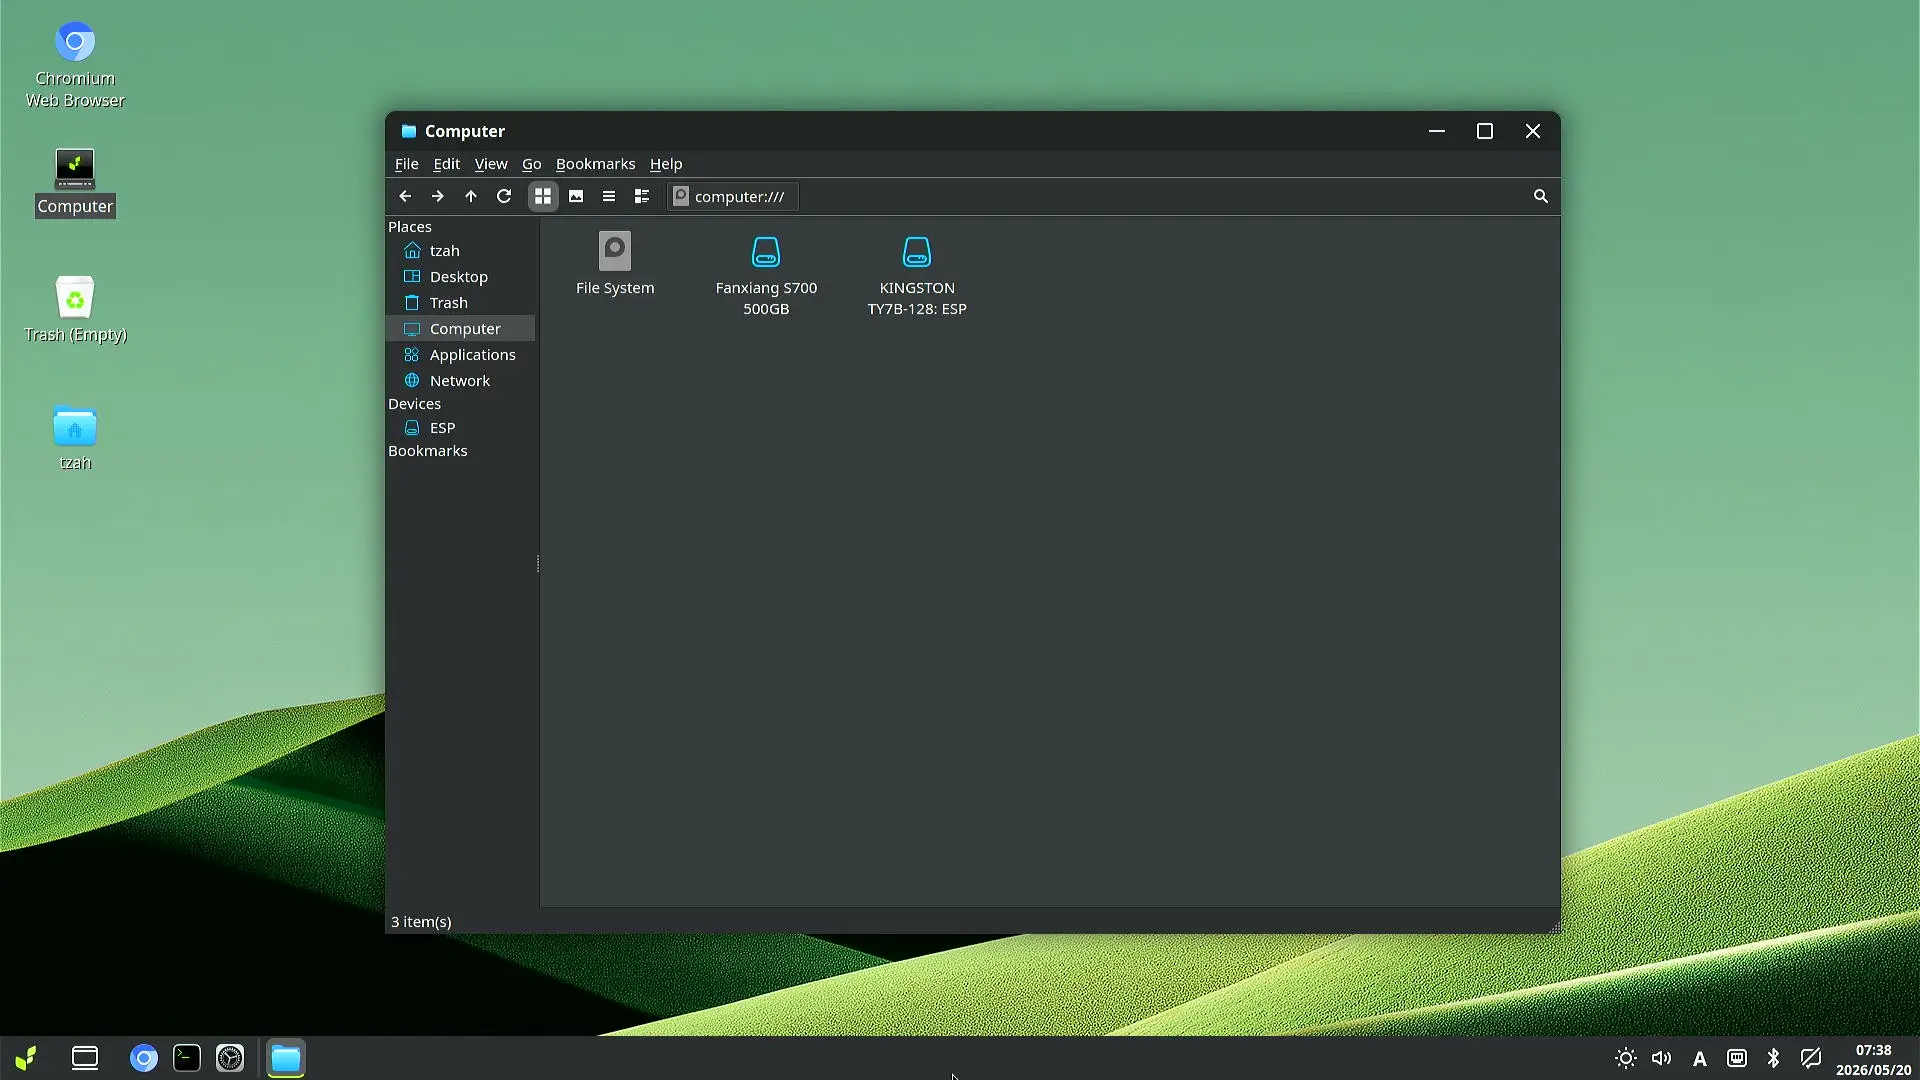
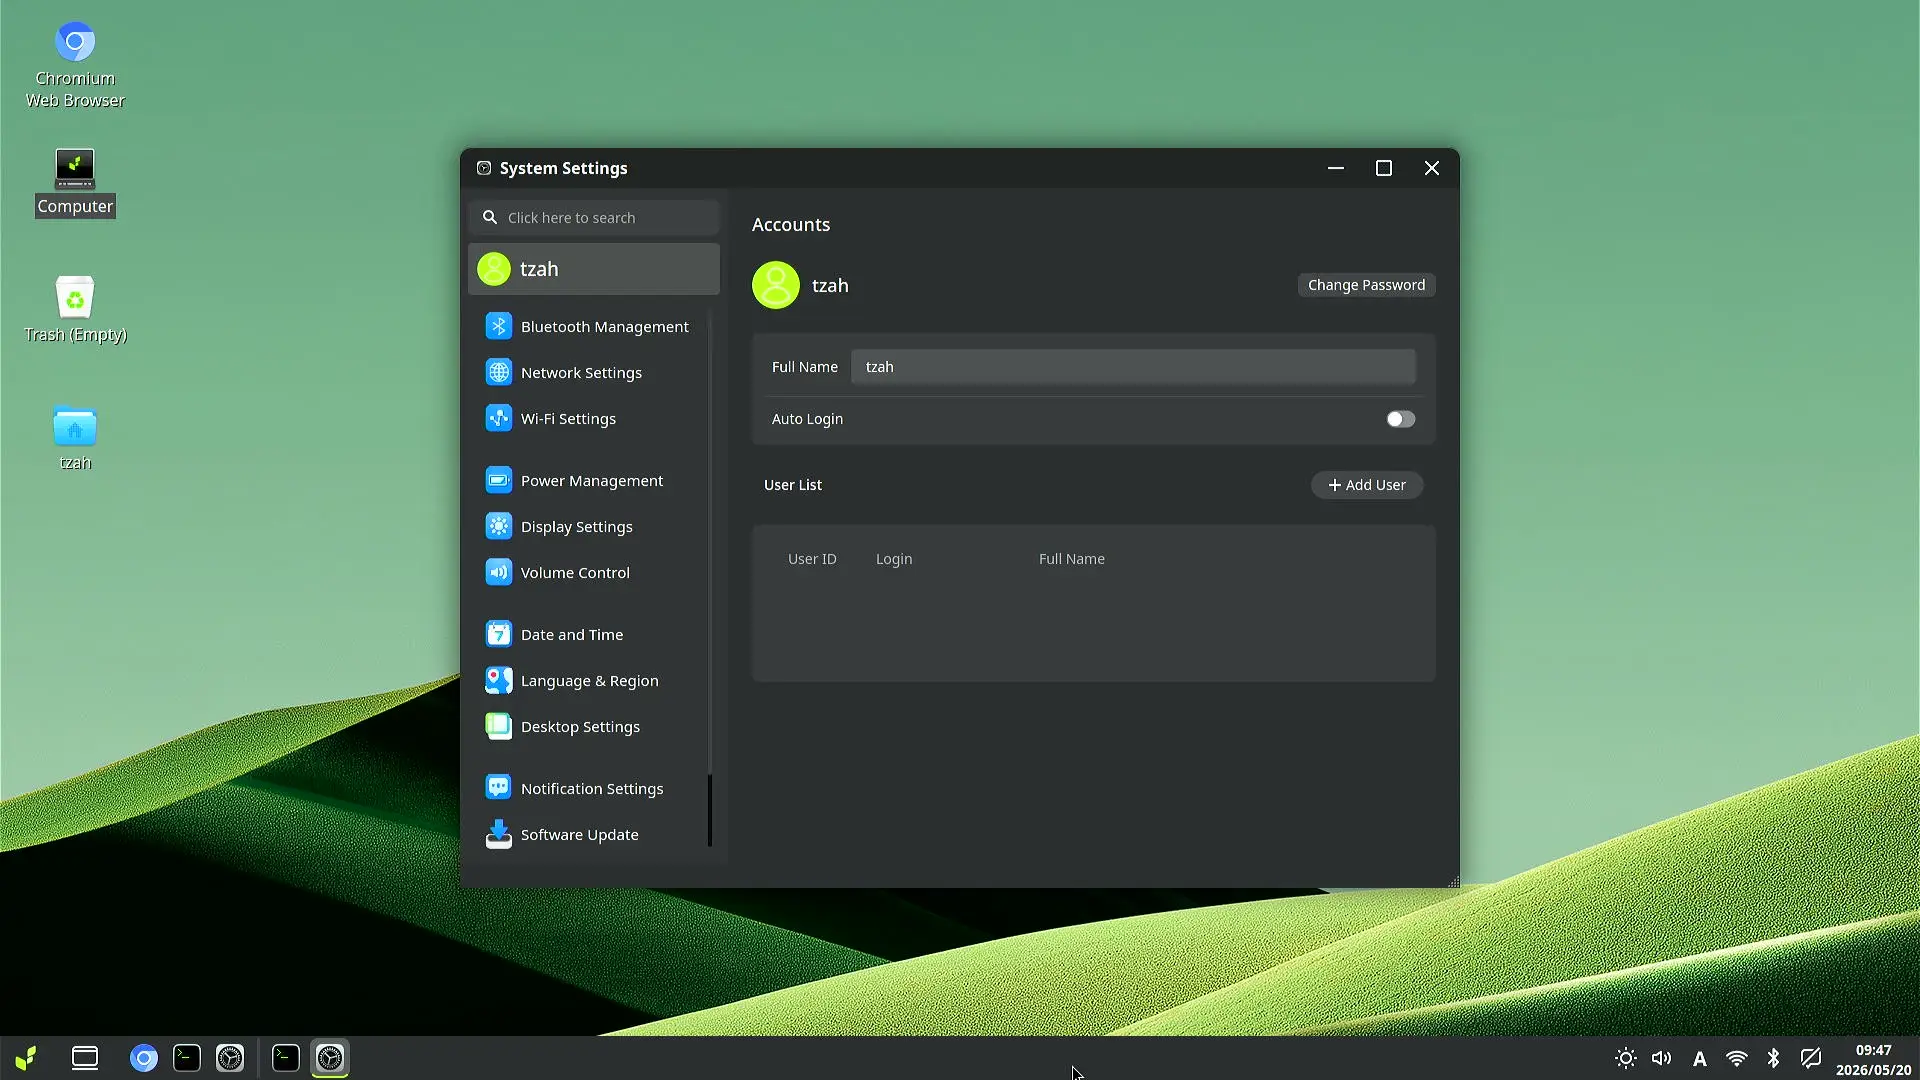
Bianbu OS (Screenshots)


Available usable RAM
The unit we received came with 16GB of RAM, and without any extra services running in the background, you’ll have about 1.5GB of free usable RAM when using Bianbu OS. With a different OS, this figure will likely change, but overall, Bianbu is a very lightweight distro that doesn’t consume a lot of memory.
tzah@home-spacemit:~$ free -m
               total        used        free      shared  buff/cache   available
Mem: 15971 959 14467 52 710 15012| Field | Meaning | Value |
| Total | Total physical RAM | 15971 MB (~16 GB) |
| Used | Actively used by processes | 959 MB |
| Free | Completely unused | 14467 MB |
| Shared | tmpfs/shared memory | 52 MB |
| Buffers | Kernel buffers | 710 MB |
| Available | Estimated available for apps | 15012 MB |
| Swap Total | Swap space configured | 0 MB |
| Swap Used | Swap currently used | 0 MB |
Compatibility with Tailscale
For those unfamiliar, Tailscale is a simple, identity based mesh VPN that uses the WireGuard protocol to securely connect your devices. It sets up a private network so laptops, servers, phones, and cloud instances can talk to each other as if they were on the same LAN—without the hassle of configuring ports or firewalls. In our testing, it’s also RISC V compatible and works smoothly on the K3 Pico ITX mini PC. With that in mind, here are the steps to install the service:
Step 1: Installing Tailscale for a riscv64 architecture environment
curl -fsSL https://pkgs.tailscale.com/stable/debian/bookworm.noarmor.gpg | sudo tee /usr/share/keyrings/tailscale-archive-keyring.gpg >/dev/null

curl -fsSL https://pkgs.tailscale.com/stable/debian/bookworm.tailscale-keyring.list | \
  sudo tee /etc/apt/sources.list.d/tailscale.list

sudo apt update
sudo apt install tailscale
Step 2: Enabling and starting the Tailscale service
sudo systemctl enable --now tailscaledStep 3: Checking that it’s running
sudo systemctl enable --now tailscaledStep 4: Authenticating our device
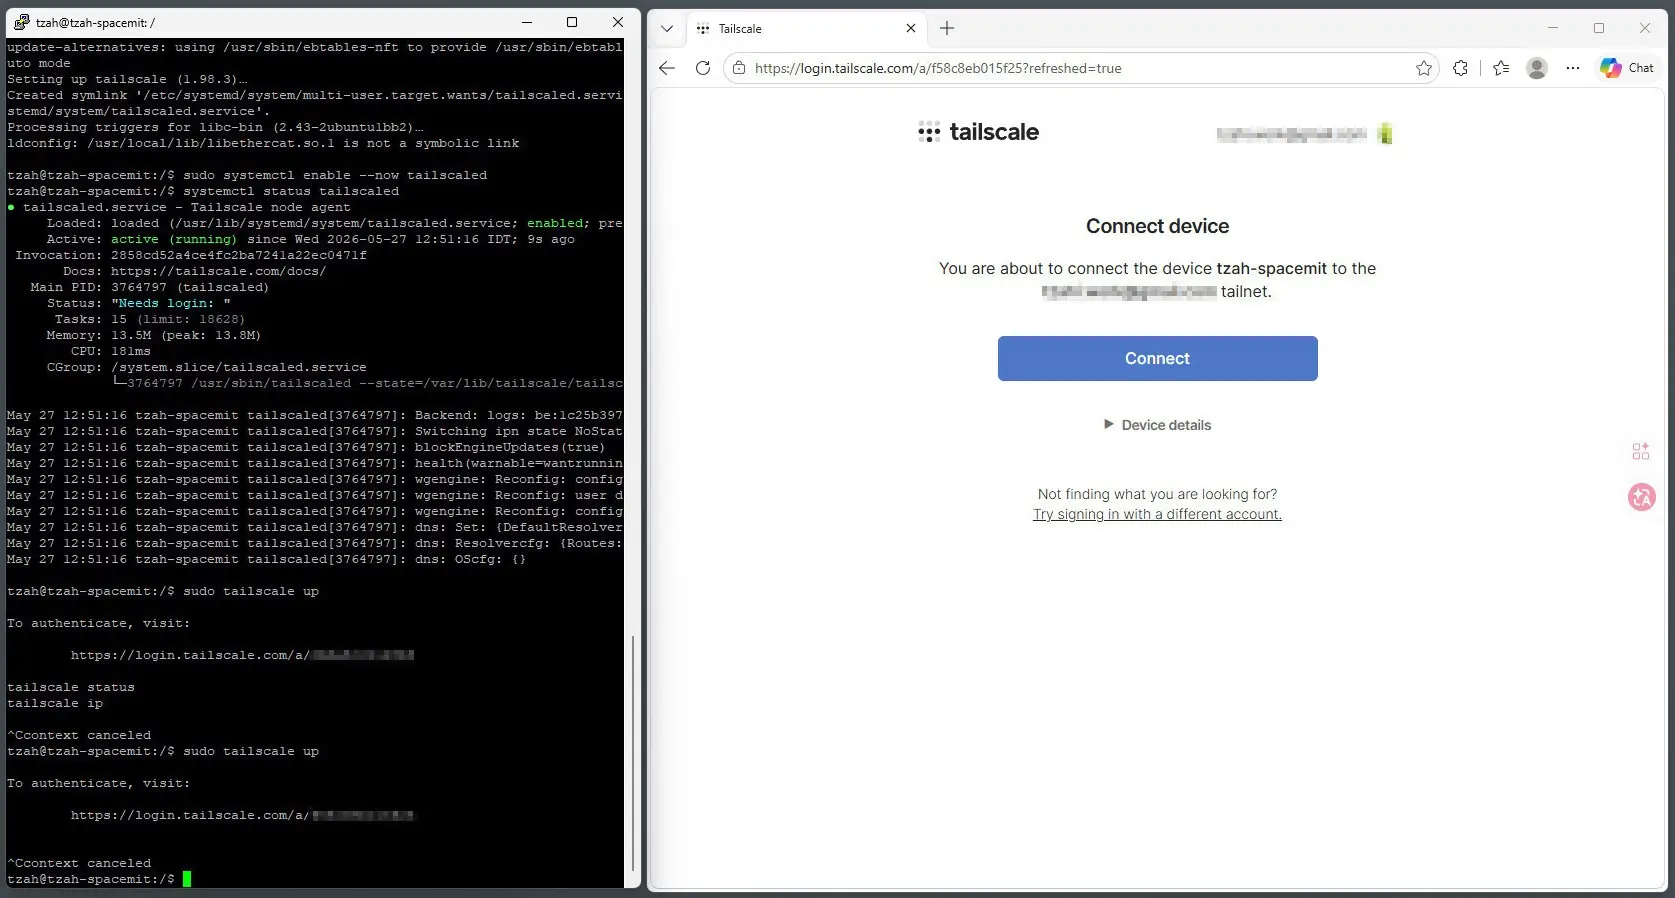
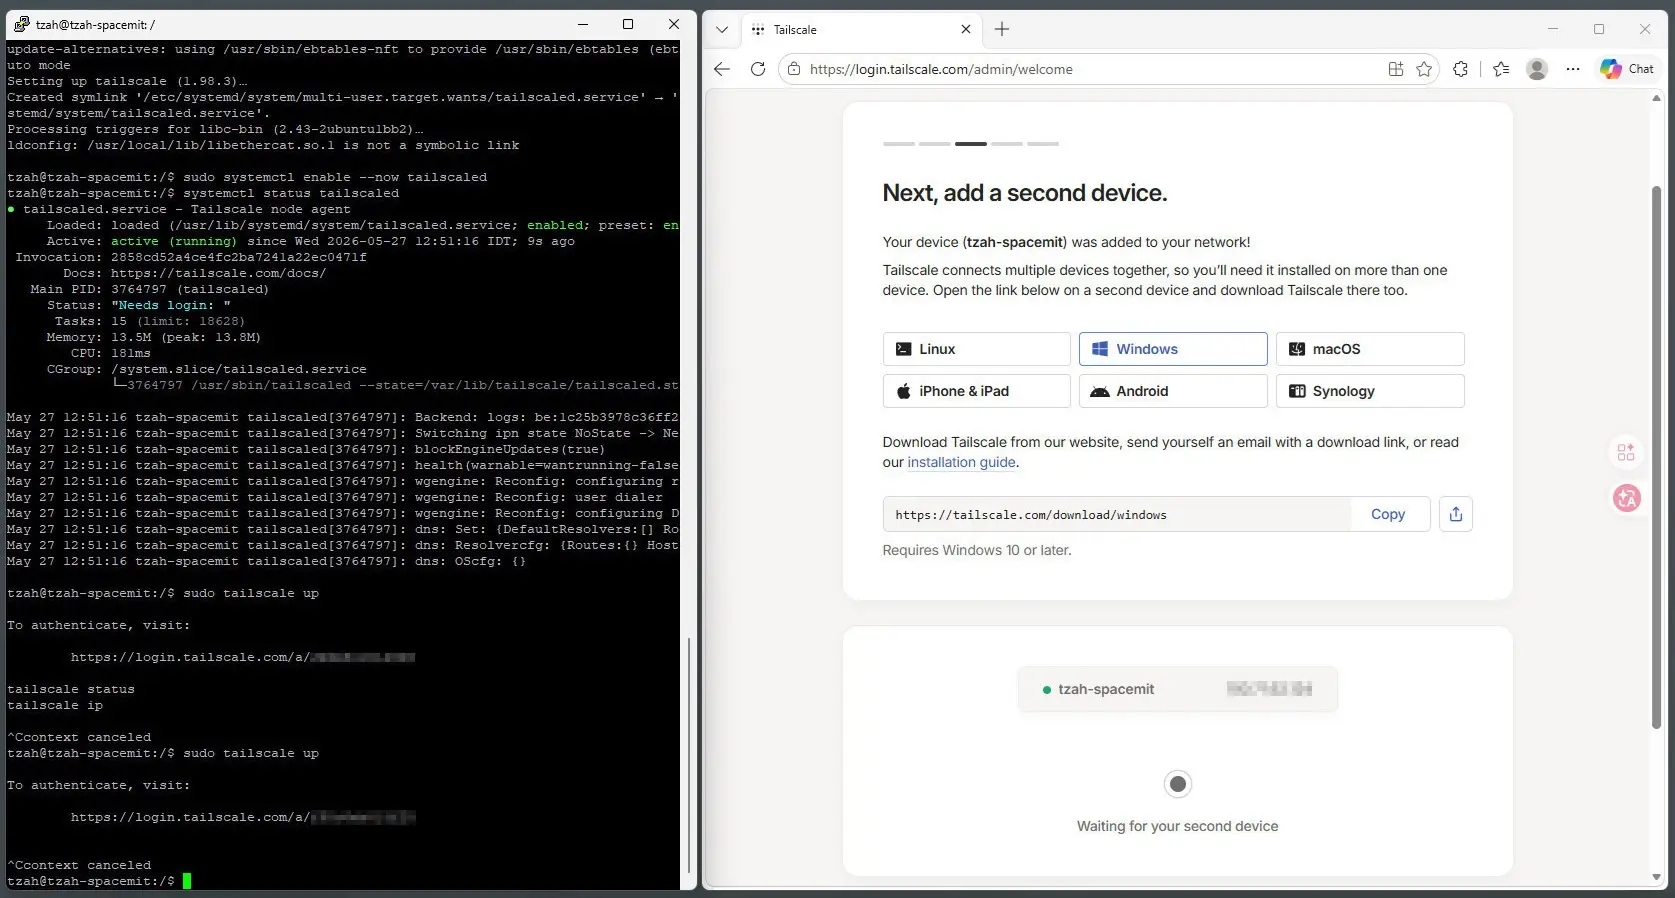
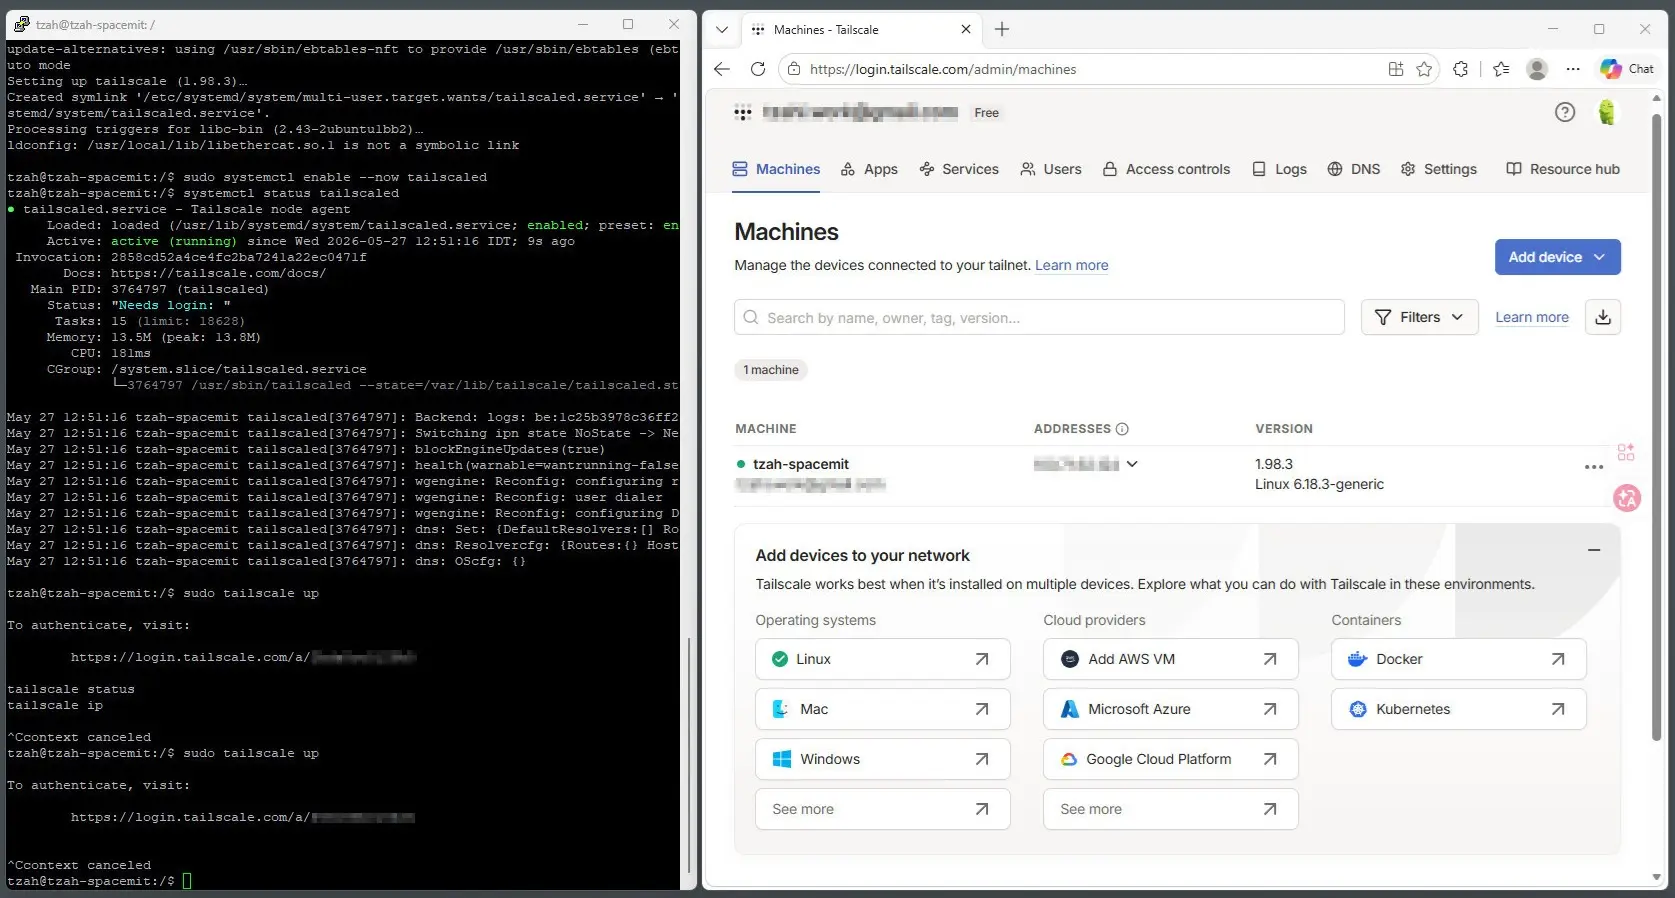
systemctl status tailscaledThis will give you a login URL. Open it on any device, approve it, and your K3 will join your Tailnet network.
Installing & Running Tailscale (Screenshots)